
Why Testing is the First Step in Any Outlet Upgrade
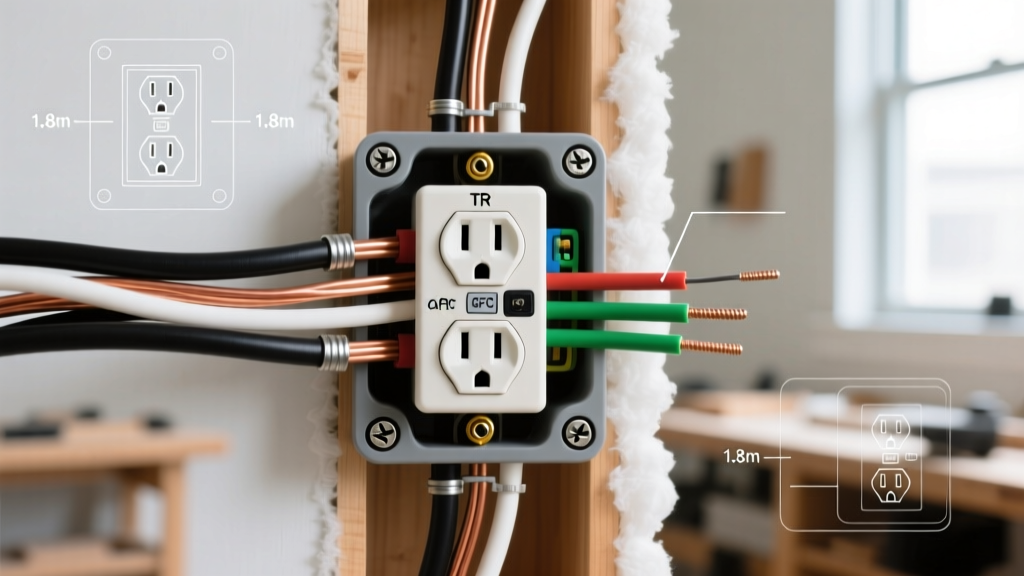
Before you rip out an old, yellowed receptacle to install a modern USB-C outlet or a smart home hub, you must verify the integrity of the wiring behind the drywall. Learning how to test an electrical outlet is not just about confirming it has power; it is about uncovering hidden hazards like bootleg grounds, reversed polarity, or shared neutrals that can destroy sensitive smart electronics or cause a fire. According to the U.S. Consumer Product Safety Commission (CPSC), faulty electrical receptacles are responsible for thousands of home fires annually. As an upgrade and replacement guide, this article provides a master-class diagnostic workflow to ensure your new Leviton or Lutron devices are installed on a safe, code-compliant circuit.
Essential Diagnostic Tools for 2026
Do not rely on a $5 neon voltage tester for a modern upgrade. You need precision instruments to map the circuit's health.
- GFCI Receptacle Tester: The Klein Tools RT250 (approx. $38) is the industry standard. It features a clear LCD screen that spells out wiring faults and includes a built-in GFCI trip button to test upstream protection.
- True-RMS Digital Multimeter: The Fluke 117 True-RMS (approx. $215) or the more budget-friendly Klein Tools MM700 (approx. $55). True-RMS is critical for accurately reading voltage on circuits with non-linear loads like LED drivers or dimmers.
- Non-Contact Voltage Tester (NCVT): The Fluke 2AC VoltAlert (approx. $35) for initial safety sweeps before removing the faceplate.
Step-by-Step: How to Test an Electrical Outlet Safely
Follow this three-phase diagnostic sequence before purchasing any replacement hardware.
Phase 1: Visual and Non-Contact Inspection
- Visual Check: Look for scorch marks, melted plastic, or a loose faceplate. If the plug falls out of the receptacle easily, the internal brass contacts are worn out. This is an immediate replacement trigger.
- NCVT Sweep: Turn the breaker ON. Sweep your NCVT around the perimeter of the faceplate and the wall box. If it beeps near the outside edge of the box, you may have a stray voltage issue or unshielded knob-and-tube wiring behind the wall.
Phase 2: Plug-In Receptacle Testing
Plug your Klein RT250 into the top receptacle, then the bottom. Read the LCD screen or LED matrix. This tool checks the relationship between the Hot (Line), Neutral, and Ground wires. If you are upgrading to a smart plug or Wi-Fi outlet, a verified neutral is mandatory.
Phase 3: Precision Multimeter Diagnostics
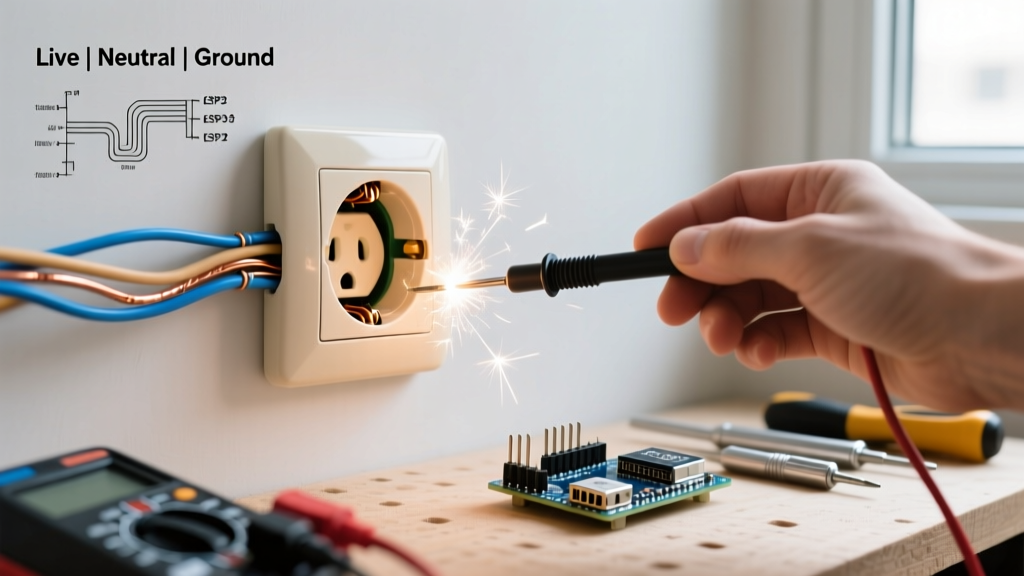
To get the exact voltage data needed for sensitive electronics, set your multimeter to AC Voltage (V~).
- Hot to Neutral (Line to Neutral): Insert probes into the short slot (Hot) and long slot (Neutral). You should read between 115V and 125V. If it reads below 110V, you have voltage drop; upgrading to a heavier gauge wire (12 AWG) may be required.
- Hot to Ground: Short slot to the U-shaped ground hole. Should read 115V to 125V.
- Neutral to Ground: Long slot to the ground hole. This is the most critical test. It should read less than 2V. If you read 3V or higher, your circuit is overloaded, or you have a loose neutral connection at the panel. Installing a GFCI here might result in nuisance tripping until the neutral is tightened.
Expert Warning: Never skip the Neutral-to-Ground test. Many DIYers assume a circuit is healthy because Hot-to-Neutral reads 120V, completely missing a floating neutral that will fry the logic board of a $60 smart outlet.
Receptacle Tester LED Matrix: What the Lights Mean for Your Upgrade
When using a standard 3-light receptacle tester, the LED combination dictates your next move. Use this matrix to plan your replacement strategy.
| LED Pattern (Left-Middle-Right) | Condition | Upgrade Action Required |
|---|---|---|
| Off - Yellow - Yellow | Correct Wiring | Safe to upgrade to any standard, smart, or USB receptacle. |
| Off - Yellow - Off | Open Ground | Do NOT install 3-prong standard outlets. Upgrade to a GFCI receptacle (labeled 'No Equipment Ground') per NEC 406.4(D). |
| Yellow - Yellow - Off | Open Neutral | Stop. Do not upgrade. The return path is broken. Trace the daisy-chain to find the disconnected white wire. |
| Yellow - Off - Yellow | Hot/Neutral Reversed | Correct the wiring at the terminal screws before installing polarized devices like smart switches. |
| Off - Off - Yellow | Hot/Ground Reversed | Critical Hazard. The ground wire is energized. Call a licensed electrician immediately. |
The 'Bootleg Ground' Edge Case
When upgrading older 1960s homes, you will frequently encounter a 'bootleg ground.' This is when a previous homeowner installed a 3-prong outlet on a 2-wire ungrounded circuit and placed a copper jumper wire between the neutral terminal and the ground screw to trick receptacle testers.
How to test for it: Turn OFF the circuit breaker. Set your multimeter to Continuity (the diode/beep symbol). Place one probe on the neutral slot and one on the ground slot. If the meter beeps with the power OFF, you have a bootleg ground. You must remove this jumper immediately before installing a new GFCI, as it will cause the GFCI to fail its internal self-tests and bypass shock protection.
Upgrade Triggers: When to Replace vs. Repair
Testing reveals the 'why' behind an upgrade. Here is when you must pull the old receptacle out of the box:
- NEC GFCI Expansion: The National Electrical Code (NFPA 70) continuously expands GFCI requirements. As of the latest code cycles adopted into 2026, all 125V, 15A, and 20A receptacles in basements, garages, crawl spaces, kitchens, bathrooms, and outdoors require GFCI protection. If your test shows a standard receptacle in these zones, upgrade to a Leviton T5280-W GFCI (approx. $22).
- Smart Home Integration: If you are upgrading to Lutron Caséta or Leviton Decora Smart Wi-Fi 2nd Gen outlets, your Phase 3 multimeter test must confirm a dedicated, low-resistance neutral wire. Smart outlets draw a small standby current (usually 0.5W to 1W) through the neutral; an open or high-resistance neutral will cause the device to flicker or drop off the network.
- AFCI Requirements: While AFCI protection is usually handled at the breaker panel, if your testing reveals frequent, unexplained breaker trips in a bedroom or living room, the outlet itself may have internal arcing due to loose backstabbed connections. Replace backstabbed outlets with side-wired or screw-and-clamp models like the Leviton T-R5362 (approx. $4).
Cost and Labor Estimates for Common Outlet Upgrades
Once your testing is complete, use this framework to budget your replacement project.
| Upgrade Scenario | Hardware Cost (Per Unit) | Time to Replace | Complexity |
|---|---|---|---|
| Standard 15A to 20A (Requires 12 AWG wire) | $3 - $8 | 15 mins | High (Requires rewiring if 14 AWG is present) |
| Standard to GFCI (Ungrounded Circuit) | $18 - $28 | 20 mins | Medium (Must apply 'No Equipment Ground' stickers) |
| Standard to USB-C/A Receptacle | $25 - $45 | 15 mins | Low (Ensure box has adequate depth for bulky electronics) |
| Standard to Wi-Fi Smart Outlet | $35 - $60 | 25 mins | Medium (Requires verified neutral and deep junction box) |
Frequently Asked Questions
Can I upgrade a 2-prong outlet to a 3-prong outlet without rewiring?
Yes, but only if you install a GFCI receptacle or protect it with a GFCI breaker. The Occupational Safety and Health Administration (OSHA) and the NEC allow this as a retrofit method. The GFCI monitors the current balance between hot and neutral, providing shock protection even without a physical ground wire. You must label the faceplate with the provided 'GFCI Protected / No Equipment Ground' sticker.
Why does my receptacle tester say 'Correct' but my multimeter reads 105V?
Plug-in testers only check polarity and continuity; they do not measure exact voltage. A reading of 105V indicates severe voltage drop, likely due to an overloaded circuit, undersized wire (14 AWG on a long run), or a loose connection at the main panel. Do not upgrade to high-draw appliances (like space heaters or window ACs) on this circuit until the voltage drop is resolved.
Do I need to turn off the main breaker to test an outlet?
No. To test voltage and polarity, the circuit breaker for that specific room must be ON. However, you must turn OFF the breaker before removing the faceplate, pulling the receptacle from the box, or touching any bare copper wires with your hands or tools. Always verify the power is truly off with your NCVT before making physical contact with the terminals.