
Why Electrical Outlet Dimensions Dictate Your Upgrade Path
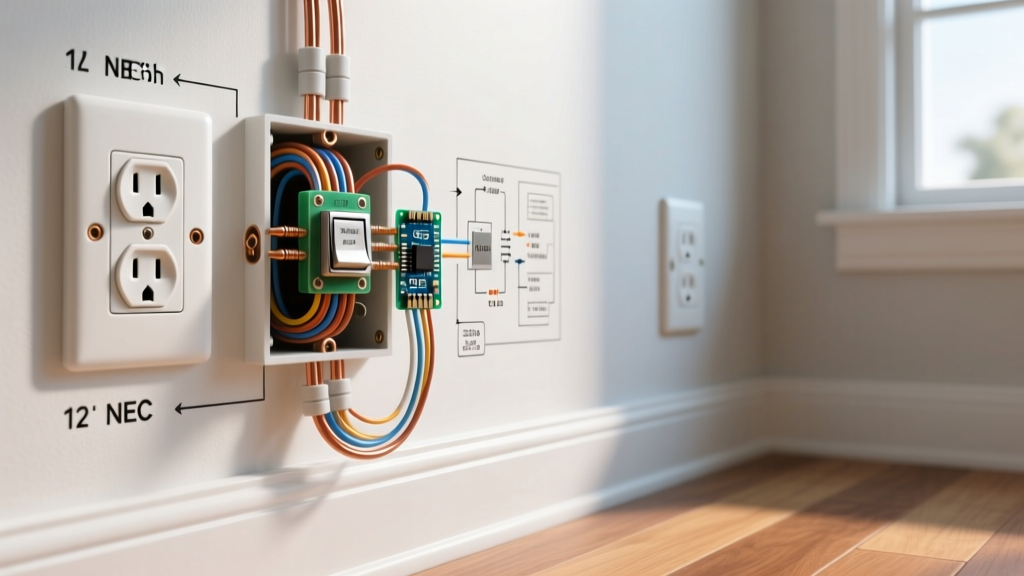
When planning a home electrical upgrade in 2026, swapping a standard duplex receptacle for a USB-integrated outlet, a GFCI, or a smart receptacle is rarely a simple 'pull and push' job. The physical constraints of your wall cavity and the specific electrical outlet dimensions of the devices you choose will determine the success of your project. Misjudging the depth of a junction box or the width of a faceplate can result in protruding devices, cracked drywall, or failed electrical inspections.
This comprehensive replacement guide breaks down the exact measurements of receptacle faces, mounting straps, junction box volumes, and cover plates. Whether you are retrofitting a 1970s home with shallow boxes or upgrading a modern kitchen to handle high-draw smart appliances, understanding these dimensions is critical for a seamless installation.
Receptacle Face and Strap Dimensions: The NEMA Standards
All standard North American receptacles adhere to the National Electrical Manufacturers Association (NEMA) WD6 dimensional standards. While the overall footprint remains consistent to fit standard wall plates, the internal geometry and face profiles vary significantly based on the device type.
Standard Duplex vs. Decorator (Decora) Profiles
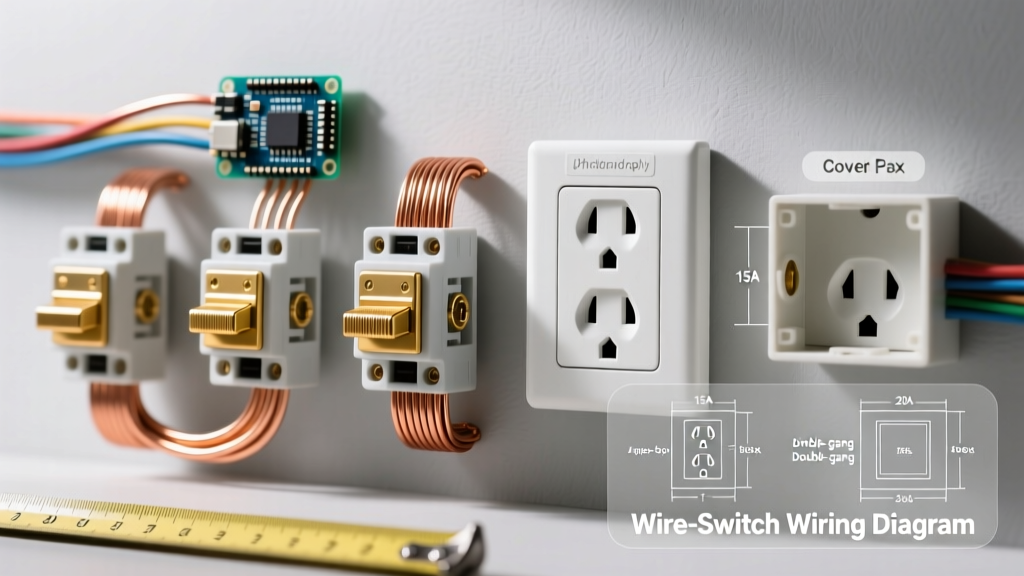
- Mounting Strap (Yoke): Both standard duplex and decorator receptacles share an identical mounting strap dimension of 3.28 inches (height) by 1.31 inches (width). The distance between the top and bottom mounting screws is exactly 3.0 inches. This universal strap size ensures that any 15A or 20A device will align with standard electrical box mounting ears.
- Standard Duplex Face: The visible face of a traditional duplex receptacle measures 1.31 inches wide by 2.62 inches high. The two distinct circular plug slots are separated by a raised center ridge.
- Decorator (Rocker) Face: While the overall strap is the same, the decorator face features a single, large rectangular rocker switch. The inner cutout required for the rocker measures 1.18 inches by 1.95 inches, which dictates the sizing of decorator-style wall plates.
NEMA 5-15R vs. NEMA 5-20R: The T-Slot Difference
When upgrading a garage, kitchen, or workshop, you may transition from 14 AWG wire (15A circuits) to 12 AWG wire (20A circuits). A NEMA 5-20R receptacle features a distinct 'T-shaped' neutral slot to accept both 15A and 20A plugs. While the external face dimensions of a 5-20R are identical to a 5-15R (1.31" x 2.62"), the internal brass contacts are thicker, and the device body is often slightly bulkier, requiring more lateral space inside the junction box.
The Hidden Dimension: Junction Box Depth and Volume
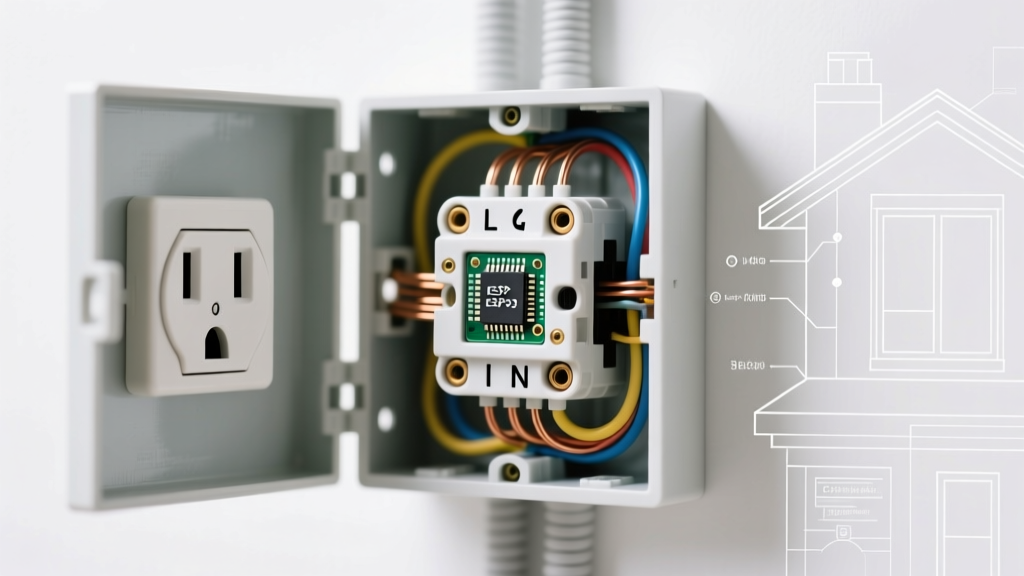
The most common point of failure in outlet upgrades occurs behind the drywall. Modern upgrades like the Leviton T5635-W USB Receptacle or Z-Wave smart outlets feature massive internal circuit boards and heat sinks that protrude up to 1.25 inches behind the mounting strap.
Expert Insight: Never attempt to force a smart receptacle or GFCI into a shallow 1.5-inch junction box. The National Electrical Code (NEC) strictly mandates box fill calculations to prevent wire insulation damage and overheating. If the device body compresses the Romex wires against the back of the box, you are creating a severe fire hazard.
NEC Article 314 Box Fill Calculations
Before purchasing an upgrade receptacle, calculate your required box volume. The NEC assigns a specific cubic inch (cu. in.) volume to each conductor, clamp, and device:
- 14 AWG Wire: 2.0 cu. in. per conductor.
- 12 AWG Wire: 2.25 cu. in. per conductor.
- Device Yoke (Receptacle): Counts as 2 volumes (e.g., a 12 AWG device requires 4.5 cu. in. of space).
- Internal Clamps: Counts as 1 volume.
Example: A standard outlet on a 12 AWG circuit (2 hot, 2 neutral, 1 ground = 5 conductors, plus 1 device volume, plus 1 clamp = 7 volumes). 7 x 2.25 = 15.75 cu. in. minimum. A standard 'single-gang deep' box offers 22.5 cu. in., providing ample room. A shallow 'old-work' box offers only 14 cu. in., which is a code violation for this setup.
Receptacle Upgrade Comparison Matrix
Use this matrix to select the correct Arlington Industries old-work boxes and receptacles for your specific 2026 upgrade project.
| Receptacle Type | Face Dimensions | Min. Box Depth Required | Min. Box Volume (12 AWG) | Avg. Cost (2026) |
|---|---|---|---|---|
| Standard 15A Duplex | 1.31" x 2.62" | 1.5 inches (Shallow) | 14.0 cu. in. | $2.50 - $4.00 |
| 20A Tamper-Resistant | 1.31" x 2.62" | 1.5 inches (Shallow) | 16.0 cu. in. | $4.50 - $7.00 |
| GFCI (15A/20A) | 1.31" x 2.62" | 2.25 inches (Deep) | 22.5 cu. in. | $18.00 - $28.00 |
| USB Duplex (Type A+C) | 1.31" x 2.62" | 2.25 inches (Deep) | 22.5 cu. in. | $16.00 - $25.00 |
| Smart Wi-Fi/Z-Wave | 1.31" x 2.62" | 2.5 inches (Extra Deep) | 25.0+ cu. in. | $35.00 - $55.00 |
Wall Plate Dimensions: Covering Drywall Imperfections
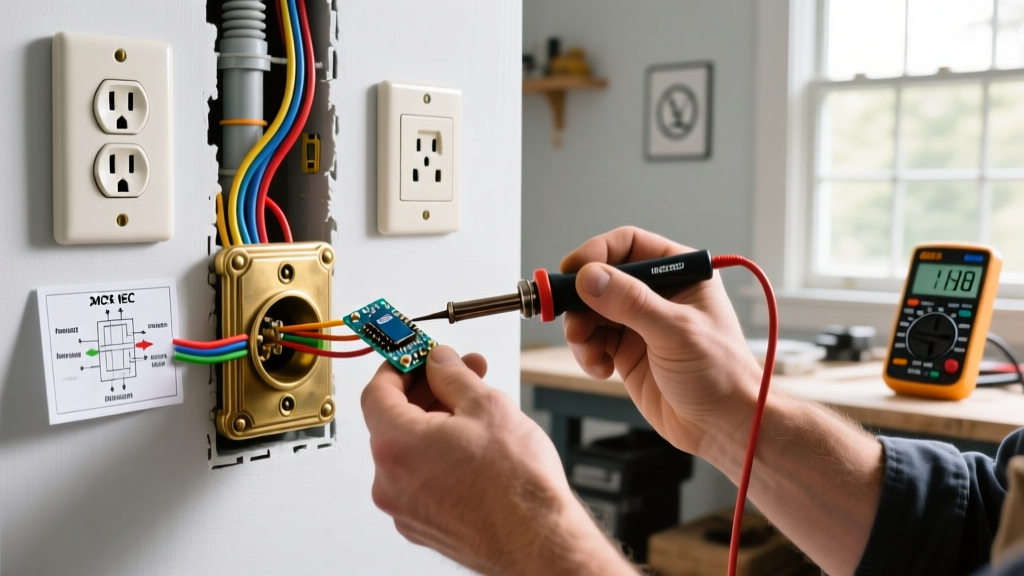
When replacing old outlets, you will frequently encounter chipped drywall or over-cut plaster around the junction box. Standard wall plates will not cover these blemishes. Understanding cover plate dimensions allows you to salvage a messy wall without hiring a drywall contractor.
- Standard Plates: Measure 2.93 inches wide by 4.68 inches high. These only cover perfectly cut drywall openings.
- Midway (Trade Size) Plates: Measure 3.56 inches wide by 4.87 inches high. They extend exactly 5/16" further on the left and right sides, making them the ultimate solution for hiding horizontal drywall gaps or over-sanded paint lines.
- Jumbo / Oversized Plates: Measure up to 3.93 inches wide by 5.06 inches high. Use these exclusively when replacing an old, oversized junction box or when a previous installer severely damaged the vertical drywall edges.
Step-by-Step Replacement Flow: Measuring and Upgrading
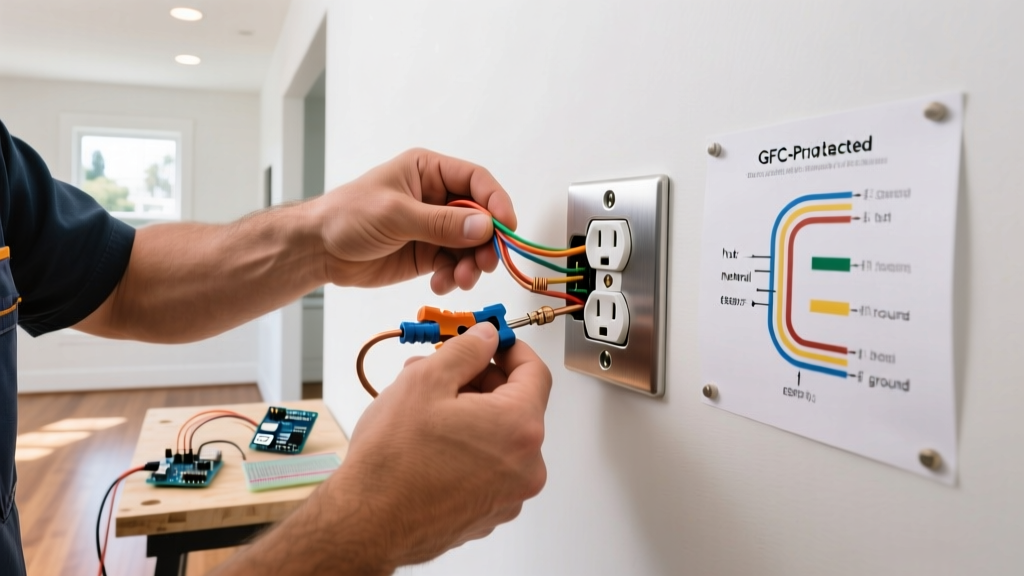
- Kill the Power and Verify: Turn off the breaker and use a non-contact voltage tester (NCVT) to confirm the circuit is dead.
- Remove the Existing Device: Unscrew the wall plate and the top/bottom mounting screws. Gently pull the receptacle out without disconnecting the wires.
- Measure Box Depth: Insert a tape measure into the box. If the depth is less than 2.0 inches, you are restricted to standard duplex receptacles. If it is 2.25" or deeper, you can upgrade to GFCI, USB, or Smart outlets.
- Assess Wire Gauge: Check the wire insulation. Yellow sheathing indicates 12 AWG (20A); White/Orange indicates 14 AWG (15A). Never install a 20A receptacle on a 14 AWG wire.
- Calculate Box Fill: Count the wires entering the box. If adding a USB or Smart outlet, ensure the total cubic inch requirement does not exceed the box's stamped volume limit.
- Install and Torque: Connect the wires using the side-terminal screws (avoid backstab push-in connections). Tighten to the manufacturer's torque specification (usually 14-16 in-lbs) to prevent arcing.
Troubleshooting Edge Cases and Installation Failures
The Outlet Sits Proud of the Wall Plate
Cause: The junction box is set too deep inside the wall cavity, or the drywall was layered over an existing box without an extension ring.
Solution: Install a plastic outlet spacer (shim) behind the mounting strap. For gaps larger than 1/4 inch, use a metal box extender ring that slides over the existing box and flushes with the drywall surface, maintaining NEC fire containment rules.
The GFCI or Smart Plug Won't Fit in the Box
Cause: The box is a standard 14 cu. in. shallow box, and the bulky rear heat-sink of the smart device is crushing the Romex sheathing.
Solution: If you have drywall access, cut out the old nailed-on box and install a 22.5 cu. in. 'old-work' bracket box. These feature adjustable depth wings that clamp directly to the back of the drywall, providing the necessary 2.25-inch depth for modern electronics.
Cracked Wall Plates During Tightening
Cause: The receptacle mounting strap is being pulled unevenly by overtightening the top screw before the bottom screw is seated, putting torsional stress on the rigid plastic wall plate.
Solution: Always thread both mounting screws by hand first. Tighten them alternately (two turns top, two turns bottom) until the strap sits flush against the box ears. Use a torque screwdriver set to 12 in-lbs for the final pass to prevent stripping the steel box threads or cracking nylon cover plates.