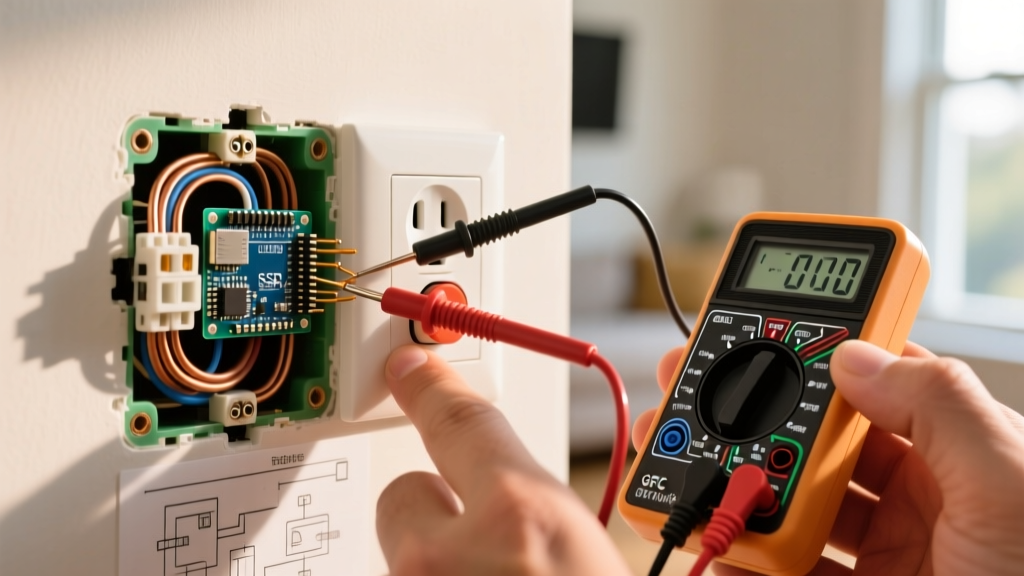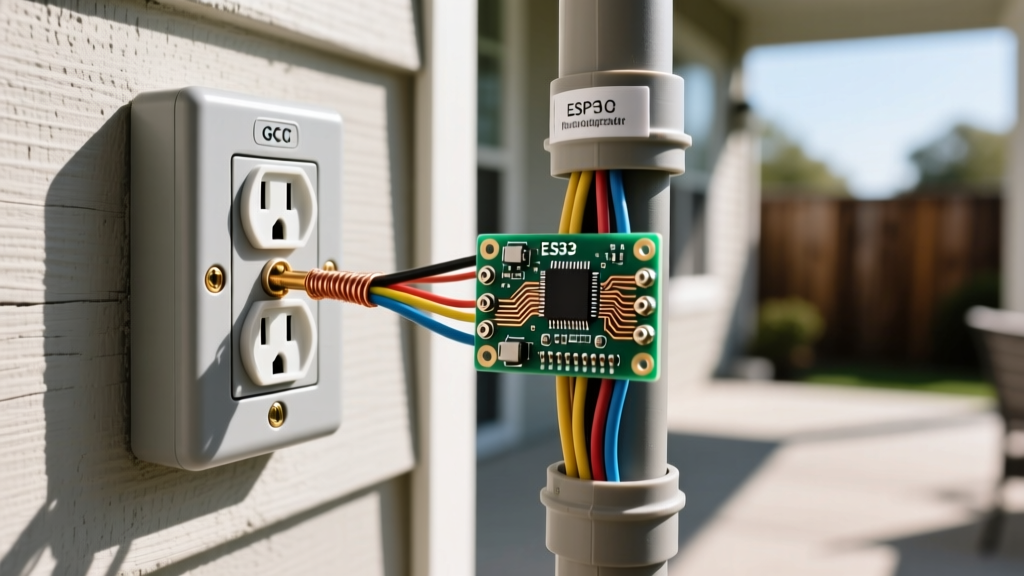

Introduction to Outdoor Receptacle Inspection Standards
When you set out to install electrical outlet outside configurations in 2026, the margin for error is virtually zero. Outdoor environments expose electrical components to UV degradation, thermal cycling, and severe moisture ingress. According to the National Fire Protection Association (NFPA), NEC Article 210.8(F) mandates Ground-Fault Circuit-Interrupter (GFCI) protection for all 15A and 20A, 125V outdoor receptacles. However, simply buying a GFCI is not enough. This inspection and testing guide provides a rigorous, step-by-step framework for verifying materials, wiring methods, and live-circuit performance before you energize the system and call for your final AHJ (Authority Having Jurisdiction) sign-off.
Pre-Installation Material and Site Inspection
The most common point of failure when homeowners or junior electricians install electrical outlet outside systems is improper material selection. Before mounting any box, inspect your components against this verification checklist:
- Enclosure Rating: Verify the box is rated NEMA 3R (rain-tight) for under-eave mounting, or NEMA 4X (watertight and corrosion-resistant) for fully exposed locations. Die-cast aluminum outperforms plastic in UV-heavy environments and resists impact damage from landscaping equipment.
- In-Use Covers: NEC Article 406.9(A) requires an 'extra-duty' weatherproof cover that accommodates plugged-in cords. The TayMac ML550 ($22-$28) is an industry benchmark, offering a 2-3/8 inch depth and polycarbonate construction that resists shattering at sub-zero temperatures.
- Receptacle Grade: Inspect the GFCI for the 'TR' (Tamper-Resistant) and 'WR' (Weather-Resistant) stamps on the face and strap. The Leviton GFNT2-W SmartLockPro ($24-$30) features a UV-stabilized thermoplastic face that prevents the internal shutter mechanism from seizing after years of sun exposure.
Wiring Method Inspection Matrix
Choosing the correct feeder wiring is critical for passing local inspections. Review this matrix to ensure your planned installation meets 2026 code requirements:
| Wiring Method | Best Use Case | Inspection Red Flags | Estimated Cost (per ft) |
|---|---|---|---|
| UF-B Cable (12/2) | Direct burial (min 24" depth), short runs under 50ft. | Failing to use Schedule 80 PVC where cable emerges from the ground (NEC 300.5(D)). | $0.85 - $1.10 |
| THWN-2 in PVC | Long runs, exposed masonry walls, high-moisture zones. | Missing expansion fittings on runs over 25ft; improper solvent weld on joints. | $1.50 - $2.20 |
| MI Cable (Mineral Insulated) | High-fire-risk zones, embedded in concrete retaining walls. | Improper termination kit installation; copper sheath left ungrounded. | $4.50 - $6.00 |
GFCI Bench Testing and Terminal Torque Verification
Never assume a new GFCI is functional out of the box. When you install electrical outlet outside, perform a bench test before securing the device to the exterior box.
Bench Testing Protocol
- Wire a temporary 14 AWG cord to the LINE terminals.
- Plug into a known-good indoor GFCI circuit.
- Use an Amprobe AT-3500 digital GFCI tester. Inject a 5mA fault current.
- Verify the GFCI trips in under 25 milliseconds. If it fails to trip, or trips on the neutral-to-ground test (indicating a manufacturing defect in the sense amplifier), discard the unit immediately.
Torque Specifications
Loose connections cause arcing, which in outdoor damp environments accelerates oxidation and thermal failure. According to OSHA Standard 1926.404 and general NEC 110.14(D) requirements, terminal screws must be torqued to the manufacturer's specifications. For most 15A/20A Leviton and Hubbell GFCIs, the brass (hot) and silver (neutral) terminal screws require 12 to 14 in-lbs of torque. Use a calibrated inch-pound torque screwdriver (e.g., Wiha 606T14) rather than guessing by hand.
Weatherproofing and Mounting Inspection
Once the wiring is terminated and torqued, inspect the physical seal of the installation.
- Hub Connectors: If conduit enters the top or back of the box, a Myers hub must be used to create a watertight seal. Standard locknuts alone will fail inspection and allow capillary water ingress during wind-driven rain.
- Silicone Beading: Apply a continuous bead of GE Silicone II (Clear, 100% Silicone) between the mounting flange of the in-use cover and the exterior siding or stucco. Do not caulk the bottom weep holes; these allow internal condensation to escape.
- Pigtail Management: Ensure wire nuts are pointing upward or sideways, never downward, to prevent water from wicking into the splice via gravity if moisture enters the box.
Live Circuit Commissioning and Load Testing
After energizing the breaker, conduct final commissioning tests at the receptacle face.
Voltage Drop Analysis
Outdoor runs often exceed 50 feet. A 120V circuit should not experience more than a 3% voltage drop under full load (3.6V). If you are installing a 20A circuit 100 feet from the panel using 12 AWG wire, your voltage drop will be approximately 3.8V (3.1%), which is borderline. In this edge case, upsizing to 10 AWG THWN-2 prevents motor burnout when a contractor plugs in a 15A miter saw or air compressor.
3-Wire Circuit Analysis
Use the Amprobe AT-3500 to perform a 3-wire circuit analysis. Verify the LCD indicator shows correct wiring (two green LEDs for correct hot/neutral/ground). If it indicates 'Open Ground', check the bonding jumper and ground pigtail inside the exterior box. If it shows 'Hot/Neu Reverse', swap the brass and silver terminals immediately before proceeding.
Nuisance Tripping Edge Cases
If the newly installed outdoor GFCI trips immediately or randomly:
- Shared Neutrals: Verify the outdoor receptacle's neutral is not shared with an indoor lighting circuit (a common mistake in older multi-wire branch circuits).
- Downstream Moisture: If the outdoor GFCI protects downstream loads (like landscape lighting), a single nicked wire in the yard will trip the main outdoor GFCI. Isolate downstream loads using a separate GFCI or dedicated breaker.
- Capacitive Leakage: Long outdoor cable runs can accumulate enough capacitive leakage current to approach the 5mA trip threshold. Keep continuous cable runs under 150 feet on a single GFCI device.
Frequently Asked Questions (FAQ)
Can I install an outdoor outlet on an existing indoor circuit?
Yes, but only if the indoor circuit is not a dedicated appliance line (like a refrigerator) and has the capacity for the added load. You must ensure the existing breaker is upgraded to a GFCI breaker, or you must use the first outdoor receptacle as a GFCI to protect the entire downstream run.
Does an outdoor outlet require AFCI protection in 2026?
Under NEC Article 210.12, AFCI (Arc-Fault Circuit-Interrupter) protection is generally required for 120V, single-phase, 15A and 20A branch circuits supplying outlets in dwelling unit bedrooms, living rooms, and similar indoor areas. Outdoor receptacles are typically exempt from AFCI requirements unless they are an extension of an indoor AFCI-protected room circuit. Always verify with your local 2026 code amendments, as some municipalities mandate combination AFCI/GFCI dual-function breakers for all exterior extensions.
Do I need a permit to install electrical outlet outside systems?
In almost all US jurisdictions, adding a new outdoor circuit or extending an existing one requires an electrical permit and a final inspection by your local AHJ. Failing to pull a permit can void your homeowner's insurance in the event of an electrical fire or moisture-related short circuit.
What is the required height for an outdoor receptacle?
The NEC does not specify a strict minimum or maximum height for general-purpose outdoor receptacles, but local codes and ADA guidelines typically mandate installation between 15 inches and 48 inches above grade or the finished deck surface for accessibility and to prevent winter snow burial.