
Understanding the Anatomy of a Tripped Outlet
Most homeowners encounter a dead receptacle and immediately wonder how to reset electric outlet hardware. However, blindly pushing buttons without verifying the circuit status is a leading cause of electrical shocks and undiagnosed ground faults. From a tool and material perspective, successfully restoring power requires more than just a finger; it requires diagnostic instrumentation and, occasionally, specific replacement components.
Before reaching for a tool, you must identify the type of protection that has tripped. Modern electrical systems utilize three primary interrupt mechanisms:
- Ground Fault Circuit Interrupters (GFCI): These protect against lethal shock by detecting current leakage to ground. They trip when an imbalance as small as 4 to 6 milliamps (mA) occurs between the hot and neutral wires.
- Arc Fault Circuit Interrupters (AFCI): Designed to prevent electrical fires, AFCIs detect dangerous arcing signatures (sparks) that occur in damaged or degraded wiring.
- Thermal-Magnetic Breakers: Located in the main panel, these protect the branch circuit from overloads (thermal trip) and short circuits (magnetic trip).
Safety Warning: According to the National Fire Protection Association (NFPA), electrical failures or malfunctions remain a leading cause of home fires. Never attempt to force a reset on a breaker or GFCI that immediately trips upon engagement, as this indicates a hard short or active ground fault.
Essential Tools and Materials for Outlet Resets
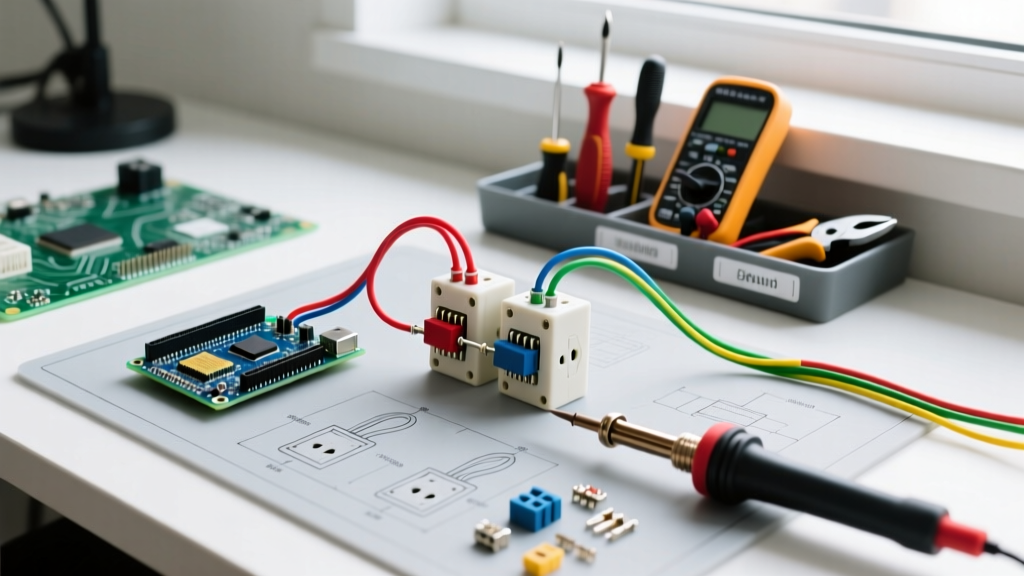
To properly diagnose and execute a reset, you need the right gear. Relying solely on visual inspection is insufficient for modern NEC-compliant circuits. Below is the essential tool and material checklist for any electrical diagnostic kit in 2026.
| Tool / Material | Specific Model Recommendation | Avg. Price | Primary Diagnostic Purpose |
|---|---|---|---|
| Non-Contact Voltage Tester (NCVT) | Klein Tools NCVT-2 (Dual Range) | $35.00 | Verifies presence of 12-1000V AC before removing faceplates. |
| Receptacle Tester | Amprobe ST-101 | $22.00 | Checks wiring sequence and features a dedicated GFCI trip button. |
| Digital Multimeter | Fluke 117 True RMS | $215.00 | Measures exact voltage drop and verifies line vs. load terminals. |
| Replacement GFCI | Leviton 054-GFNT1-W SmartlockPro | $18.50 | 15-Amp tamper-resistant replacement if the internal relay fails. |
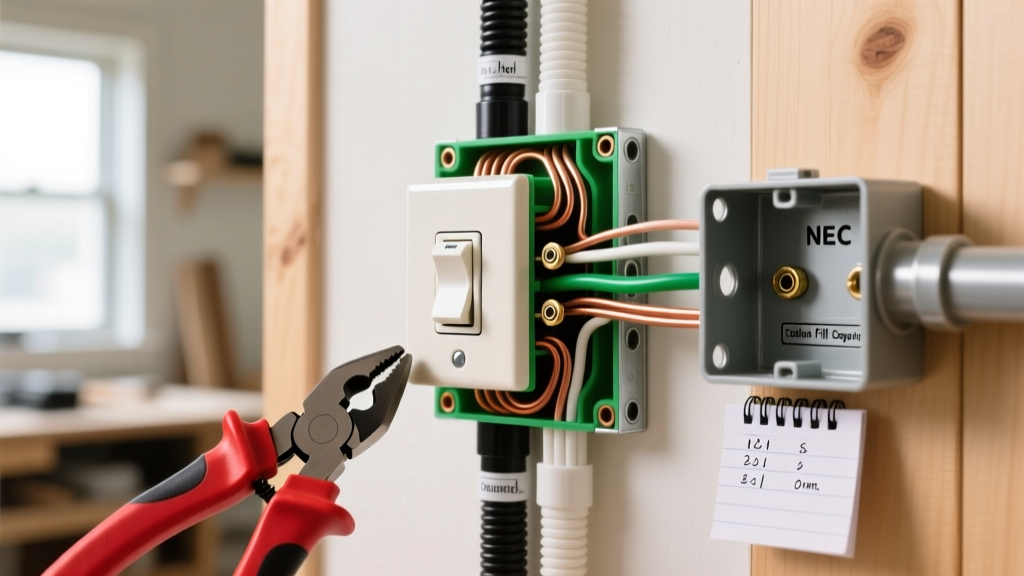
| Wire Strippers/Cutters | Klein Tools 11055 (10-18 AWG) | $28.00 | Strips insulation without nicking copper conductors during replacement. |
Step-by-Step: How to Reset Electric Outlet (GFCI Receptacles)
If the dead outlet features 'TEST' and 'RESET' buttons, it is a GFCI. The internal relay may have tripped due to moisture, a faulty appliance, or a transient surge. Follow this precise procedure:
- Isolate the Load: Unplug every device from the tripped GFCI and any downstream outlets it protects (often in adjacent bathrooms or garages). A faulty hair dryer or power tool can cause continuous tripping.
- Verify Power Status: Use the Klein Tools NCVT-2. Touch the tip to the receptacle slots. If it glows red and beeps, upstream power is still present despite the trip.
- Execute the Mechanical Reset: Press the 'RESET' button firmly. You must hear and feel a distinct mechanical 'click'. If the button pops back out immediately, do not force it.
- Test the Circuit: Plug in the Amprobe ST-101. Verify the correct LED pattern (typically two yellow lights for correct wiring). Press the black 'GFCI Test' button on the Amprobe to ensure the outlet actually cuts power when a fault is simulated.
Step-by-Step: Resetting the Circuit Breaker
If the outlet is a standard receptacle with no buttons, the trip has occurred at the main service panel. The Consumer Product Safety Commission (CPSC) notes that properly functioning breakers are your primary defense against wire-melting overloads.
- Locate the Tripped Breaker: Open the panel door. A tripped breaker will not be in the standard 'ON' position; it will rest in a neutral, middle position, or feel loose and spongy when touched.
- Clear the Overload: Turn off high-draw appliances on that circuit (space heaters, microwaves, window AC units).
- The 'Hard OFF' Technique: You cannot simply push a tripped breaker to 'ON'. You must first push the toggle firmly to the 'OFF' position until it clicks and locks into the internal latch mechanism.
- Engage 'ON': Flip the toggle firmly to the 'ON' position. If it immediately snaps back to the middle or OFF, you have a dead short in the wiring. Stop immediately and call a licensed electrician.
Advanced Diagnostics: When the Reset Fails
When learning how to reset electric outlet hardware, the most critical skill is knowing what to do when the reset fails. Use the troubleshooting matrix below to diagnose persistent failures using your multimeter and receptacle tester.
| Symptom | Probable Cause | Diagnostic Tool & Action |
|---|---|---|
| GFCI Reset button will not stay depressed. | Line and Load wires are reversed, or the internal solenoid is burnt out. | Fluke 117: Remove faceplate. Measure voltage between the brass LINE screws and ground. If 120V is present on LINE but the outlet won't reset, replace the GFCI. |
| Outlet is dead, but breaker is ON and no GFCI is visible. | Upstream GFCI has tripped, or a backstabbed wire connection has failed. | NCVT-2: Trace the circuit backward to adjacent rooms. Check outdoor and garage GFCIs, which frequently protect interior downstream receptacles. |
| Breaker trips instantly upon reset. | Dead short (Hot touching Neutral/Ground) or a failed AFCI breaker. | Fluke 117: Set to Continuity/Olms. With power OFF, measure resistance between Hot and Neutral at the panel. Near zero ohms confirms a hard short. |
Code Compliance and Replacement Materials
If your diagnostic tools confirm that a GFCI receptacle has failed internally, it must be replaced. When purchasing materials, ensure compliance with the latest National Electrical Code (NEC) standards. As of the 2023 and 2026 NEC cycles, GFCI protection is strictly mandated for all 125-volt through 250-volt receptacles installed in kitchens, bathrooms, garages, outdoors, crawl spaces, and unfinished basements.
When replacing a failed unit, we recommend the Leviton 054-GFNT1-W SmartlockPro. This 15-amp, tamper-resistant model features an auto-monitoring function that periodically tests itself and denies power if protection is compromised. Priced around $18.50, it is a cost-effective, high-reliability material choice for DIYers and professionals alike.
Final Torque and Installation Tips
When wiring the replacement GFCI, ensure you are connecting the incoming power to the brass screws marked LINE, and any downstream outlets to the screws marked LOAD. Reversing these will allow the outlet to function, but it will strip downstream protection, creating a severe code violation and safety hazard. Use a torque screwdriver set to 14 inch-pounds (the standard specification for most 15A residential terminals) to ensure wires are secured without stripping the terminal screws. Proper tool usage and material selection are the bedrock of a safe, lasting electrical repair.