
Why Relocate a Receptacle?
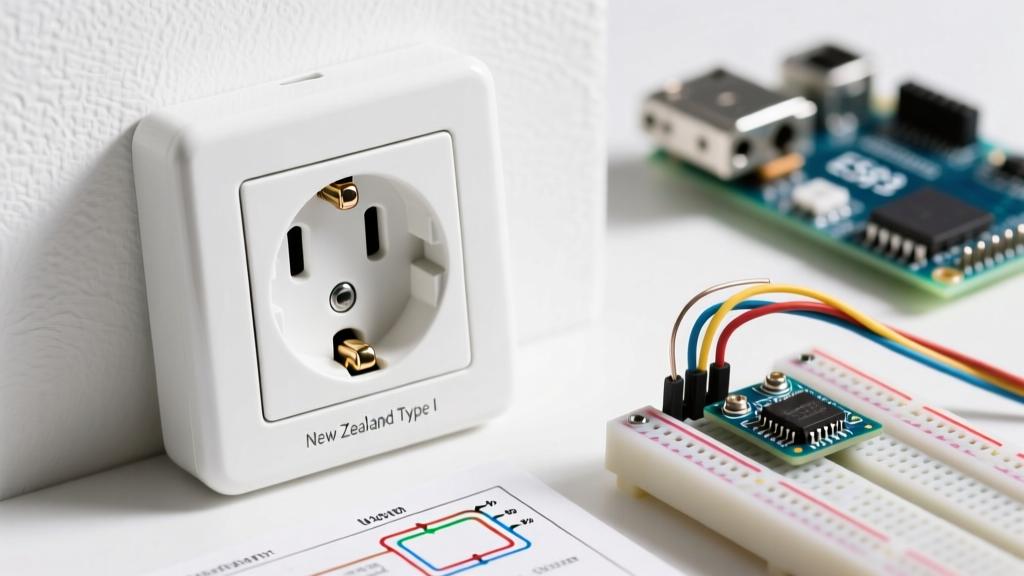
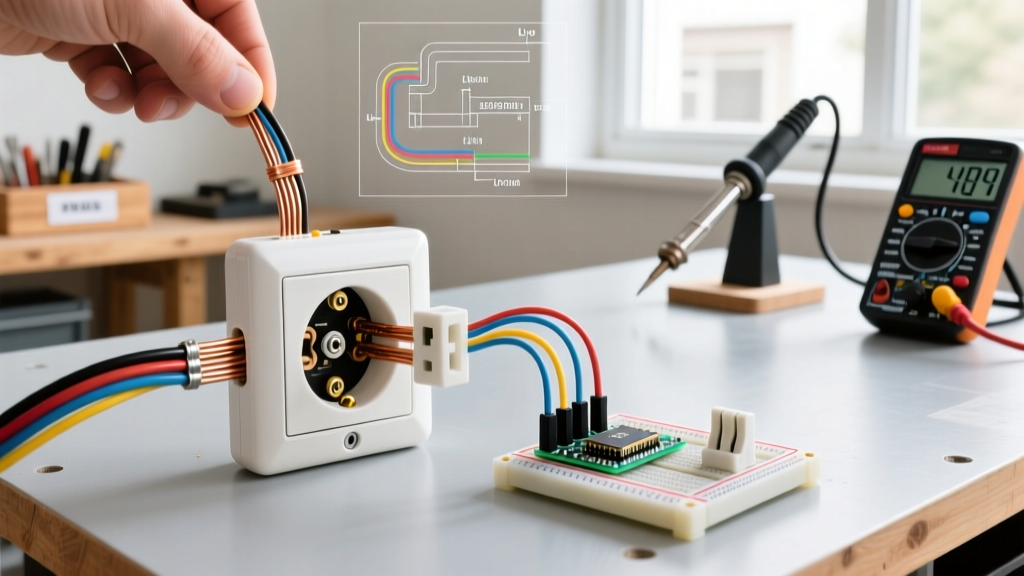
Whether you are remodeling a kitchen, repositioning a living room television, or simply correcting a poorly placed builder-grade receptacle, knowing how to move an electrical outlet is a foundational DIY skill. As of 2026, with the rise of smart home integrations and specific furniture layouts, homeowners frequently need to shift power sources by a few feet to accommodate new designs. While hiring a licensed electrician is always an option, moving a standard 15-amp or 20-amp receptacle on a non-load-bearing interior wall is a highly manageable project for beginners who respect electrical safety protocols.
Tools and Materials Required
Success in electrical work relies heavily on having the correct, code-compliant materials. Do not reuse old, brittle wiring or damaged boxes.
- Voltage Tester: Klein Tools NCVT-3 Non-Contact Voltage Tester (dual-range for 12-1000V).
- Old Work Box: Carlon B114B-UPC 14-cubic-inch plastic old-work box (features adjustable winged ears for drywall).
- Cable: Southwire 14/2 or 12/2 NM-B (Romex) depending on your circuit breaker size (14 AWG for 15A, 12 AWG for 20A).
- Receptacle: Leviton T5262 15-Amp Tamper-Resistant (TR) Duplex Receptacle.
- Wire Strippers: Klein Tools 11055 Precision Wire Strippers.
- Torque Screwdriver: Ideal 33-177 Torque Screwdriver (crucial for modern NEC compliance).
- Fish Tape: Klein Tools 56013 25-Foot Steel Fish Tape.
- Cutting Tools: Stud finder, drywall jab saw, and utility knife.
2026 Cost and Time Matrix
| Project Aspect | DIY Estimate (2026) | Professional Electrician |
|---|---|---|
| Materials & Tools | $45 - $75 | Included in labor |
| Labor Cost | $0 (Your time) | $180 - $350 |
| Time Required | 2 - 4 Hours | 1 - 2 Hours |
| Permit Required? | Varies by municipality | Yes, pulled by pro |
Step 1: Isolate the Circuit and Verify
Never begin electrical work based on assumptions. Go to your main electrical panel and switch off the breaker controlling the outlet you intend to move. If your panel is not clearly labeled, plug a lamp into the outlet and turn off breakers until the lamp dies.
Once the breaker is off, use your Klein NCVT-3 to test the receptacle. Insert the tip into both the top and bottom slots of the hot side (the shorter slot). For absolute certainty, remove the faceplate and test the bare wires with a multimeter set to AC voltage. According to the Consumer Product Safety Commission (CPSC), verifying the absence of voltage is the single most critical step in preventing fatal arc flashes or shocks.
Step 2: Extract the Old Box and Cut the New Opening
With the power confirmed dead, unscrew the existing receptacle from the wall. You do not necessarily need to remove the old electrical box from the wall cavity immediately; instead, you will use it as an access point to fish the new wire.
- Locate the New Position: Use a high-quality stud finder to map out the studs near your desired new location. You must place the new old-work box in the empty bay between two studs.
- Trace the Box: Hold the front face of the Carlon B114B-UPC box against the drywall and trace the outline with a pencil.
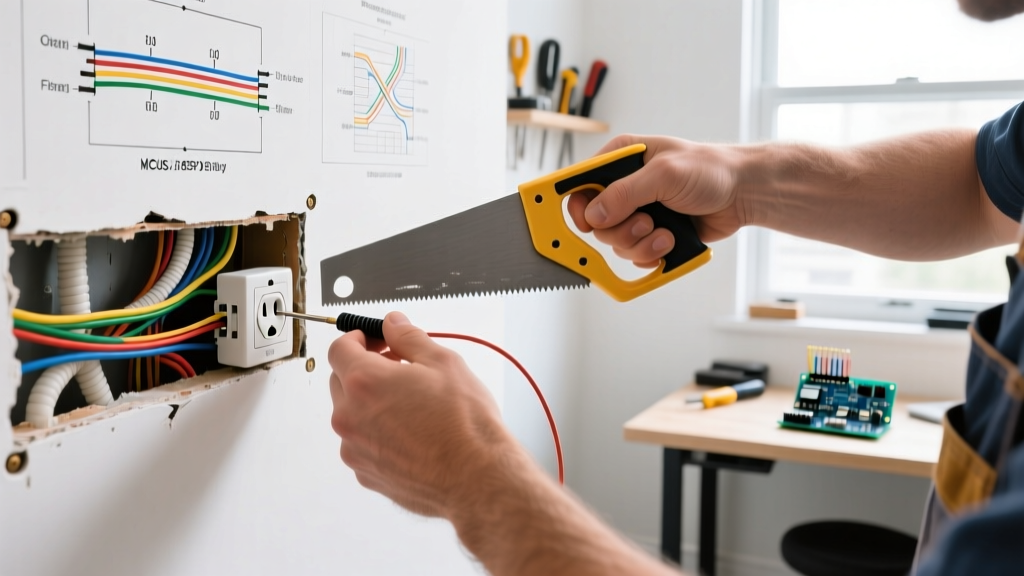
- Cut the Drywall: Use a drywall jab saw to carefully cut along the inside of your traced line. Cutting slightly inside the line ensures the box's drywall ears will have solid material to clamp against.
Step 3: Fish the NM-B Cable Through the Cavity
This is often the most frustrating step for beginners. You must route a new piece of 14/2 or 12/2 NM-B cable from the old box location to the new hole you just cut.
- Drill Access Holes: If there is a stud between the old and new location, you may need to use a flexible drill bit or an access hole to drill through the center of the stud.
- Use a Fish Tape: Feed the Klein Tools steel fish tape from the new hole toward the old hole. Have a helper shine a flashlight into the old box cavity to guide the tape. Once the tape emerges, attach your NM-B cable to the eyelet using electrical tape, creating a smooth, tapered bullet shape so it doesn't snag on insulation or wood splinters.
- Pull the Cable: Slowly retract the fish tape. Pull enough cable through both holes so you have ample slack to work with.
Step 4: Wire the New Receptacle to NEC Standards
Modern electrical codes are strict regarding wire preparation and termination. The National Fire Protection Association (NFPA) outlines these rules in the National Electrical Code (NEC) to prevent overheating and fires.
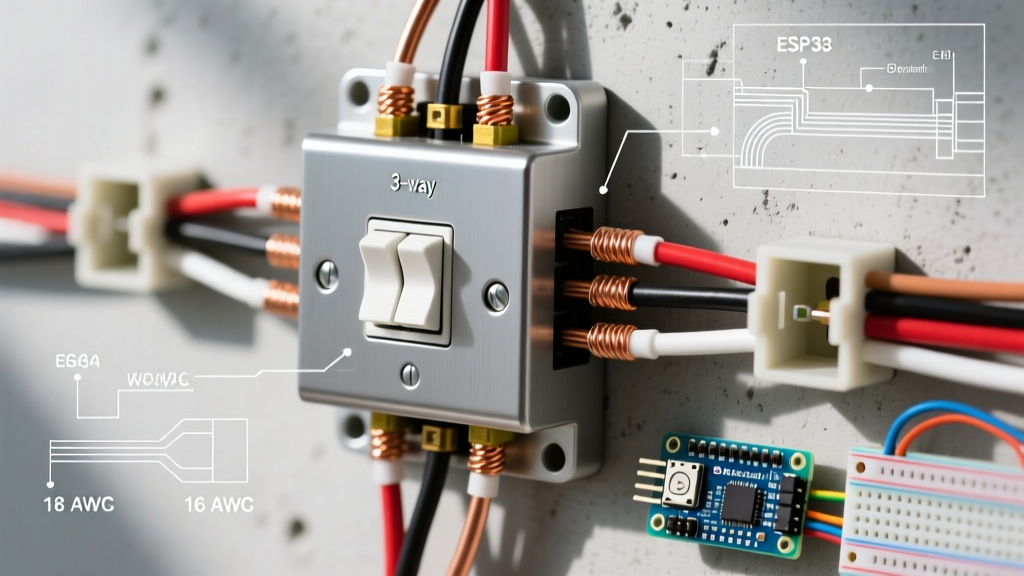
NEC Article 300.14 Compliance: You must leave at least 6 inches (150 mm) of unbroken conductor extending past the face of the box. Do not cut your wires flush with the drywall.
Termination Procedure
- Strip the Sheathing: Use a utility knife to slit the outer PVC jacket of the NM-B cable, exposing the individual wires. Strip exactly 3/4 inch of insulation from the black (hot) and white (neutral) wires using your Klein 11055 strippers.
- Form the J-Hook: Bend the exposed copper into a 'J' shape using the looping hole on your wire strippers.
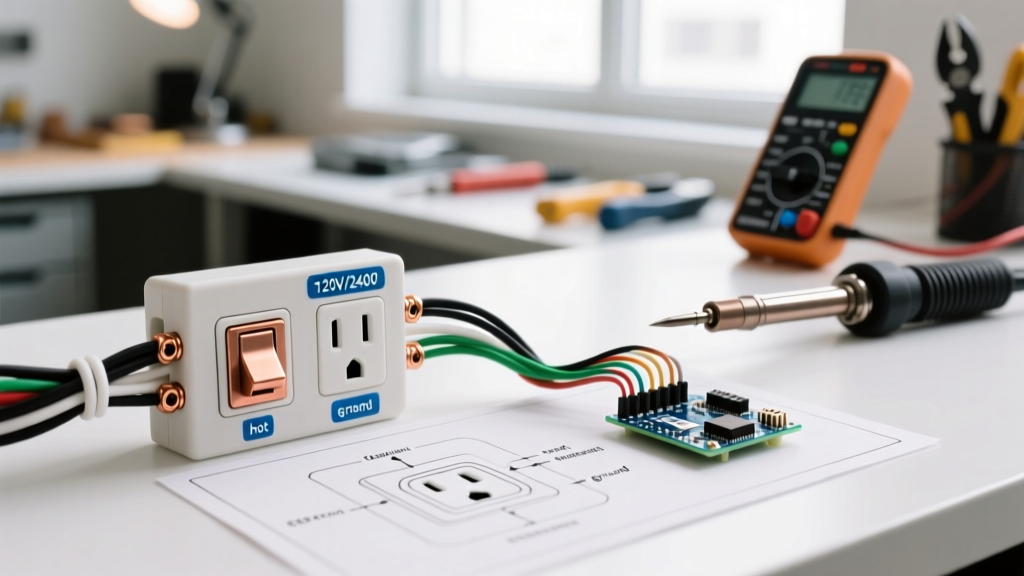
- Connect to the Receptacle: Hook the bare copper ground wire around the green grounding screw. Hook the white neutral wire around the silver screw, and the black hot wire around the brass screw. Always loop the wire clockwise so that tightening the screw pulls the loop tighter rather than pushing it out.
- Apply Correct Torque: As of recent NEC cycles, listed torque values must be followed. Use your Ideal torque screwdriver set to the manufacturer's specification (usually around 14 in-lbs for standard 15A Leviton receptacles) to secure the screws. This prevents loose connections that cause arcing.
Step 5: Secure the Box and Patch the Old Hole
Push the folded wires neatly into the back of the Carlon old-work box. Insert the box into the new drywall hole. Tighten the two mounting screws on the face of the box; this will cause the internal plastic wings to flip outward and clamp tightly against the back of the drywall. Do not overtighten, or you will crack the drywall or strip the plastic ears.
Attach the Leviton TR receptacle to the box, screw on the faceplate, and restore power at the breaker. Finally, use a California patch or a drywall repair kit to close the hole left by the old outlet. Sand, prime, and paint for a seamless finish.
Critical Beginner Mistakes to Avoid
- Backstabbing Wires: Never use the push-in 'backstab' holes on the back of a cheap receptacle. They rely on weak spring tension and are a leading cause of residential electrical fires. Always use the side screw terminals or high-quality lever-nuts if pigtailing.
- Ignoring Box Fill Limits: A standard 14-cubic-inch box can only hold a specific number of wires. If you are daisy-chaining (bringing power in and sending it out to another outlet), you must upgrade to a deeper 20-cubic-inch or 22-cubic-inch old-work box to meet NEC Article 314.16 box fill calculations.
- Mixing Gauge Wires: Never connect 14 AWG wire to a 20-amp breaker circuit. The breaker will not trip before the 14 AWG wire melts inside the wall. Match the wire gauge to the breaker size exactly.
Frequently Asked Questions
Can I move a GFCI outlet using this method?
Yes, but you must pay strict attention to the 'LINE' and 'LOAD' terminals on the back of the GFCI receptacle. The power coming from the breaker panel must connect to the LINE terminals. If you are protecting downstream outlets, the wire continuing to the next outlet connects to the LOAD terminals. Reversing these will leave the GFCI unprotected and potentially dangerous.
Do I need an electrical permit to move an outlet?
In most municipalities, altering or extending permanent wiring requires a minor electrical permit and a subsequent inspection. While many DIYers skip this for simple interior moves, failing to pull a permit can void your homeowner's insurance in the event of a fire. Always check with your local building department before starting.
What if the cable is too short to reach the new location?
NEC code strictly prohibits splicing wires inside a wall cavity without an accessible junction box. If your existing wire cannot reach the new location, you must either run an entirely new cable from the panel/previous junction point, or install a blank, cover-plated junction box in the wall (which must remain accessible, meaning you cannot drywall over it) to extend the run legally.