
Adding power to your outdoor space transforms how you use your property, enabling everything from electric lawnmowers and holiday lighting to outdoor workbenches. However, learning how to install outdoor electrical outlet in yard environments requires strict adherence to safety codes and moisture-proofing techniques. Unlike indoor receptacles, yard outlets are exposed to rain, UV radiation, soil moisture, and physical damage from landscaping equipment.
This comprehensive beginner tutorial will guide you through installing a 20-amp, weather-resistant GFCI (Ground Fault Circuit Interrupter) receptacle using direct-burial UF-B cable. We will cover material selection, National Electrical Code (NEC) requirements, trenching, and precise wiring steps to ensure a safe, long-lasting installation.
Project Overview & Material Cost Breakdown
Before breaking ground, gather the correct materials. Using indoor-rated components outside is a leading cause of electrical fires and shock hazards. Below is a precise shopping list with 2026 pricing estimates for a standard 50-foot run.
| Component | Recommended Specific Model / Type | Estimated Cost (2026) |
|---|---|---|
| GFCI Receptacle | Leviton GFNT2-W (20A Weather-Resistant) | $24.00 |
| Underground Cable | Southwire 12/2 UF-B (50 ft roll) | $48.00 |
| Weatherproof Cover | TayMac ML550 In-Use Extra-Duty Cover | $18.50 |
| Outdoor Electrical Box | Red Dot / Raco 5323-0 Cast Aluminum | $14.00 |
| Protective Conduit | Schedule 40 PVC (1/2 inch) & Sweep Elbow | $12.00 |
| Miscellaneous | Silicone caulk, PVC cement, wire nuts, connectors | $15.00 |
| Total Estimated Cost | Excludes tools and breaker upgrades | ~$131.50 |
Critical NEC Code Requirements for Yard Outlets
Outdoor electrical work is heavily regulated to prevent fatal ground faults. According to the National Fire Protection Association (NFPA), which publishes the NEC, you must follow these non-negotiable rules:
NEC Article 210.8(F): GFCI protection is mandatory for all 125-volt through 250-volt receptacles supplied by single-phase branch circuits rated 150 volts or less to ground, 50 amperes or less, installed in areas accessible to grade level. This means every yard outlet must be GFCI protected.
NEC Article 300.5(A): Direct-burial UF-B cable must be buried at a minimum depth of 18 inches. If the cable runs under a driveway or concrete patio, the depth must increase to 24 inches.
NEC Article 406.9(B): All outdoor receptacles must be equipped with an 'in-use' weatherproof cover that remains closed even when a cord is plugged in.
Crucial First Step: Always contact your local utility locating service (such as Call 811 in the United States) at least 48 hours before digging. They will mark underground gas, water, and communication lines for free.
Step 1: Planning the Route and Trenching
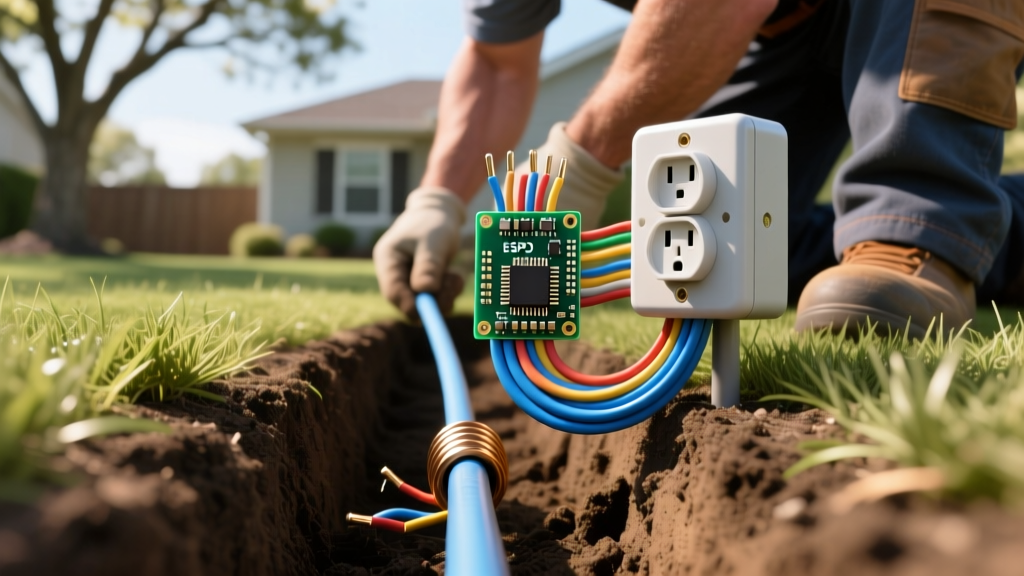
The physical labor of this project centers on digging a safe trench for your cable. Do not simply lay the cable on the grass and cover it with mulch; this violates code and creates a severe shock hazard.
- Map the Route: Plan a straight line from your indoor power source (usually a basement or crawlspace circuit breaker panel or an existing interior outlet on an exterior wall) to the desired yard location. Avoid routing under large tree root systems.
- Dig the Trench: Using a flat trenching shovel, dig a trench exactly 18 inches deep. For a 50-foot run, expect this to take 2 to 3 hours of manual labor. If you hit rocky soil, consider renting a walk-behind trencher (approx. $75/day in 2026).
- Prepare the Exit/Entry Points: Drill a 3/4-inch hole through your home's rim joist or exterior wall where the cable will exit the house. Seal this hole later with exterior-grade silicone caulk to prevent pest and moisture intrusion.
Step 2: Running the UF-B Cable and PVC Sleeves
While UF-B (Underground Feeder) cable is rated for direct soil contact, the NEC requires physical protection where the cable transitions from underground to above-ground.
Installing the PVC Sleeve
At the yard outlet location, assemble a 1/2-inch Schedule 40 PVC conduit with a sweep elbow at the bottom. The PVC must extend from 18 inches below grade up to the bottom of your outdoor electrical box (typically 12 to 18 inches above grade). Glue the fittings using clear PVC cement. This sleeve protects the cable from weed whackers and shovel strikes.
Pulling the Cable
Feed the Southwire 12/2 UF-B cable through the interior wall, out the rim joist, and down into the trench. Push the cable up through the PVC sweep elbow and into the cast aluminum outdoor box. Leave at least 8 inches of extra cable protruding from the box for wiring, and 12 inches of slack at the indoor connection point.
Pro Tip: Lay a strip of bright red or yellow caution tape in the trench about 6 inches above the buried cable. If anyone digs in that spot in the future, they will hit the tape before striking the live wire.
Step 3: Wiring the Weather-Resistant GFCI Receptacle
This is where most beginners make critical errors. The Electrical Safety Foundation International (ESFI) notes that improper GFCI wiring is a leading cause of outdoor electrical failures. Pay close attention to the LINE and LOAD terminals.
Understanding LINE vs. LOAD
- LINE Terminals: These connect to the power coming from the breaker panel. Since we are wiring a single standalone yard outlet, you will ONLY use the LINE terminals.
- LOAD Terminals: These are used to daisy-chain power to additional downstream outlets. Leave these empty and cover them with the included yellow warning tape if you are only installing one receptacle.
The Wiring Procedure
- Turn Off Power: Switch off the 20-amp breaker at the main panel. Verify the power is dead using a non-contact voltage tester (NCVT) at the indoor connection point.
- Strip the Cable: Use a cable ripper to slit the UF-B sheathing back about 3 inches. Strip exactly 3/4 inch of insulation from the black (hot), white (neutral), and bare copper (ground) wires.
- Make the Connections:
- Connect the bare copper wire to the green grounding screw on the GFCI and to the grounding screw inside the cast aluminum box using a grounding pigtail.
- Connect the white wire to the silver LINE terminal (marked 'WHITE' or 'LINE').
- Connect the black wire to the brass LINE terminal (marked 'HOT' or 'LINE').
- Secure the Receptacle: Carefully fold the wires in a Z-pattern behind the Leviton GFNT2-W device. Screw the device into the cast aluminum box. Do not overtighten, as the plastic yoke can crack.
Step 4: Mounting, Sealing, and Testing
Moisture ingress destroys outdoor outlets, causing the GFCI to trip constantly or corrode the internal contacts.
- Caulk the Box: Before attaching the TayMac ML550 in-use cover, run a thick bead of 100% silicone exterior caulk along the top and sides of the cast aluminum box where it meets the mounting post or wall. Leave the bottom uncaulked to allow any trapped condensation to drain (weep hole principle).
- Install the Cover: Secure the extra-duty in-use cover. Ensure the rubber gaskets are seated perfectly flat against the box.
- Restore Power and Test: Turn the breaker back on. The GFCI's green indicator light should illuminate. Press the 'TEST' button; the outlet should click, and the light should turn off. Press 'RESET' to restore power.
- Backfill the Trench: Once testing is successful, shovel the soil back into the trench, tamping it down every 6 inches to prevent future sinking.
Common Beginner Mistakes & Troubleshooting
Even with careful planning, beginners often encounter specific issues when installing yard outlets. Here is how to diagnose and fix them:
- The GFCI Trips Immediately After Reset: This almost always indicates moisture inside the electrical box or a ground fault in your wiring. Check that the UF-B sheathing extends fully into the box and that no bare copper is touching the metal box walls. Ensure the in-use cover gasket is fully sealed.
- Using 14-Gauge Wire on a 20-Amp Breaker: Never use 14/2 UF-B cable if your circuit breaker is rated for 20 amps. The 14-gauge wire can overheat and melt before the 20-amp breaker trips. Always match 12-gauge wire (12/2 UF-B) with 20-amp breakers for outdoor receptacles.
- Backstabbing the Receptacle: Avoid using the push-in 'backstab' holes on the back of the GFCI. The spring-loaded contacts can loosen over time due to outdoor temperature fluctuations. Always use the side screw terminals and wrap the wire clockwise around the screw for a mechanical, gas-tight connection.
- Ignoring the In-Use Cover Requirement: Standard flat weatherproof covers are illegal for new installations in accessible yard areas. If a cord is plugged in, a flat cover cannot close, exposing the prongs to rain. The extra-duty bubble cover (like the TayMac ML550) is mandatory.
Final Thoughts on Yard Electrical Safety
Learning how to install an outdoor electrical outlet in your yard is a highly rewarding DIY project that adds immense utility to your home. By strictly following NEC depth requirements, utilizing weather-resistant (WR) stamped receptacles, and ensuring all connections are protected by heavy-duty in-use covers, you will create a safe power source that lasts for decades. If at any point you feel unsure about your main panel's capacity or the routing of your UF-B cable, pause the project and consult a licensed master electrician for an inspection.