
Understanding the Code: What You Need Before You Start
Learning how to add an electrical outlet outside is one of the most high-impact DIY electrical upgrades you can tackle. Whether you are powering a smart security camera, an electric vehicle charger, or holiday lighting, an exterior receptacle adds immense utility to your home. However, outdoor environments are hostile to electrical components. Moisture, UV radiation, and extreme temperature fluctuations demand specialized materials that go far beyond standard interior wiring.
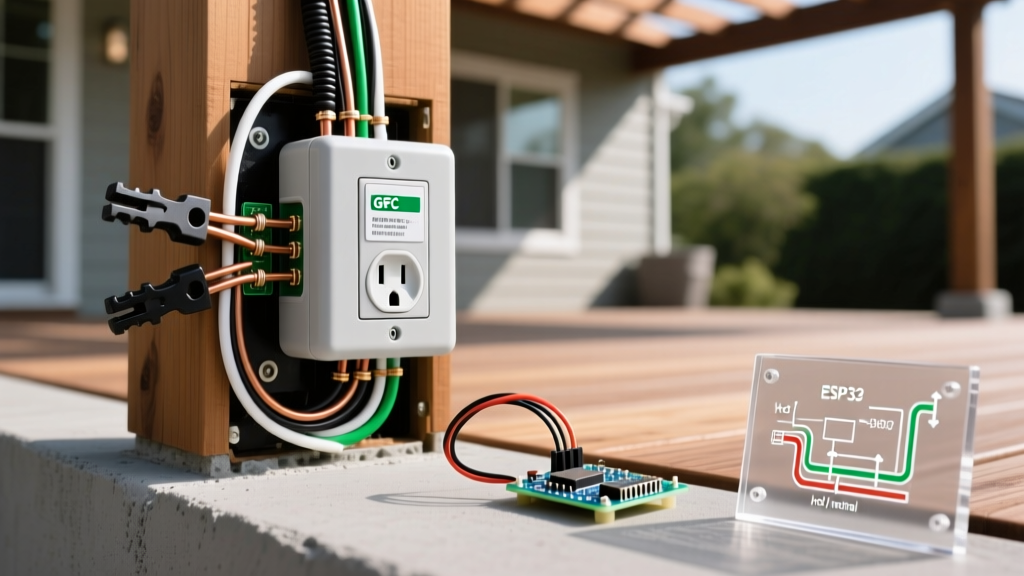
Before purchasing a single wire, you must understand the governing safety standards. According to the National Fire Protection Association (NFPA 70 / NEC), all outdoor receptacles must have Ground-Fault Circuit Interrupter (GFCI) protection per Article 210.8(A)(3). Furthermore, Article 406.9(A) mandates that outdoor outlets in damp or wet locations be enclosed in weatherproof boxes and fitted with an 'in-use' cover that remains closed even when a cord is plugged in.
Expert Insight: Never use standard interior plastic boxes or flat metal covers outdoors. Water ingress is the leading cause of GFCI nuisance tripping and premature corrosion in exterior circuits.
Phase 1: Core Electrical Components & Enclosures
The foundation of your exterior run relies on selecting the right enclosure and receptacle. Here is the exact bill of materials for a standard 1-gang, 15-amp or 20-amp outdoor installation.
The Weatherproof Box
You have two primary material choices for exterior boxes: die-cast zinc or polycarbonate. While die-cast zinc (like the Bell 5361-0, approx. $9) is rigid and traditional, it is prone to white oxidation and corrosion in coastal or high-humidity climates. For 2026 installations, we heavily recommend heavy-duty polycarbonate boxes like the TayMac 1-Gang Non-Metallic Weatherproof Box ($7-$10). Polycarbonate will not rust, provides excellent thermal insulation, and resists UV degradation.
The In-Use Cover
The NEC requires a weatherproof 'in-use' cover. The industry gold standard is the TayMac MX1000 Weatherproof In-Use Cover ($14-$18). It features a robust polycarbonate shield with a foam gasket that seals tightly against the siding, accommodating even bulky transformer plugs while keeping the elements out.
The GFCI Receptacle
Do not buy the cheapest GFCI on the shelf. Outdoor temperature swings cause cheap internal contacts to expand and contract, leading to arcing. Invest in the Leviton GFWT1-W SmartlockPro 15A GFCI (approx. $22). This model features an auto-monitoring function that conducts a self-test every three seconds to ensure ground-fault protection is always active. For more details on Leviton's weather-resistant specs, you can review their official GFWT1-W product documentation.
Phase 2: Wiring Methods — UF-B vs. Conduit
How you route power from your interior panel to the exterior wall dictates your material list. You generally have two code-compliant paths:
| Wiring Method | Best Use Case | Specific Material Recommendation | Approx. Cost (per ft) |
|---|---|---|---|
| UF-B Cable (Direct Burial) | Running through walls and trenching directly underground to a post or detached structure. | Southwire 12/2 UF-B with ground. | $1.40 - $1.80 |
| PVC Schedule 40 Conduit | Surface mounting along exterior masonry, brick, or block walls where physical damage is a risk. | 3/4-inch PVC Schedule 40 pipe with THWN-2 stranded copper wire. | $0.90 (pipe) + $0.60 (wire) |
Pro Tip: If you are fishing wire through an existing framed exterior wall from the attic or basement, standard NM-B (Romex) is perfectly legal and much easier to pull than UF-B, provided the wire remains entirely inside the conditioned wall cavity and transitions to a weatherproof box.
Phase 3: The Essential Tool Arsenal
Having the right tools prevents damaged materials and ensures a safe, code-compliant termination. Here is the specialized tool list required for this specific job:
- Klein Tools 56332 3/4-Inch Hole Saw ($28): Essential for boring clean holes through exterior siding and top plates without splintering wood or cracking vinyl.
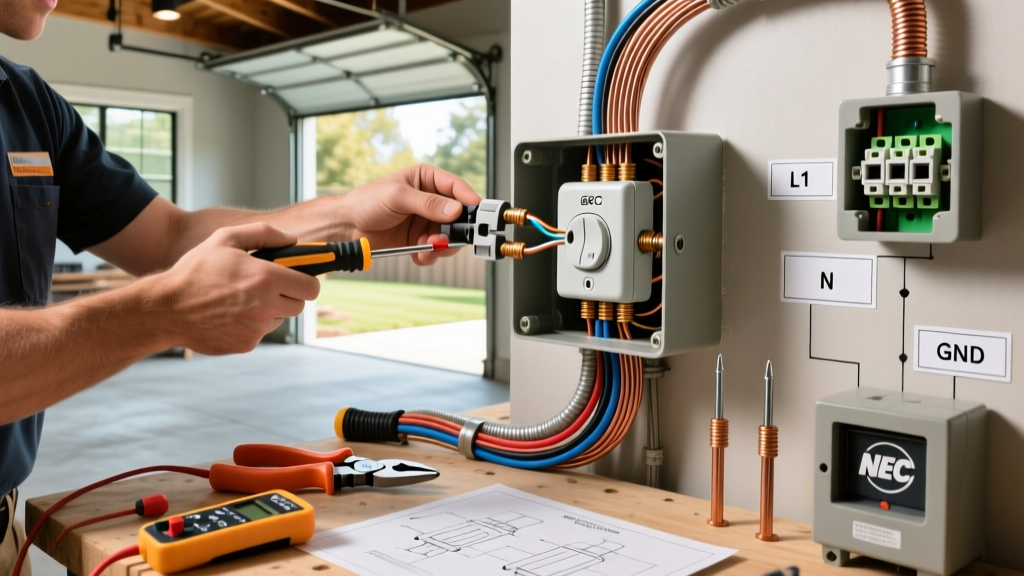
- Wheeler Engineering FAT Wrench Torque Screwdriver ($45): NEC Article 110.14(D) strictly requires that electrical connections be tightened to the manufacturer's specified torque. Hand-tightening GFCI terminal screws often results in loose connections that overheat. Set this to 14 in-lbs (the standard for most 15A Leviton receptacles).
- Southwire 50-Foot Steel Fish Tape ($35): Mandatory for pulling UF-B cable or THWN wire through finished walls or long conduit runs.
- Fluke 1AC-II Non-Contact Voltage Tester ($30): Your primary safety tool to verify the circuit is dead before touching any wires.
- Channellock 440 Wire Strippers ($25): Provides clean, precise stripping on 12 AWG and 14 AWG solid copper without nicking the conductor.
Phase 4: Fasteners, Sealants, and Weatherproofing
The gap between the electrical box and your home's exterior siding is the most vulnerable point for water intrusion and pest infiltration.
Sealants
Do not use cheap acrylic latex caulk; it will crack under UV exposure and freeze-thaw cycles. Use GE Silicone II Window & Door Sealant ($8). It remains flexible in temperatures ranging from -40°F to 150°F and will not degrade in direct sunlight. Apply a generous bead to the top and sides of the weatherproof box flange before screwing it to the siding, but leave the bottom unsealed to allow any internal condensation to weep out.
Fasteners
If mounting to wood or vinyl siding over wood studs, use 2.5-inch exterior-grade deck screws coated for corrosion resistance. If mounting to brick, stucco, or concrete block, you must use Tapcon 3/16 x 1-3/4-inch masonry screws ($12 for a box of 50) paired with a 5/32-inch carbide-tipped masonry drill bit to pre-drill the anchor holes.
Project Cost Breakdown (2026 Estimates)
Below is a realistic material cost breakdown for a standard 1-gang exterior outlet installation, assuming you are extending an existing interior circuit through a framed wall.
| Material Category | Specific Item | Estimated Cost |
|---|---|---|
| Enclosure & Cover | Polycarbonate Box + TayMac MX1000 In-Use Cover | $24.00 |
| Receptacle | Leviton GFWT1-W 15A Weather-Resistant GFCI | $22.00 |
| Wiring (25 ft run) | 12/2 NM-B (Interior) + 3 ft 12/2 UF-B (Exterior transition) | $28.00 |
| Consumables | GE Silicone II, Wire Nuts, Exterior Screws | $15.00 |
| Total Materials | Excluding specialized tools | $89.00 |
Common Failure Modes & How to Prevent Them
Even with the right materials, improper installation techniques lead to exterior outlet failures. Watch out for these specific edge cases:
- Condensation Buildup: If you seal the box perfectly on all four sides, temperature differentials between the interior wall and exterior air will cause condensation to pool inside the box, tripping the GFCI. Fix: Always leave the bottom 1/2 inch of the box flange un-caulked for weeping.
- UV Degradation of Cable Jackets: Standard NM-B (Romex) jackets will become brittle and crack within months if exposed to direct sunlight. Fix: Ensure NM-B stops inside the wall cavity, and transition to UV-rated UF-B or THWN in conduit for any exposed exterior runs.
- Overtightening Plastic Boxes: Polycarbonate boxes can warp or crack if mounting screws are driven in with a high-torque impact driver. Fix: Use a hand screwdriver or set your drill clutch to the lowest setting to snug the box flush against the siding without distorting the flange.
By sourcing the exact materials listed above and adhering strictly to NEC weatherproofing and torque requirements, your exterior receptacle will provide safe, reliable power for decades, regardless of the climate.