
The Flipper's Dilemma: Outlet Repair vs. Full Replacement
When managing a tight rehab budget, knowing exactly when to patch a circuit and when to rip out drywall for a full rewire is the difference between profit and a failed inspection. If you have ever typed house flipper how to repair electrical outlet into a search engine while standing in a gutted kitchen, you know that generic advice rarely covers the messy reality of 50-year-old wiring. In 2026, with material costs fluctuating and local inspectors strictly enforcing the latest National Electrical Code (NEC) adoptions, flipper margins rely on surgical, code-compliant repairs rather than guesswork.
This guide bypasses the basic 'turn off the breaker' fluff and dives straight into the high-stakes wiring scenarios you will actually encounter on the job site, complete with exact tool requirements, torque specifications, and material costs.
Diagnostic Triage: Read the Outlet Before You Touch It
Before unscrewing the faceplate, perform a visual and thermal triage. The Consumer Product Safety Commission (CPSC) notes that high-resistance connections at receptacles are a leading cause of residential electrical fires. Here is how to triage common flipper scenarios:
| Visual Symptom | Probable Failure Mode | Flipper Action Plan |
|---|---|---|
| Brown/black scorch marks on slots | Backstabbed push-in wiring arcing under load | Replace device, strip wire, use side-screw terminals |
| Faceplate feels warm to the touch | Loose terminal screw or aluminum wire oxidation | Check torque, apply anti-oxidant paste or use CO/ALR rated device |
| Cracked or painted-over slots | Cosmetic damage, paint blocking shutter mechanism | Swap for new Tamper-Resistant (TR) receptacle |
| Plugs fall out easily | Worn internal brass contacts | Immediate replacement (major inspection red flag) |
Scenario 1: The Burnt Backstabbed Receptacle
In flips involving homes built between the 1970s and early 2000s, you will inevitably find 'backstabbed' outlets. Builders used the push-in holes on the back of the receptacle to save seconds per installation. Over time, the internal spring contacts weaken, creating a high-resistance connection that melts the plastic housing.
The Professional Repair Protocol
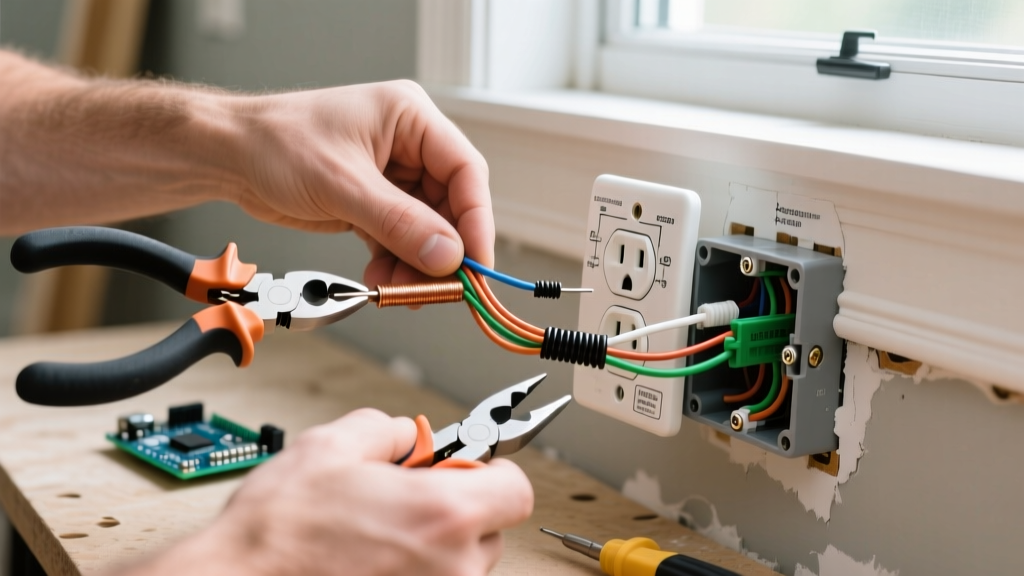
- Extract and Strip: Use a Klein Tools 11055E wire stripper to strip exactly 3/4 inch of insulation. Do not nick the copper; a nicked wire will snap when wrapped around a terminal screw.
- Form the Shepherd's Hook: Use needle-nose pliers to bend the wire into a tight hook. The hook must wrap clockwise around the terminal screw so that tightening the screw pulls the wire tighter, rather than pushing it out.
- Torque to Spec: This is where most flippers fail modern inspections. NEC 110.14(D) requires terminals to be tightened to the manufacturer's specified torque. For a standard 15A Leviton T5320-W receptacle, this is typically 12 to 14 in-lbs. Use a Wiha TorqueVario-S screwdriver to ensure compliance. Inspectors in strict jurisdictions will randomly pull faceplates to check for torque-seal marks or use their own torque gauges.
Scenario 2: The Dead Half of a Split-Wired Kitchen Outlet
You are flipping a mid-century home. The home inspector flags that the bottom half of the kitchen counter outlets is dead, while the top half works. Amateur flippers might assume a broken wire in the wall. Experienced flippers know this is likely a split-wired receptacle where the hot break-off tab was left intact during a previous DIY replacement.
Fixing the Split-Wire Error
In older homes, kitchens often utilized a single 3-wire (12/3 or 14/3 NM-B) cable to feed a duplex receptacle. The black wire feeds the top half (always hot), and the red wire feeds the bottom half (switched or on a separate breaker).
- The Fix: Remove the new receptacle. Locate the small brass fin (the break-off tab) on the hot (brass) side of the device, situated between the top and bottom terminal screws.
- The Execution: Use flush-cut diagonal pliers to snap off the brass tab. Do not break the silver tab on the neutral side unless the circuit is a multi-wire branch circuit (MWBC) with a specific code requirement for isolated neutrals, which is rare in older residential retrofits.
- Verification: Use a non-contact voltage tester (like the Fluke 1AC-II) on both the black and red wires before connecting to ensure they are reading 120V to ground.
Scenario 3: The 2-Prong to GFCI Loophole (NEC Compliance)
Flipping a 1950s bungalow means dealing with ungrounded 2-prong outlets. Rewiring the entire house to add an equipment ground can cost $8,000 to $15,000, destroying your ROI. Fortunately, the National Fire Protection Association (NFPA) NEC guidelines provide a legal, safe pathway to upgrade these outlets without pulling new cable.
Code Insight: You can replace an ungrounded 2-prong receptacle with a GFCI (Ground Fault Circuit Interrupter) receptacle. The GFCI protects the user from lethal shock by monitoring current imbalance, which does not require an equipment ground to function.
Step-by-Step GFCI Retrofit
- Install a Hubbell GFR5252W (or equivalent 15A GFCI) in the first outlet in the circuit run.
- Connect the incoming hot and neutral wires to the LINE terminals only. Leave the LOAD terminals empty if you are only protecting that single location.
- Critical Step: You must apply the 'No Equipment Ground' sticker (included in the GFCI packaging) to the faceplate. If an inspector does not see this sticker, they will fail the outlet, as downstream appliances with 3-prong plugs will falsely assume a ground is present.
- For downstream standard outlets on the same circuit, wire them to the LOAD terminals of the GFCI and apply the 'GFCI Protected' and 'No Equipment Ground' stickers to their faceplates as well.
2026 Material and Labor Cost Breakdown
Understanding the exact unit economics of outlet repair helps you price your sub-contracts and manage your hardware store runs efficiently.
| Component / Service | 2026 Avg. Cost (Retail/Pro) | Notes for Flippers |
|---|---|---|
| Standard 15A TR Duplex (e.g., Leviton T5320-W) | $1.85 - $2.50 | Buy in 10-packs. TR (Tamper-Resistant) is mandatory nationwide. |
| 15A GFCI Receptacle (e.g., Hubbell GFR5252W) | $19.00 - $26.00 | Required in kitchens, baths, garages, exteriors, and basements. |
| 20A Commercial Grade Receptacle | $4.50 - $6.00 | Use in kitchens/baths for high-draw appliances. Accepts 15A and 20A plugs. |
| Licensed Electrician (Troubleshooting/Repair) | $95 - $145 / hour | Minimum 2-hour trip charge is standard in most metro markets. |
Code Compliance & Inspection Red Flags
Nothing delays a flip closing like a failed electrical rough or final inspection. Avoid these common 2026 red flags:
1. Missing Tamper-Resistant (TR) Shutters
Standard receptacles are illegal in almost all residential applications today. Leviton and other manufacturers design TR shutters to prevent children from inserting foreign objects. If an inspector can slide a single paperclip into one slot of your newly installed outlet, you will fail. Always buy TR-rated devices.
2. Bootleg Grounds
Some DIYers wire a jumper between the neutral screw and the ground screw on a 3-prong outlet to trick a plug-in tester into reading 'Correct'. This is a lethal bootleg ground. If a neutral fault occurs upstream, the metal casing of any plugged-in appliance will become energized at 120V. Inspectors use advanced circuit tracers to detect bootleg grounds instantly.
3. Overcrowded Junction Boxes
When repairing outlets, flippers often shove excess wire into the back of the box. NEC Article 314 dictates strict box fill calculations. A standard single-gang box (18 cubic inches) can comfortably hold one 14/2 cable entering, one 14/2 leaving, and the receptacle. If you are splicing three cables in a single-gang box, you must upgrade to a deep box (22.5 cubic inches) or the inspector will force you to rip it out.
Frequently Asked Questions (FAQ)
Can I use 14-gauge wire on a 20-amp breaker?
No. 14 AWG wire is strictly rated for 15-amp circuits. If you find 14-gauge wire on a 20-amp breaker during a flip, the breaker must be swapped to a 15-amp immediately to prevent a fire hazard. 12 AWG wire is required for 20-amp circuits.
Do I need an AFCI/GFCI combo outlet for a bedroom?
Modern code requires Arc-Fault Circuit Interrupter (AFCI) protection for bedrooms and living spaces, and GFCI protection for wet areas. If your panel does not have AFCI breakers, you can install a Dual Function (AFCI/GFCI) receptacle at the first outlet in the bedroom circuit to protect the entire downstream run and satisfy the inspector.
How do I repair an outlet where the drywall is cut too large?
Do not use caulk to fill the gap. Use an oversized 'goof ring' (faceplate extender) or install a 2-gang mud ring and faceplate to cover the bad drywall cut cleanly. This looks professional and passes inspection.