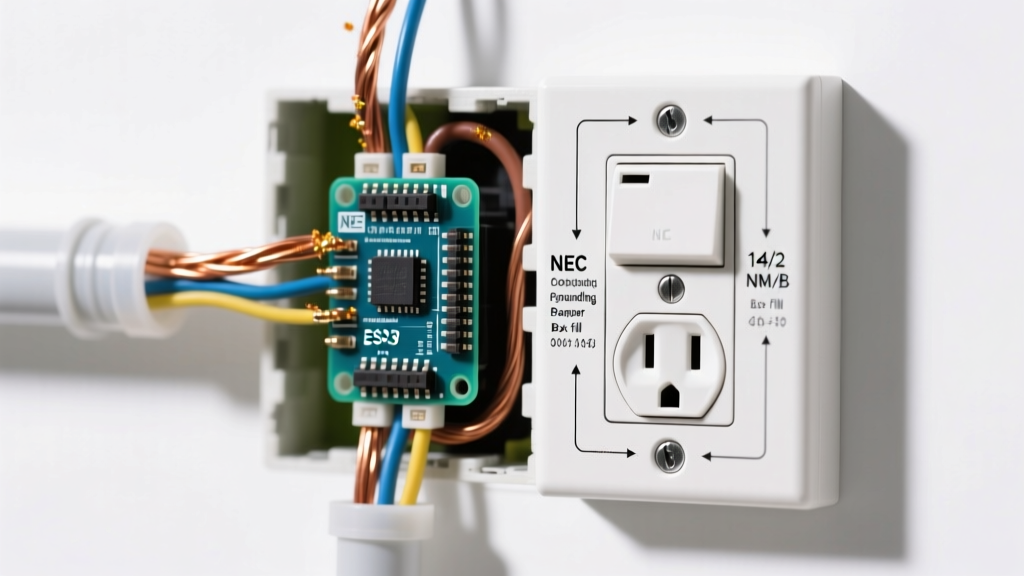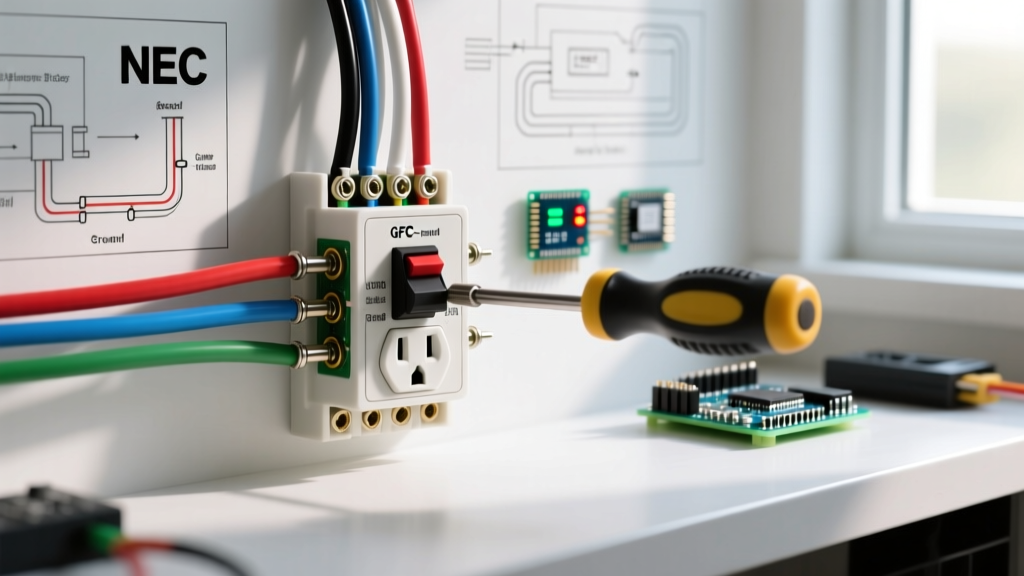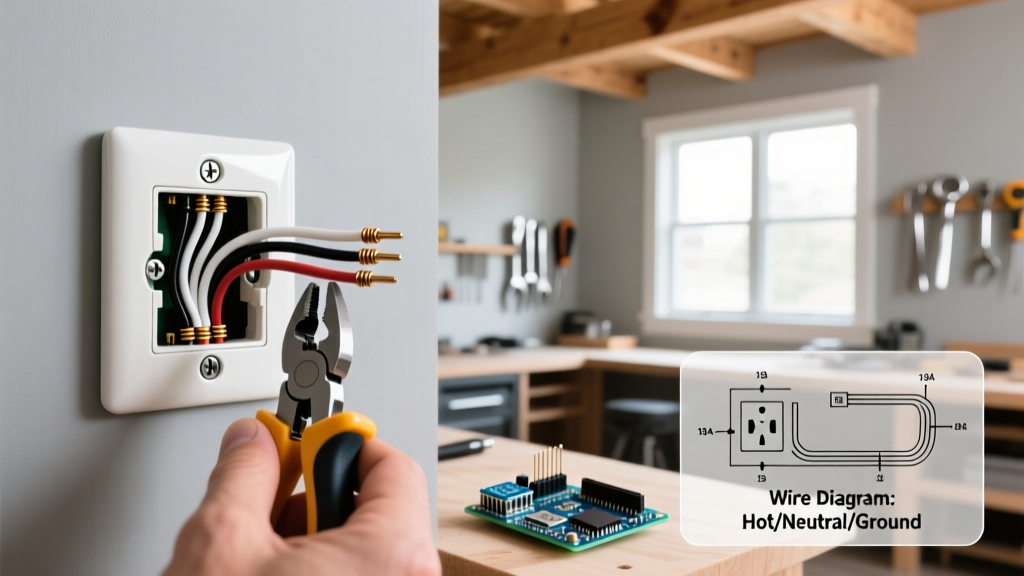

Why Upgrade Your Electrical Outlets in 2026?
If you are asking, "how do i install an electrical outlet," you are likely dealing with a cracked faceplate, a loose-fitting plug, or an outdated two-prong receptacle. Upgrading your outlets is not just an aesthetic choice; it is a critical safety intervention. According to the Consumer Product Safety Commission (CPSC), loose or damaged receptacles are a leading cause of residential electrical arcing and subsequent fires.
Furthermore, modern electrical codes have evolved. The National Fire Protection Association (NFPA) mandates that all 15A and 20A, 125V and 250V receptacles installed in dwelling units must be Tamper-Resistant (TR). If you are replacing an old standard duplex outlet, you must upgrade to a TR model to meet current safety standards and pass local inspections.
The Professional Tool & Material Manifest
Skip the cheap, uninsulated tools. When working inside a confined electrical box, precision and safety are paramount. Here is the exact loadout required for a professional-grade outlet replacement:
- Voltage Tester: Klein Tools NCVT-2 (Dual-range non-contact voltage tester) or a Fluke 1AC-II.
- Wire Strippers: Klein Tools 11055 (Precision strips 14-10 AWG solid copper without nicking the conductor).
- Torque Screwdriver: Wiha 320P Insulated Torque Driver. Crucial for NEC 110.14(D) compliance.
- Receptacle: Leviton T5325-W (15A Tamper-Resistant Duplex) or Leviton T5262-W (15A TR with built-in USB-C/A ports).
- Wire Connectors: Ideal Wire-Nuts (Tan for 14 AWG, Yellow for 12 AWG pigtails).
Terminal Wiring Methods: Which Should You Use?
Before we begin the physical installation, you must understand how to terminate the wires. Modern receptacles offer up to three different connection methods. Not all are created equal.
| Method | Mechanism | Reliability | Expert Verdict |
|---|---|---|---|
| Push-In (Backstab) | Spring-loaded brass clip grips the wire. | Low | Avoid. Prone to thermal expansion/contraction failures and arcing over time. |
| Side-Wire (Shepherd's Hook) | Wire wrapped clockwise around a brass screw. | Medium-High | Acceptable. Standard DIY method, but wire can slip if not hooked perfectly. |
| Back-Wire (Clamp) | Wire inserted straight into a hole, clamped by a screw-driven plate. | Highest | Best Practice. Maximizes wire contact surface and prevents loose connections. |
Step-by-Step: How Do I Install an Electrical Outlet?
Follow this exact sequence to ensure a safe, code-compliant installation.
Step 1: De-Energize and Verify
Locate the correct circuit breaker in your main panel and switch it to the OFF position. Never rely solely on a wall switch. Insert your Klein NCVT-2 into the slots of the existing outlet. The tester must remain completely dark and silent. Test the tester on a known live circuit immediately afterward to confirm the battery and sensor are functioning.
Step 2: Extract and Inspect the Existing Wiring
Remove the faceplate and the two mounting screws. Gently pull the old receptacle out of the box. Inspect the copper conductors. If the wire insulation is brittle, cracked, or scorched, you must cut back the damaged section and splice in a new pigtail using a wire nut. Never wrap electrical tape over damaged wire insulation inside a junction box.
Step 3: Strip and Prep the Conductors
Most modern Leviton and Hubbell receptacles feature a physical strip gauge molded into the back of the yoke. Typically, this requires exactly 5/8" of bare copper. Use your Klein 11055 strippers on the 14 AWG or 12 AWG hole. Ensure you do not nick the copper; a nicked wire creates a localized hot spot that can lead to thermal failure under load.
Step 4: Terminate the Connections
Always wire in this specific order to prevent accidental shorts during the process:
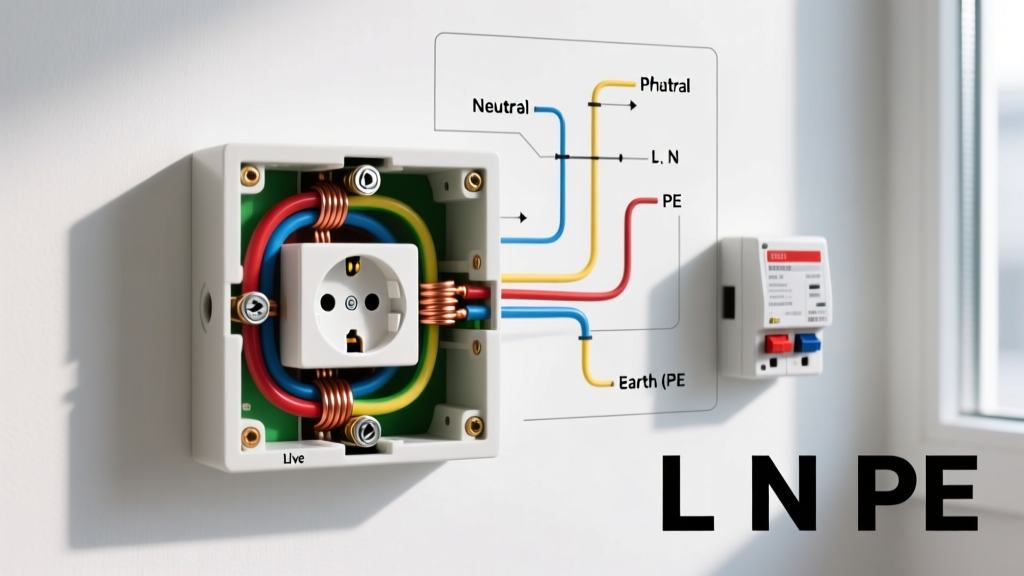
- Ground (Bare/Green): Connect to the green grounding screw at the bottom of the yoke.
- Neutral (White): Connect to the silver terminal. Ensure the white wire is strictly on the silver side.
- Hot (Black/Red): Connect to the brass terminal.
Pro Tip: If your receptacle supports back-wire clamps, insert the straight-stripped wire into the rear hole and tighten the screw. This is vastly superior to the side-wrap method for long-term reliability.
Step 5: Torque to Specification
This is the step 95% of DIYers miss. Recent updates to the National Electrical Code (NEC 110.14(D)) require that terminals be tightened to the manufacturer's specified torque. For standard 15A and 20A Leviton receptacles, the brass and silver terminal screws require 14 in-lbs of torque. Use your Wiha insulated torque screwdriver to click at exactly 14 in-lbs. Under-torquing causes arcing; over-torquing strips the brass threads or crushes the copper.
Step 6: Box Makeup and Device Seating
Fold the wires into the box using an "accordion" or "Z-fold" method. Push the ground wire deep into the back corners first, followed by the neutral bundle, and finally the hot wire. This prevents the bare ground wire from resting against the hot brass terminals. Seat the receptacle, tighten the mounting screws, and install a new, unbreakable nylon faceplate (such as the Leviton 80401-W).
Advanced Edge Cases & Troubleshooting
The Multi-Wire Branch Circuit (MWBC) Warning
If you open the box and find two hot wires (one black, one red) connected to the top and bottom brass terminals of the old outlet, with a broken brass fin, you have an MWBC. This means two separate breakers share a single neutral wire. Warning: If you replace this outlet without maintaining the split-circuit configuration, or if the two breakers are not on opposite phases with a factory handle-tie, you can overload the shared neutral and start a fire inside the walls. If you are unsure how to handle an MWBC, hire a licensed electrician.
Dealing with Short Wires
If the existing wires do not extend at least 3 inches past the front edge of the electrical box (NEC 300.14), you must add pigtails. Strip a 6-inch piece of matching gauge wire, join it to the short box wire using a yellow Ideal Wire-Nut (for 12 AWG) or tan (for 14 AWG), and connect the new pigtail to the receptacle.
Upgrading to USB or Smart Outlets
When upgrading to a USB-integrated outlet (like the Leviton T5262-W), be aware that the physical body of the device is significantly deeper than a standard duplex receptacle. If you are working in a shallow 2.5-inch deep "pancake" box or an older plaster-ring setup, the USB electronics will not fit. You will need to upgrade the electrical box to a deep 3.5-inch cubic capacity box before installation.
Frequently Asked Questions
Do I need a permit to replace an electrical outlet?
In most jurisdictions, a like-for-like replacement of a standard receptacle does not require a permit. However, if you are upgrading a two-prong ungrounded outlet to a three-prong GFCI (to meet code without running a new ground wire), or adding a new outlet location entirely, a permit and inspection are usually required.
Can I install a 20A outlet on a 15A circuit?
No. The NEC prohibits installing a 20A receptacle on a 15A breaker circuit. The receptacle rating must not exceed the circuit rating. However, you can (and often must) install 15A receptacles on a 20A circuit, provided there is more than one receptacle on that circuit.
Why does my new outlet spark when I plug in an appliance?
A tiny blue spark when plugging in a high-draw appliance (like a vacuum or space heater) is normal inductive/capacitive inrush current. However, if the spark is large, orange, or accompanied by a popping sound, the internal contacts of the receptacle may be defective, or the plug prongs are damaged. Replace the receptacle immediately and verify your terminal torque.
For more detailed safety standards regarding residential wiring and tamper-resistant mechanisms, always refer to the latest guidelines published by Underwriters Laboratories (UL) and your local authority having jurisdiction (AHJ).