
Mastering the Basics: How to Put in an Outside Electrical Outlet
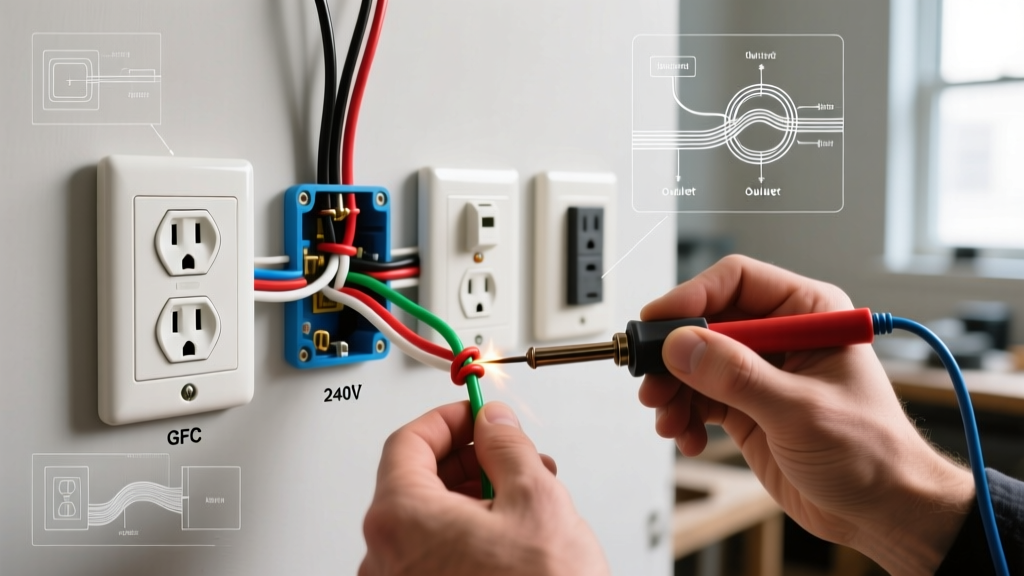
Adding exterior power transforms your outdoor space, enabling everything from holiday lighting and electric pressure washers to outdoor entertainment setups. If you have been wondering how to put in an outside electrical outlet, you are looking at a highly rewarding DIY project. However, unlike interior receptacles, outdoor installations must battle moisture, UV radiation, and extreme temperature fluctuations. This means the National Electrical Code (NEC) mandates specific weather-resistant components and ground-fault protection to keep you safe.
In this comprehensive beginner tutorial, we will walk through the exact materials, code requirements, and step-by-step wiring procedures needed to install a durable, code-compliant exterior receptacle. By the end of this guide, you will have the confidence to run power safely through your exterior walls.
Essential Tools and Materials for Exterior Installations
Do not use standard indoor components for an outdoor install. The 2023 and upcoming 2026 NEC cycles are incredibly strict regarding exterior moisture ingress. Here is the exact bill of materials you will need, along with current 2026 pricing estimates:
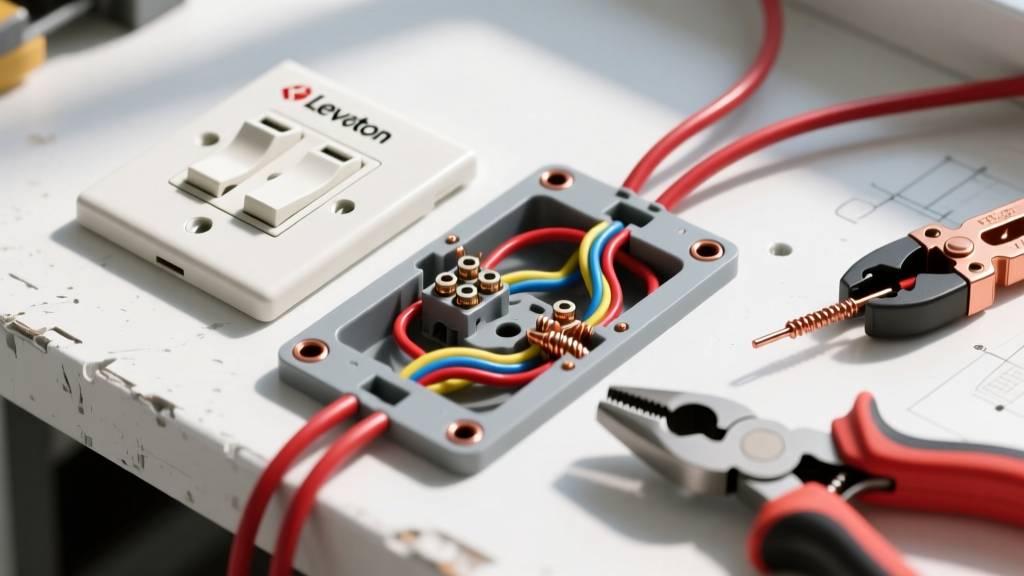
- Weather-Resistant GFCI Receptacle: Leviton 20-Amp 125-Volt SmartlockPro Tamper Resistant Weather Resistant GFCI (Model R92-GFNT2-0KW). Look for the 'WR' and 'TR' stamps on the face. Cost: ~$24.
- Extra-Duty In-Use Cover: Taymac MX1000 1-Gang Extra Duty Weatherproof Cover. This allows you to plug in cords while keeping the lid closed. Cost: ~$16.
- Weatherproof Electrical Box: Carlon B618PVC 1-Gang Non-Metallic Weatherproof Bell Box. Cost: ~$6.
- Wiring: 12/2 UF-B (Underground Feeder) cable for direct burial, or 12 AWG THWN-2 wires inside 1/2-inch PVC Schedule 40 conduit. Cost: ~$1.50 per foot.
- Sealant: GE Silicone II Window and Door Caulk (crucial for preventing water intrusion behind your siding). Cost: ~$8.
- Tools: Non-contact voltage tester (Klein NCVT-2), wire strippers, drill with a 3/4-inch spade bit or auger bit, and a calibrated torque screwdriver.
Understanding the Code: What the NEC Requires
Before you drill a single hole, you must understand the rules governing outdoor power. The National Fire Protection Association (NFPA) publishes the NEC, which serves as the benchmark for safe electrical design and installation.
Critical Code Requirements for Outdoor Outlets:
- GFCI Protection (NEC 210.8(A)(3)): All 15A and 20A, 125V outdoor receptacles must have Ground-Fault Circuit Interrupter (GFCI) protection. This prevents lethal shocks if water bridges the connection.
- Weather-Resistant Receptacles (NEC 406.9(B)): Standard indoor GFCIs will corrode and fail outside. You must use a WR-rated receptacle featuring nickel-plated brass and UV-resistant plastics.
- Extra-Duty Covers (NEC 406.9(B)(1)): An 'in-use' bubble cover is mandatory in damp or wet locations so the outlet remains protected even when a cord is plugged in.
For a deeper dive into outdoor electrical hazards and safety protocols, the Electrical Safety Foundation International (ESFI) provides excellent resources on preventing outdoor electrocution and managing extension cord risks.
Step-by-Step Installation Guide
Step 1: Power Down and Verify
Locate your main electrical panel and turn off the breaker for the circuit you plan to tap into. Never assume a wire is dead. Use your Klein NCVT-2 non-contact voltage tester on an indoor outlet connected to the same breaker to verify the power is completely off. For this project, we recommend tapping into a living room or bedroom circuit. Do not tap into a kitchen, bathroom, or laundry circuit, as the NEC prohibits extending these dedicated small-appliance and bathroom branch circuits outdoors.
Step 2: Drill Through the Exterior Wall
Choose a location on your exterior wall that is easily accessible but sheltered from direct roof runoff. From the inside, drill a small pilot hole through the drywall and siding. Go outside and use a 3/4-inch auger bit to drill the final hole. Angle the drill slightly downward (about 5 degrees) toward the outside. This creates a natural drip slope, ensuring that any condensation inside the wall cavity drains outward rather than pooling inside your home.
Step 3: Mount the Weatherproof Bell Box
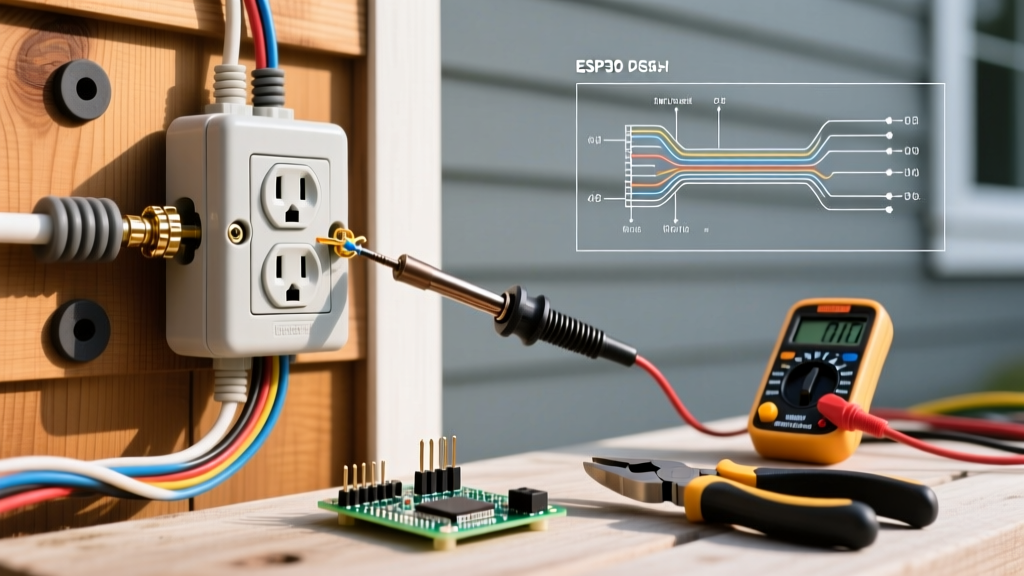
Feed your 12/2 UF-B cable or PVC conduit through the back hub of the Carlon B618PVC bell box. Apply a generous, continuous bead of GE Silicone II around the perimeter of the box's flange. Press the box firmly against the siding and secure it using the provided stainless-steel mounting screws. Pro Tip: Do not caulk the bottom edge of the box or the bottom weep holes. If water gets inside the box, it must have a path to drain out.
Step 4: Wire the GFCI Receptacle (The 'Line' vs. 'Load' Rule)
This is where most beginners make a critical error. Look at the back of your Leviton GFCI. You will see two sets of terminals: LINE and LOAD.
- LINE: This is where the incoming power from your breaker panel connects.
- LOAD: This is only used if you are sending power downstream to protect additional outlets.
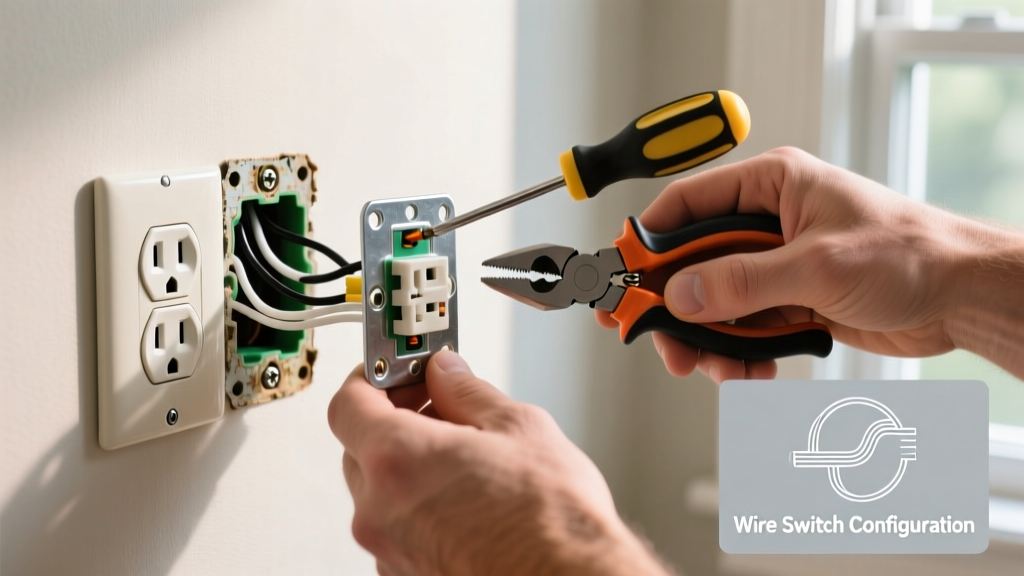
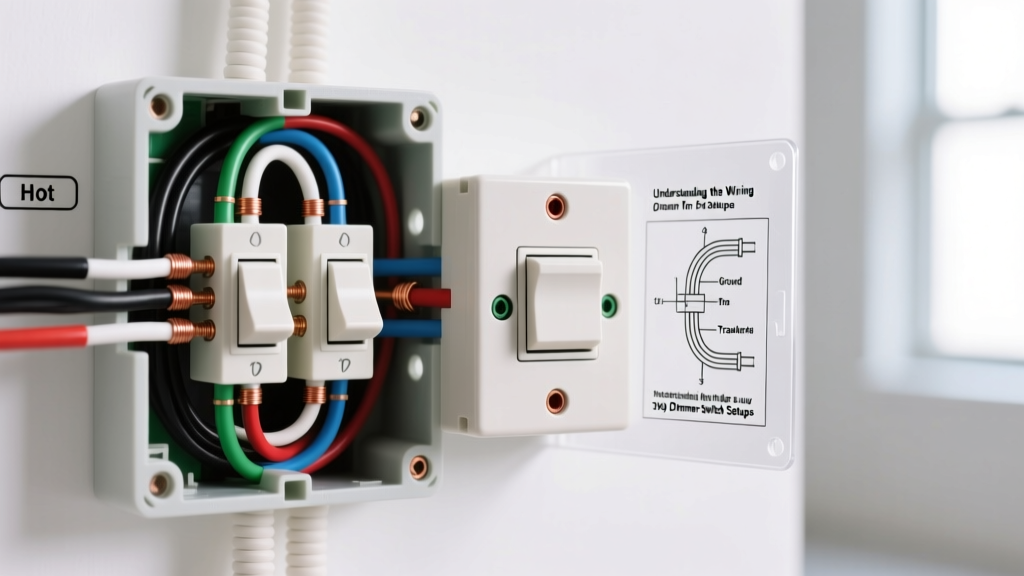
Since this is a single outdoor outlet, you will only use the LINE terminals. Connect the bare copper ground wire to the green grounding screw. Connect the white neutral wire to the silver LINE terminal, and the black hot wire to the brass LINE terminal. Strip exactly 5/8-inch of insulation from the wires. According to NEC 110.14(D), you must use a torque screwdriver to tighten the terminal screws to the manufacturer's specification (usually 14 to 16 inch-pounds for 20A devices) to prevent arcing and thermal failure.
Step 5: Seal, Cover, and Test
Carefully fold the wires into the back of the bell box, ensuring no bare ground wires are touching the brass or silver terminals. Mount the GFCI faceplate, then attach the Taymac MX1000 in-use bubble cover. Restore power at the breaker panel. Press the 'TEST' button on the GFCI; it should click and cut power. Press 'RESET' to restore it. Plug in a heavy-duty outdoor extension cord and a work light to verify the circuit is functioning under load.
Wiring Method Comparison: Conduit vs. Direct Burial
If your outdoor outlet is located on a detached structure like a shed or a freestanding pergola, you will need to run wire underground. Here is a comparison of the two primary methods to help you decide which is best for your property.
| Feature | 1/2' PVC Conduit with THWN-2 Wire | 12/2 UF-B Direct Burial Cable |
|---|---|---|
| Minimum Burial Depth | 18 inches (Standard) | 24 inches (Standard) / 12 inches (if GFCI protected upstream & limited to 120V/20A) |
| Durability | Excellent (Protects against shovels and roots) | Good (Vulnerable to deep landscaping aeration) |
| Installation Effort | High (Requires gluing fittings, pulling wire) | Low (Lay cable directly in trench) |
| Cost per Foot | ~$2.80 (Conduit + Wire + Fittings) | ~$1.60 (Cable only) |
| Best Use Case | Rocky soil, heavy landscaping areas, long runs | Soft soil, simple garden paths, short runs |
Troubleshooting Common Beginner Mistakes
Even with careful planning, outdoor electrical installations can present unique challenges. Here is how to diagnose the most frequent failure modes:
The GFCI Trips Immediately Upon Reset
If the GFCI refuses to hold a reset, moisture is likely the culprit. Check the top and side hubs of your bell box. If you used a knockout hole for your cable entry but did not install a watertight conduit connector and locknut, rain or sprinkler water has entered the box. Dry the box completely, install a proper threaded hub connector, and seal the threads with silicone.
The Outlet Has Power, but Downstream Outlets Are Dead
If you accidentally wired your incoming power to the LOAD terminals instead of the LINE terminals, the GFCI will not function correctly, and it may fail to pass power. Remove the cover, verify your incoming feed is on the LINE terminals, and ensure the load-side tape (usually yellow or red) provided by the manufacturer over the LOAD screws has not been disturbed.
Nuisance Tripping During Rainstorms
While GFCIs are designed to trip when they detect a ground fault, extreme humidity can sometimes cause 'nuisance tripping' on older or non-WR rated devices. Ensure you purchased a modern SmartlockPro or equivalent self-testing WR GFCI. Furthermore, verify that your in-use bubble cover is fully seated and that the foam gasket inside the cover is not pinched or degraded. For premium protection, consider upgrading to a Leviton SmartlockPro GFCI, which features advanced internal shielding against moisture-induced false trips.
Final Thoughts on Outdoor Electrical Safety
Learning how to put in an outside electrical outlet is a fantastic way to increase the utility of your home's exterior. By strictly adhering to NEC requirements, utilizing WR-rated components, and prioritizing watertight seals, you will create a safe, reliable power source that lasts for decades. Always remember that if your home's wiring is aluminum, or if you encounter a circuit without a proper equipment grounding conductor, you must consult a licensed electrician to ensure your installation meets local amendments and safety standards.