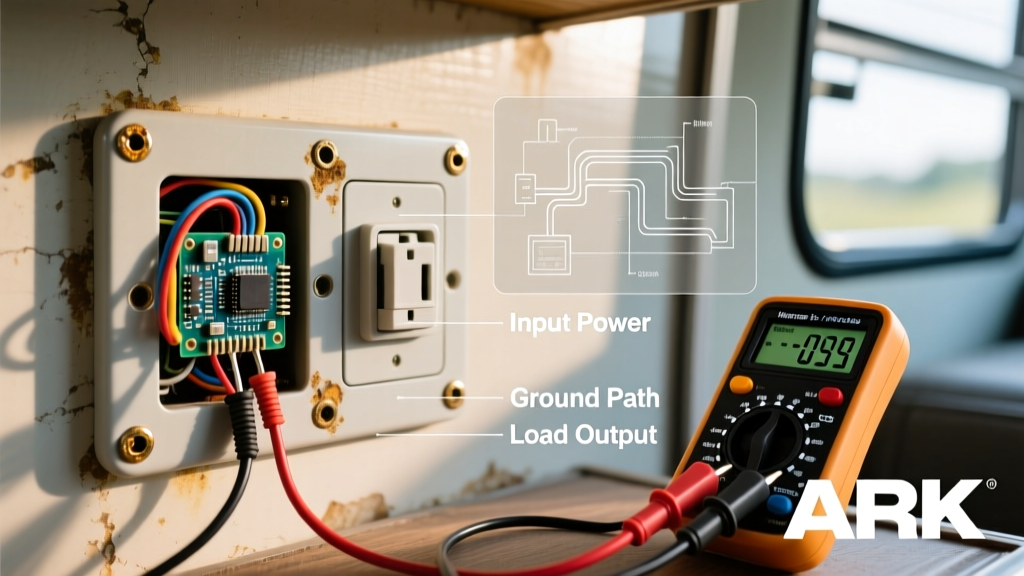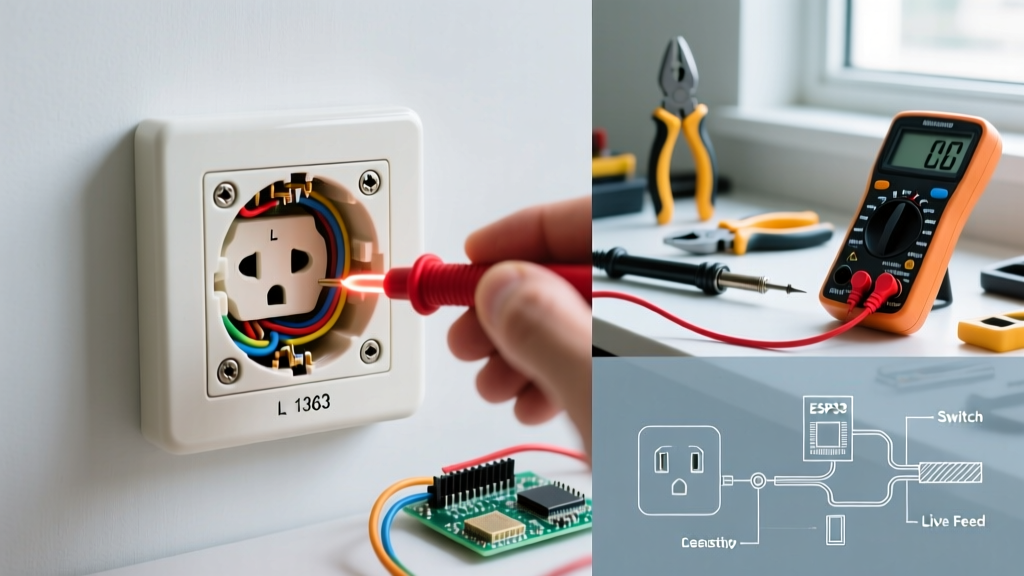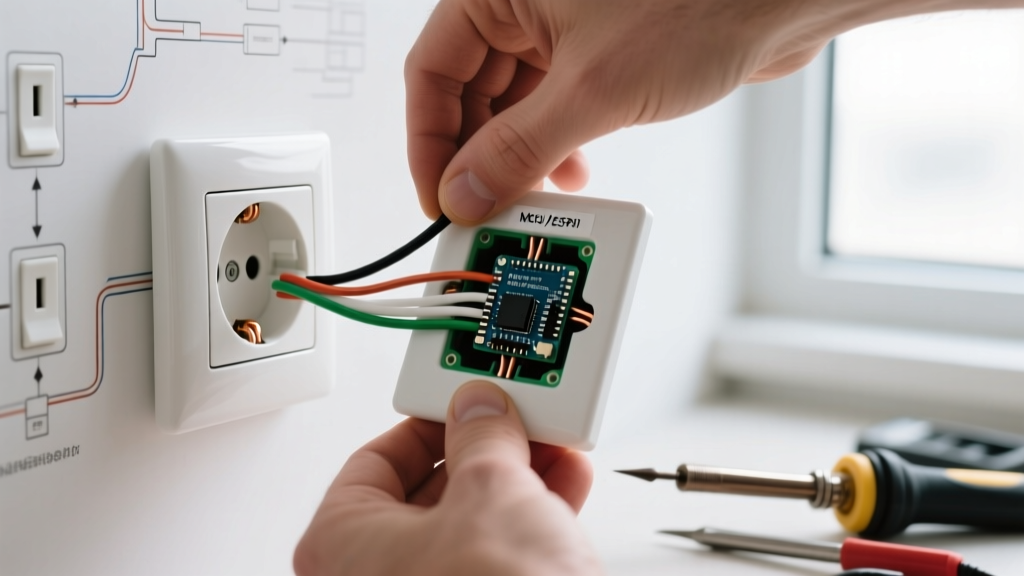

Why Proper Removal Matters for Modern Upgrades
Upgrading your home's electrical infrastructure in 2026 often means swapping out aging, standard 15-amp duplex receptacles for modern alternatives. Whether you are installing a high-wattage USB-C PD 3.1 outlet (like the Leviton T5635), a Wi-Fi enabled smart receptacle, or a tamper-resistant GFCI, the first and most critical phase of the project is learning how to remove an electrical outlet without damaging the junction box, the drywall, or the existing branch circuit wiring.
Modern smart outlets and USB-C receptacles feature significantly deeper chassis bodies than standard receptacles to accommodate internal transformers and Wi-Fi radios. If you aggressively yank an old outlet from the wall without properly releasing the wires, you risk stretching the copper conductors, cracking the wire insulation, or breaking the internal spring mechanisms of backstabbed connections. This guide provides a meticulous, electrician-grade approach to safely extracting your old receptacle and prepping the box for your upgrade.
Essential Tools for the Job
Before touching a single screw, gather the proper insulated tools. Using the wrong equipment is a leading cause of terminal damage and electrical shock.
- Non-Contact Voltage Tester (NCVT): A dual-range tester like the Klein Tools NCVT-2 (approx. $25) is mandatory. It detects both standard 120V and low-voltage wiring.
- Insulated Screwdrivers: Use a #2 Phillips and a 1/4-inch slotted driver rated for 1000V, such as the Wiha 32003 Insulated Soft Grip set (approx. $15).
- Wire Strippers/Cutters: The Klein Tools 11057 (approx. $28) features a needle-nose profile and precise shear holes for 12 and 14 AWG solid copper wire.
- Utility Knife: For scoring paint-sealed faceplates to prevent drywall tear-out.
- Headlamp or Drop Light: Junction boxes are inherently dark; adequate lighting is crucial for identifying wire colors and terminal configurations.
Step-by-Step: How to Remove an Electrical Outlet
Follow this systematic procedure to ensure the branch circuit remains intact and ready for your new device.
Step 1: Lockout, Tagout, and Verify
Head to your main electrical panel and switch off the breaker controlling the outlet. To align with OSHA's Control of Hazardous Energy (LOTO) best practices, place a piece of electrical tape over the breaker handle to prevent someone from accidentally flipping it back on while you are working. Return to the outlet and use your NCVT to test both the top and bottom receptacles, as well as the screws on the side of the yoke. Never assume the power is off based solely on the breaker label.
Step 2: Score the Faceplate and Remove
Over years of painting, the plastic faceplate often fuses to the wall. Take your utility knife and lightly score the perimeter of the faceplate. This breaks the paint seal. Remove the single center 6-32 machine screw holding the plate, and gently pry it off. If you skip the scoring step, you risk pulling the paper facing right off your drywall.
Step 3: Extract the Yoke from the Junction Box
You will see two long machine screws (typically 6-32 thread, 1.5 inches long) securing the metal or plastic yoke (the strap) to the threaded ears of the junction box. Unscrew both the top and bottom screws. Once free, gently pull the receptacle straight out of the box by grasping the top and bottom of the yoke. Do not pull by the wires.
Step 4: Identify the Wiring Configuration
Before disconnecting anything, take a photo of the wiring with your smartphone. Note which wires are connected to the brass (hot) screws, which are on the silver (neutral) screws, and where the bare/green ground wire is attached. Pay special attention to whether the outlet is side-wired (wires looped around terminal screws) or backstabbed (wires pushed into quick-insert holes on the rear).
Step 5: Disconnect the Wires
- For Side-Wired Connections: Simply loosen the terminal screws counter-clockwise until the wire loops release. If the wire is heavily oxidized or kinked, use your wire strippers to gently straighten the hook.
- For Backstabbed Connections: Never just pull the wire out. Backstabbed outlets use internal brass spring clips to grip the wire. Look for the small rectangular release slots located directly next to the wire insertion holes. Insert a small flathead screwdriver or an 18-gauge piece of solid wire into the release slot to depress the spring, then pull the wire out smoothly.
Troubleshooting Common Removal Edge Cases
Electrical work in older homes rarely goes exactly by the book. Here is how to handle common friction points when removing an old receptacle.
| Issue Encountered | Root Cause | Professional Solution |
|---|---|---|
| Yoke is stuck to the wall | Multiple layers of latex paint sealing the plaster ears to the drywall. | Score deeply around the yoke with a utility knife. Gently rock the receptacle side-to-side to break the bond before pulling. |
| Backstabbed wire will not release | Internal spring clip is jammed or wire was inserted with a burr. | Do not yank. Use a precision pick tool in the release slot. If it fails, cut the wire flush to the back of the outlet, strip a fresh 3/4-inch section, and prep it for the new outlet's side screws. |
| Stripped 6-32 yoke screw | Overtightening during previous installation or drywall mud in the threads. | Use a manual impact driver with a #2 Phillips bit. If completely stripped, use diagonal cutting pliers to carefully snip the yoke strap (only after verifying power is OFF). |
| Red and Black wires on same outlet | Multi-Wire Branch Circuit (MWBC) or split-receptacle for a switched half-hot setup. | DANGER: Turn off the double-pole breaker. If you only turn off one half of an MWBC, the shared neutral can carry lethal return current from the other phase. |
Prepping the Junction Box for Your New Receptacle
Once the old outlet is completely removed and the wires are floating freely, you must evaluate the junction box to ensure it can handle your upgrade. According to the National Fire Protection Association (NFPA), adherence to the National Electrical Code (NEC) regarding box fill is critical to prevent overheating and fire hazards.
Calculate Box Fill Capacity
Modern smart outlets and GFCI receptacles are bulky. The NEC requires specific cubic inch allowances per wire based on gauge:
- 14 AWG Wire: Requires 2.0 cubic inches per conductor.
- 12 AWG Wire: Requires 2.25 cubic inches per conductor.
A standard 'single-gang' plastic nail-on box found in many homes only offers 14 to 18 cubic inches of space. If you are installing a deep smart receptacle with multiple 12 AWG wires and ground pigtails, you may exceed the box fill limit. If the box is overcrowded, you must upgrade to a 'deep' junction box (typically 22.5 cubic inches or larger) before installing the new device.
Inspect and Prep the Ground
Older receptacles often rely on the metal box or the yoke screw for grounding, which is insufficient for modern 2026 smart home devices that require a dedicated equipment grounding conductor (EGC). If your box is metal, ensure a green grounding pigtail is run from the box's grounding screw to your wire nut cluster. If your box is plastic, verify that the bare copper ground wire is at least 6 inches long. If it was clipped short during the previous outlet's backstab installation, you will need to attach a wire extension using a proper wire nut or a Wago 221 lever connector.
Frequently Asked Questions
Can I remove an electrical outlet and just cap the wires?
Yes, but the NEC strictly prohibits leaving capped, live wires hidden inside a closed wall. If you are removing the outlet permanently, you must cap the hot, neutral, and ground wires with wire nuts, tuck them into the box, and install a solid, screw-on blank junction box cover plate. The box must remain permanently accessible.
What if I break a wire while removing the old outlet?
If a wire snaps off flush with the insulation sheath inside the wall, you cannot simply strip it further. You will need to use an 'old work' box extender or, in worst-case scenarios, open the drywall to access the cable, cut it back, and splice in a new length of NM-B (Romex) cable using a junction box.
Do I need to remove the outlet to test for voltage?
No. A non-contact voltage tester can detect the electromagnetic field of a live hot wire through the plastic faceplate and the receptacle slots. Always test before removing the faceplate, and test again at the bare wires once the outlet is extracted to guarantee safety.
Expert Tip: When upgrading to a USB-C outlet, ensure you are connecting it to a circuit that can handle the continuous load. A 65W USB-C PD outlet pulling maximum power continuously can generate significant heat; ensure your junction box has adequate ventilation space and is not packed tightly with insulation.