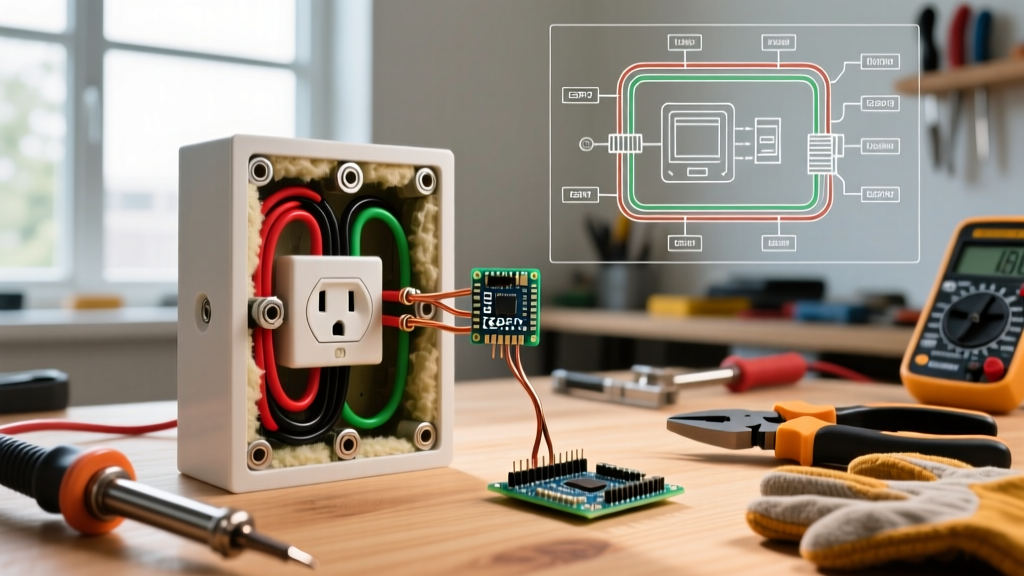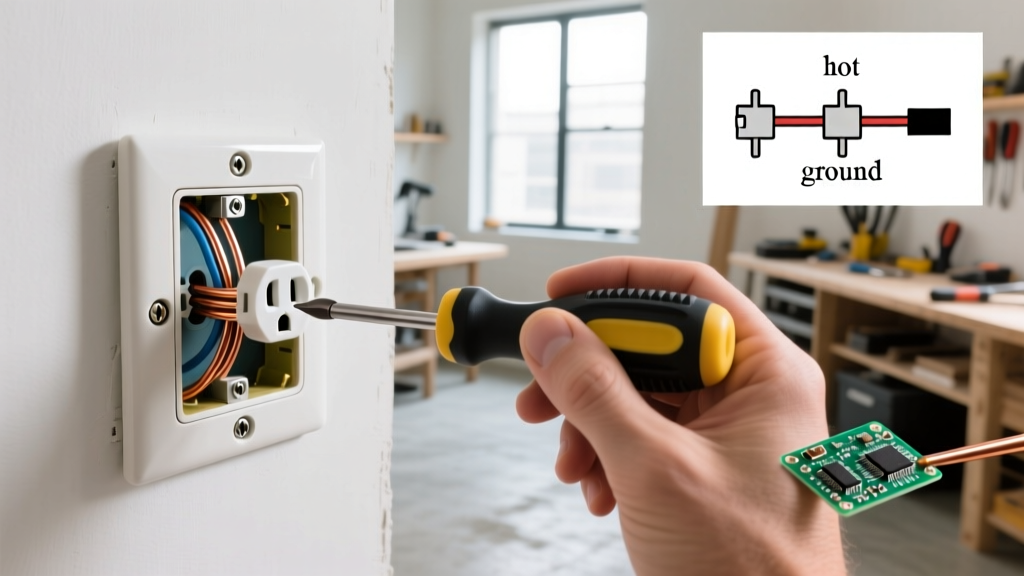

The Two Faces of a Loose Outlet: Mechanical vs. Electrical
When homeowners search for how to fix loose electrical outlet issues, they are usually experiencing one of two distinct problems: mechanical wobble or electrical contact failure. While both are frustrating, they require entirely different diagnostic approaches and repair methods. A receptacle that shifts when you push a plug into it is a mechanical mounting issue, often caused by drywall cutouts that are too large or a bent mounting yoke. Conversely, a receptacle where the plug easily falls out on its own indicates worn internal brass contacts—a severe arcing hazard.
According to the Electrical Safety Foundation International (ESFI), damaged or worn receptacles are a leading contributor to residential electrical fires. In this comprehensive upgrade and replacement guide, we will break down the exact methods to diagnose, shim, extend, and upgrade your loose outlets to modern, code-compliant standards.
Diagnostic Matrix: Identify Your Specific Outlet Failure
Before reaching for a screwdriver, identify which type of 'loose' you are dealing with. Use the table below to match your symptoms to the correct repair protocol.
| Symptom | Root Cause | Danger Level | Required Solution |
|---|---|---|---|
| Faceplate and outlet shift when plugging in a cord | Gap between electrical box and drywall; bent yoke | Low (Annoyance / Wire Strain) | Outlet shims or Box Extender |
| Plug falls out easily under its own weight | Worn internal brass contact tensioners | High (Arcing / Fire Hazard) | Full Receptacle Replacement (TR) |
| Buzzing, crackling, or warm faceplate | Loose terminal screws or failed push-in backstabbed wires | Extreme (Imminent Fire) | Rewire with side-terminals and torque driver |
| Entire electrical box moves inside the wall cavity | Failed box mounting brackets or missing nails | Medium (Drywall damage / Strain) | Old-work box replacement or bracket retrofit |
Method 1: The Outlet Shim Fix (For Mechanical Wobble)
If your outlet is electrically sound but wobbles because the drywall installer cut the opening too wide, the mounting yoke has nothing to rest against. This 'floating' outlet puts immense strain on the internal wire connections every time you plug in a vacuum or heavy appliance.
Materials Needed:
- Gardner Bender GSW-24 Outlet Shims (or equivalent polycarbonate spacers)
- Flathead and Phillips screwdrivers
- Non-contact voltage tester (e.g., Klein Tools NCVT-3)
Step-by-Step Shimming Process:
- Kill the Power: Turn off the circuit breaker. Verify the outlet is dead using a Klein NCVT-3 tester. Never rely solely on a switched lamp to verify power status.
- Remove the Faceplate: Unscrew the cover and set the 6-32 machine screw aside.
- Pull the Receptacle: Remove the two 6-32 mounting screws securing the yoke to the electrical box. Gently pull the receptacle out without disconnecting the wires.
- Measure the Gap: Push the receptacle flush against the drywall. Note the gap between the back of the yoke and the front of the electrical box.
- Stack the Shims: Snap the polycarbonate shims apart. Slide them over the mounting screws between the yoke and the box. You can stack up to three shims (approximately 3/16 of an inch) per side.
- Tighten and Test: Drive the mounting screws through the shims into the box ears. Ensure the faceplate sits flush without bowing the drywall.
Expert Warning: Never use folded cardboard or matchbooks as makeshift shims. Cardboard compresses over time, returning the wobble issue, and poses a combustible fire risk inside the electrical box. Always use UL-listed polycarbonate or metal spacers.
Method 2: Deep-Box Extenders (When Shims Are Not Enough)
If the gap between your electrical box and the drywall exceeds 1/4 of an inch, shimming is no longer safe or effective. The National Electrical Code (NEC) requires that the box edge be within 1/4 inch of the combustible wall surface. To bridge a massive gap—common in homes with added tile backsplashes or thick wood paneling—you must use a box extender.
Recommended Product: Arlington Industries BE1 Non-Metallic Box Extender (Approximate cost: $2.50 per unit). The BE1 slides directly over the existing receptacle, bridging the gap to the drywall and providing a UL-listed, fire-resistant enclosure that prevents blown-in insulation from contacting the terminal screws.
Installation Steps:
- Turn off power and verify with a multimeter (e.g., Fluke T6-600).
- Disconnect the wires from the old receptacle.
- Slide the Arlington BE1 extender into the wall opening and push it over the existing electrical box.
- Feed the wires through the extender and reconnect them to your new receptacle.
- Mount the receptacle directly to the ears of the BE1 extender, pulling it flush against the finished wall.
Method 3: Full Receptacle Replacement & Modern Upgrades
If your plug falls out of the outlet, the internal brass tensioners are fatigued. No amount of shimming will fix this. According to the U.S. Consumer Product Safety Commission (CPSC), loose plug connections cause high-resistance faults that generate extreme heat, melting the polycarbonate face of the outlet and potentially igniting surrounding materials.
This is the perfect opportunity to upgrade from a standard builder-grade duplex receptacle to a modern, code-compliant alternative.
Top Upgrade Paths for 2026:
- Standard Tamper-Resistant (TR): Eaton TR15R (15-Amp, approx. $2.50). NEC 406.12 mandates TR receptacles in all dwelling unit areas to prevent children from inserting foreign objects.
- USB-C / Type-A Combo: Leviton T5636 (USB-C PD 25W + Type-A, approx. $24.00). Eliminates the need for bulky wall warts while providing fast charging for modern devices.
- 20-Amp Commercial Grade: Leviton 5352-I (20-Amp, approx. $4.50). Features thicker brass contacts and a glass-filled nylon strap for superior grip and longevity in high-traffic areas like kitchens and garages.
Crucial Wiring Protocols: Ban the Backstab
When replacing your loose outlet, you must address how the wires connect to the device. Older 'backstabbed' (push-in) connections rely on a small internal spring clip. Thermal cycling from daily use causes these clips to loosen, leading to arcing.
The Fix: Always use the side terminal screws. Strip your 14 AWG or 12 AWG copper wire using a Klein 11055 wire stripper, leaving exactly 3/4 of an inch of bare conductor. Form a tight J-hook and loop it clockwise around the brass terminal screw so that tightening the screw pulls the loop closed.
NEC Torque Compliance (The Missing Step)
Since the 2017 NEC cycle, and strictly enforced through the 2023 and 2026 updates, NFPA 70 (NEC) Section 110.14(D) requires that electrical connections be tightened to the manufacturer's specified torque using a calibrated torque tool. Hand-tightening is no longer compliant and leads to loose connections over time.
- 14 AWG Wire: Torque to 14 in-lbs.
- 12 AWG Wire: Torque to 16 in-lbs.
Tool Recommendation: The Klein Tools 602-8 torque screwdriver is an affordable, calibrated option specifically designed for residential receptacle and switch terminations.
Frequently Asked Questions
Can I just bend the mounting yoke to make it grip the drywall tighter?
No. Bending the mounting yoke (the metal strap holding the outlet) weakens the structural integrity of the device and can misalign the internal contacts. It also prevents the faceplate from sitting flush, creating an uneven, unprofessional appearance. Always use shims or extenders.
Why does my outlet feel warm to the touch even when nothing is plugged in?
An outlet should never feel warm when idle. If it does, you likely have a loose neutral wire connection upstream on the circuit, or a high-resistance fault in a backstabbed connection behind the yoke. Turn off the breaker immediately and rewire the connections using side-terminals and a torque driver.
Do I need to upgrade my 15-Amp outlets to 20-Amp if they are loose?
Only if the circuit breaker is rated for 20 Amps and the wiring is 12 AWG. You can never install a 20-Amp receptacle on a 15-Amp circuit with 14 AWG wire, as this violates NEC overcurrent protection rules. If you have a 15-Amp circuit, simply upgrade to a high-quality Commercial Grade 15-Amp TR receptacle for tighter plug retention.