
The Intersection of Energy Codes and Electrical Safety
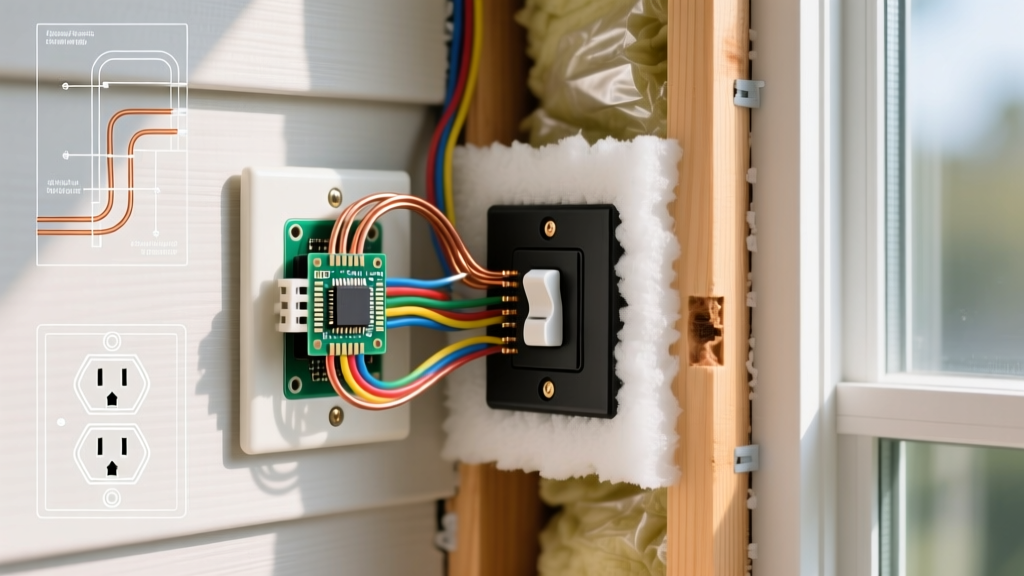
When insulating exterior walls, electricians and builders face a critical conflict: the need for continuous thermal and air barriers versus the physical interruptions caused by electrical junction boxes. Managing electrical outlet insulation is not merely a matter of stuffing fiberglass batts around a plastic box. It requires strict adherence to both the National Electrical Code (NEC) and the International Energy Conservation Code (IECC) to prevent energy loss, condensation-induced rot, and fire hazards.
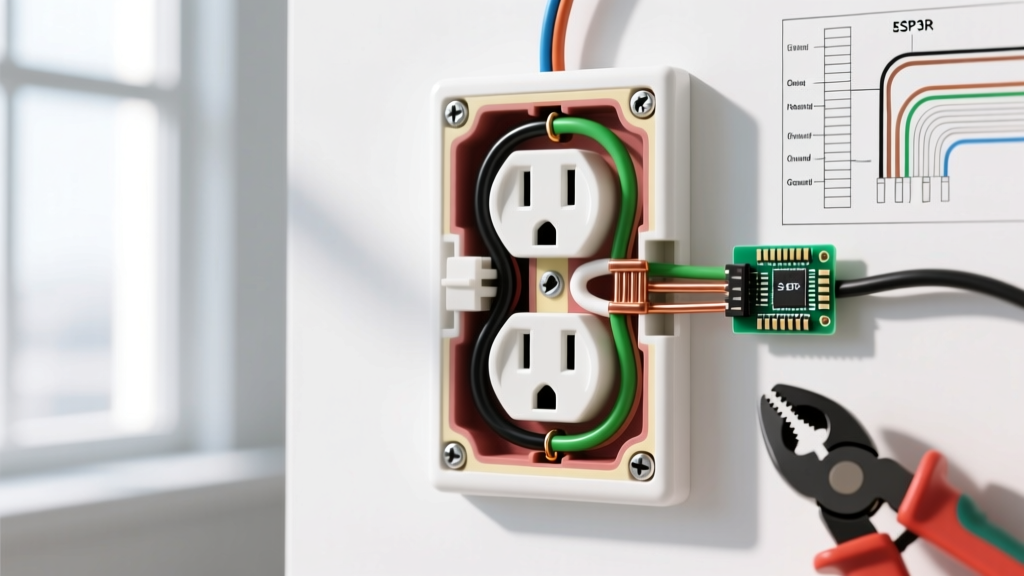
In modern construction, a standard 1/2-inch deep plastic electrical box has multiple open knockouts and a loose-fitting faceplate. If left untreated in an exterior wall, this box becomes a direct conduit for air infiltration, moisture migration, and thermal bridging. This guide breaks down the exact code requirements, approved materials, and installation methodologies for handling electrical outlet insulation in 2026.
Core Code Requirements: NEC and IECC
To understand the rules governing electrical outlet insulation, we must look at two primary regulatory frameworks: electrical safety (NEC) and building envelope performance (IECC).
NEC Article 314.20: Boxes in Finished Surfaces
The National Fire Protection Association (NFPA) outlines strict rules for how electrical boxes must sit within finished walls. While NEC 314.20 primarily dictates that boxes must be flush with or project slightly from combustible surfaces, it implicitly requires that the integrity of the wall surface (including vapor and air barriers) be maintained around the box. Furthermore, NEC 300.21 requires that the spread of fire, smoke, and toxic gases through openings around electrical boxes be restricted to maintain the fire-resistance rating of the wall assembly.
IECC R402.4.1: Air Sealing and Electrical Boxes
The International Energy Conservation Code explicitly addresses electrical outlet insulation and air sealing. According to IECC Section R402.4.1.1, electrical boxes on exterior walls must be sealed to prevent air leakage. This can be achieved through:
- Gaskets or sealed electrical boxes designed specifically for air-tightness.
- Caulking or foaming the gap between the drywall and the electrical box flange.
- Continuous air barrier membranes wrapped and sealed around the box.
Code Citation: "Electrical boxes on exterior walls shall be sealed to the finished wall surface to limit air leakage. Gaskets, sealed boxes, or caulking shall be used to achieve the required air seal." — IECC R402.4.1.1
Vapor Barrier Integrity in Exterior Walls
In cold climates (IECC Climate Zones 5 and higher), a Class I or II vapor retarder (typically 6-mil polyethylene sheeting) is required on the warm-in-winter side of the wall. An electrical box piercing this membrane creates a massive vulnerability.
The "Dam" Method vs. Sealed Boxes
Historically, electricians used the "dam" method: cutting a large hole in the vapor barrier, wrapping the poly around the exterior of a standard box, and sealing it with acoustic sealant or specialized vapor-dam tape. While code-compliant if executed perfectly, it is highly labor-intensive and prone to field errors.
Today, the industry standard for new construction is the airtight electrical box. Models like the Carlon Zip Box Blue (SC200RR) feature integrated internal flaps that seal around Romex (NM-B) cables as they enter the box, and a continuous gasket around the faceplate mounting surface. Priced at approximately $4.50 per box (compared to $1.20 for a standard B618R box), the airtight box eliminates the need to manipulate the vapor barrier around the box itself, provided the drywall-to-flange gap is caulked.
Fire-Rated Assemblies and Putty Pads
When dealing with electrical outlet insulation in commercial buildings, multi-family dwellings, or attached garages, walls are often designated as fire-rated assemblies (e.g., 1-hour or 2-hour ratings under UL 263 / ASTM E119). Installing a standard plastic electrical box in a fire-rated wall compromises the assembly's integrity, as the plastic will melt during a fire, allowing flames and smoke to pass through the wall cavity.
Intumescent Putty Pads
To maintain the fire rating while still allowing for insulation and soundproofing, the code requires the use of intumescent fire barrier putty pads. Products like the 3M Fire Barrier Putty Pad PPP+ (costing roughly $8.00 to $11.00 per pad) are wrapped around the exterior of the electrical box before drywall is installed. When exposed to the heat of a fire, the putty expands and chars, sealing the hole left by the melting plastic box and preventing the passage of flames and hot gases.
Note: Putty pads also serve a secondary acoustic function, significantly reducing Sound Transmission Class (STC) flanking noise through back-to-back electrical boxes in partition walls.
Comparison Matrix: Electrical Outlet Insulation Solutions
Choosing the right method depends on your specific wall assembly, climate zone, and budget. Below is a comparison of the most common code-compliant solutions.
| Solution Type | Product Example | Avg. Cost per Box | Best Use Case | Code Compliance Focus |
|---|---|---|---|---|
| Airtight Sealed Box | Carlon SC200RR (Zip Box Blue) | $4.50 | New construction, exterior walls, high-performance homes | IECC Air Sealing, Vapor Barrier continuity |
| Foam Gasket | Frost King V76/26 Outlet Sealer | $0.30 | Retrofits, existing drywall, interior/exterior drafts | IECC Air Sealing (post-drywall) |
| Intumescent Putty Pad | 3M Fire Barrier Putty Pad PPP+ | $9.50 | Fire-rated walls, multi-family, soundproofing | NEC 300.21 (Fire spread prevention) |
| Vapor Dam / Boot | Redi-Round Vapor Barrier Boot | $3.00 | Custom framing, complex box shapes, retrofits behind drywall | Vapor Retarder continuity (Climate Zones 5+) |
| Acoustic/Draft Caulk | OSI QUAD Max or Big Stretch | $0.50 (per box) | Sealing drywall-to-flange gaps in all applications | IECC Air Sealing, general draft proofing |
Step-by-Step: Code-Compliant Exterior Wall Installation
For a standard 2x6 exterior wall framed with dense-pack cellulose or fiberglass batts, follow this sequence to ensure full compliance with both electrical and energy codes.
- Select the Right Box: Use an airtight, sealed electrical box (e.g., Carlon SC200RR) to inherently manage internal air leakage through cable knockouts.
- Mount and Wire: Secure the box to the stud. Run your NM-B (Romex) cables through the integrated clamps, ensuring the internal air-seal flaps close tightly around the cable jacket.
- Manage the Vapor Barrier: If using 6-mil poly, cut an "X" in the poly slightly smaller than the box face. Stretch the poly over the box flange and tape it to the flange using vapor-barrier-rated tape (e.g., Siga Sicral or 3M All Weather Flashing Tape). Do not leave the poly loose.
- Install Insulation: If using fiberglass batts, split the batt so it wraps behind the electrical box as well as in front of it. Never compress the insulation tightly against the back of the box, as this destroys the R-value and can cause the box to bow inward. If using dense-pack cellulose or spray foam, the airtight box's internal flaps will prevent the insulation material from entering the box cavity.
- Drywall and Caulk: After drywall is hung, apply a continuous bead of elastomeric acoustic sealant (like OSI QUAD) between the drywall cutout and the electrical box flange before installing the receptacle and cover plate.
Edge Cases and Expert Troubleshooting
The Dense-Pack Cellulose Hazard
Dense-pack cellulose is an excellent insulation material, but it is installed under high pressure (often 3.5 to 4.0 lbs/cu ft density). If a standard, unsealed electrical box is used, the pressurized cellulose fibers and dust will force their way through the open knockouts and faceplate gaps. Over time, this creates a highly combustible dust layer inside the box, directly over the terminal screws of the receptacle. According to the U.S. Department of Energy, proper air sealing is vital not just for energy, but for preventing moisture and particulate intrusion into building cavities. Always use sealed boxes or wrap standard boxes in a protective poly-dam when dense-packing.
Retrofitting Existing Outlets (No Drywall Removal)
If you are upgrading insulation in an older home without tearing down drywall, you cannot replace the electrical boxes. Instead, you must rely on post-installation air sealing:
- Foam Gaskets: Remove the cover plate, install a pre-cut foam gasket over the receptacle, and replace the plate. This stops drafts from the faceplate.
- Flange Caulking: Use a thin nozzle to inject paintable latex caulk into the hairline gap between the plastic box flange and the drywall.
- Child Safety Plugs: For unused outlets on exterior walls, insert solid plastic safety plugs to block the physical receptacle slots from interior air leakage.
Spray Foam and Electrical Boxes
When using closed-cell or open-cell spray foam insulation around electrical boxes, extreme caution is required. The exothermic reaction of expanding spray foam can generate enough heat to warp thin plastic electrical boxes or melt wire insulation if applied too heavily and too quickly. Furthermore, NEC 300.21 and fire codes dictate that spray foam used in concealed spaces must meet specific flame-spread and smoke-developed indices (ASTM E84 Class 1). Never use off-the-shelf "Great Stuff" foam to seal the interior of an electrical box; it is not rated for direct contact with energized conductors and can trap heat generated by the receptacle.
Final Thoughts on Code Compliance
Treating electrical outlet insulation as an afterthought is a liability. In 2026, building inspectors and energy raters (such as those conducting blower door tests for HERS ratings) specifically target exterior electrical boxes for air leakage. By investing a few extra dollars per box in airtight models, putty pads, and proper vapor-dam techniques, you ensure compliance with NEC safety standards, meet IECC energy mandates, and protect the structural longevity of the building envelope from concealed condensation.