
Why Your Electrical Outlet Suddenly Lost Power
Discovering a dead receptacle is one of the most common residential electrical headaches. When you are trying to figure out how to fix an electrical outlet not working, the root cause is rarely a defective breaker. More often, the issue lies within the wall box itself or in the upstream wiring topology. According to the National Fire Protection Association (NFPA), electrical distribution and lighting equipment failures are a leading cause of home structure fires, often stemming from loose connections, degraded terminals, or improper daisy-chaining.
This guide bypasses the basic "check the breaker" advice and dives deep into the physical wiring scenarios that cause standard 15-amp and 20-amp duplex receptacles to fail. We will cover exact diagnostic steps, specific failure modes, and the precise techniques required to restore power safely and up to the latest National Electrical Code (NEC) standards.
The 4-Step Diagnostic Protocol for Dead Receptacles
Before pulling the outlet from the wall, you must isolate the failure domain. Follow this exact sequence to avoid unnecessary demolition or misdiagnosis.
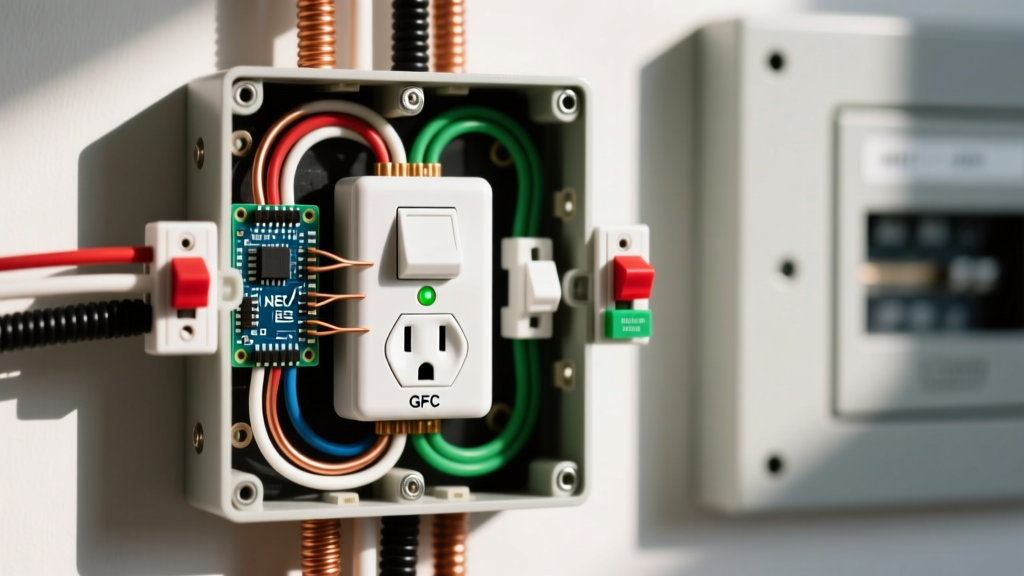
- Verify GFCI/AFCI Status: Check all Ground Fault Circuit Interrupter (GFCI) outlets in wet areas (bathrooms, garages, exteriors) and Arc Fault Circuit Interrupter (AFCI) breakers in the main panel. A tripped GFCI in a master bathroom routinely kills power to downstream standard outlets in adjacent bedrooms.
- Non-Contact Voltage Testing: Use a reliable tester like the Fluke 1AC-II VoltAlert ($35.00). Test the top and bottom receptacles. If the tester remains silent, power is genuinely absent at the face.
- Receptacle Tester Analysis: If power is present but devices won't work, plug in a Sperry Instruments ET6402 GFCI/Polarity tester ($12.00). The LED pattern will instantly reveal wiring faults like open neutrals or reversed polarity.
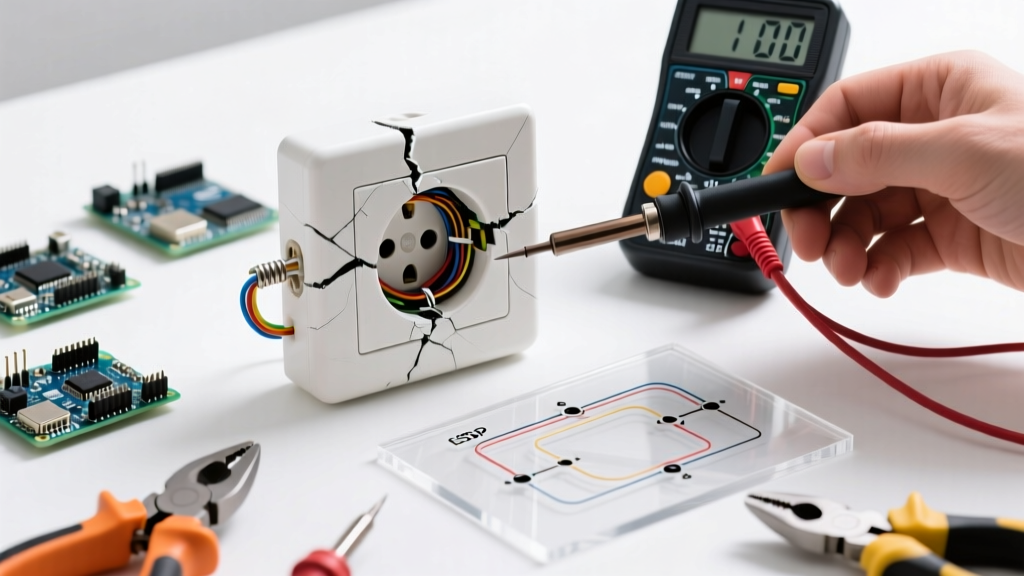
- Physical Inspection: Turn off the circuit breaker, verify zero voltage with a multimeter, remove the faceplate, and extract the receptacle to inspect the terminal connections.
Wiring Scenario 1: The Backstabbed Push-In Failure
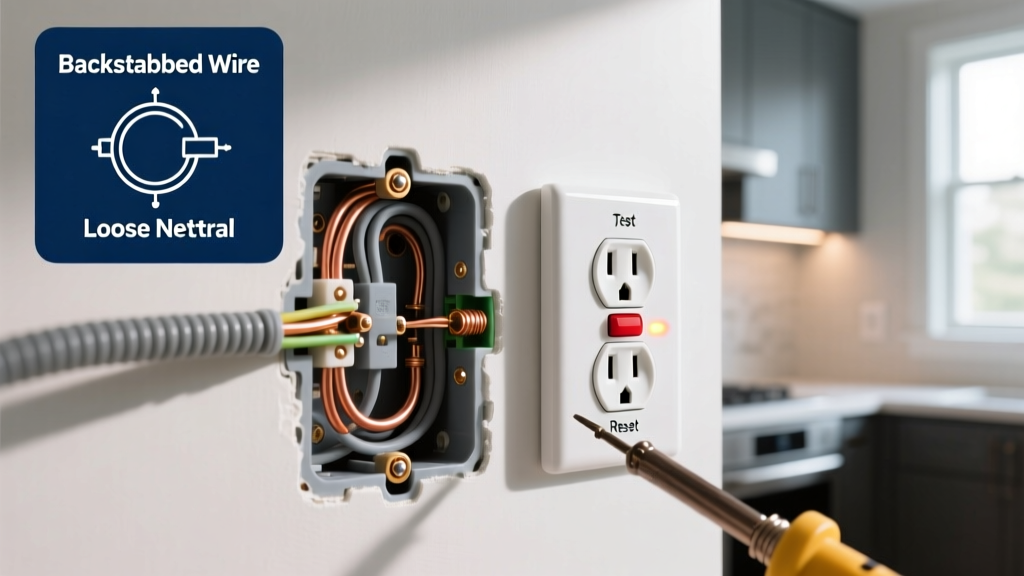
The single most common physical reason for an electrical outlet not working in homes built or renovated between 1980 and 2015 is the failure of "backstabbed" push-in connections. Standard 15A receptacles (like the ubiquitous Leviton T5262) feature spring-loaded quick-wire holes on the rear.
The Failure Mechanism
When you strip a 14 AWG wire and push it into the backstab hole, a small internal brass spring clip grips the copper. Over years of thermal cycling—heating up under load and cooling down when idle—the spring tension fatigues. The connection loosens, creating a high-resistance joint. This leads to micro-arcing, localized melting of the plastic housing, and eventually, a complete loss of continuity. The U.S. Consumer Product Safety Commission (CPSC) has long warned about the fire hazards associated with degraded high-resistance connections.
The Fix: Side-Wiring with Proper Strip Length
Never reuse a backstabbed receptacle. Replace it with a new commercial-grade or spec-grade receptacle and use the side screw terminals.
- Strip Length: Use the strip gauge molded into the back of the new receptacle. For most 15A devices, this is exactly 3/4 inch. Use precision strippers like the Klein Tools 11063W ($28.00) to avoid nicking the copper, which creates a weak point.
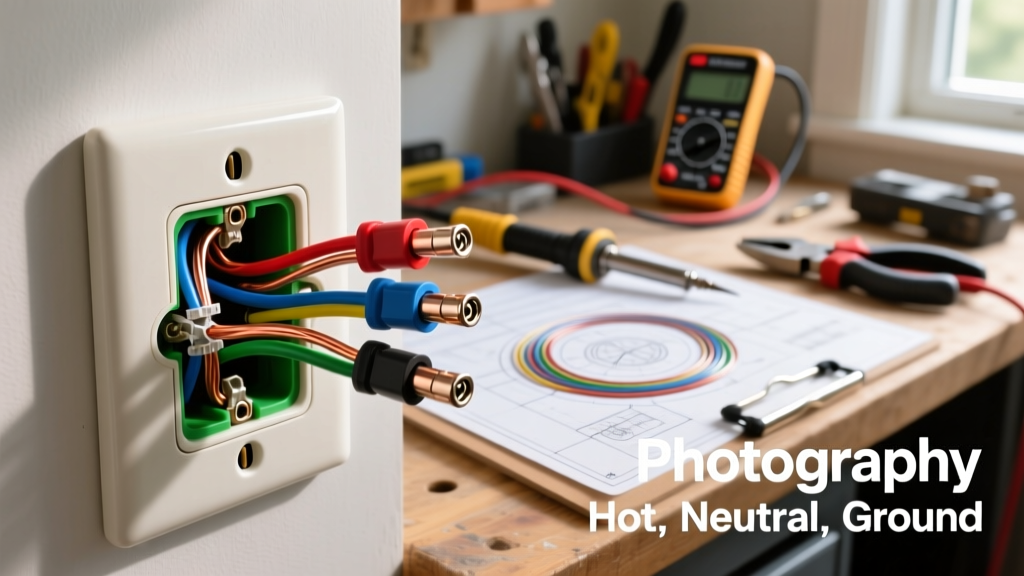
- Loop Direction: Form a J-hook with needle-nose pliers and loop it clockwise around the brass (hot) and silver (neutral) screws. This ensures the screw tightens the loop rather than pushing it out.
- Torque: While most electricians tighten by feel, the NEC increasingly recommends manufacturer-specified torque. A standard 15A receptacle typically requires 14 in-lbs. Using a calibrated torque screwdriver ensures the wire won't loosen under thermal expansion.
Wiring Scenario 2: The Daisy-Chain (Series) Break
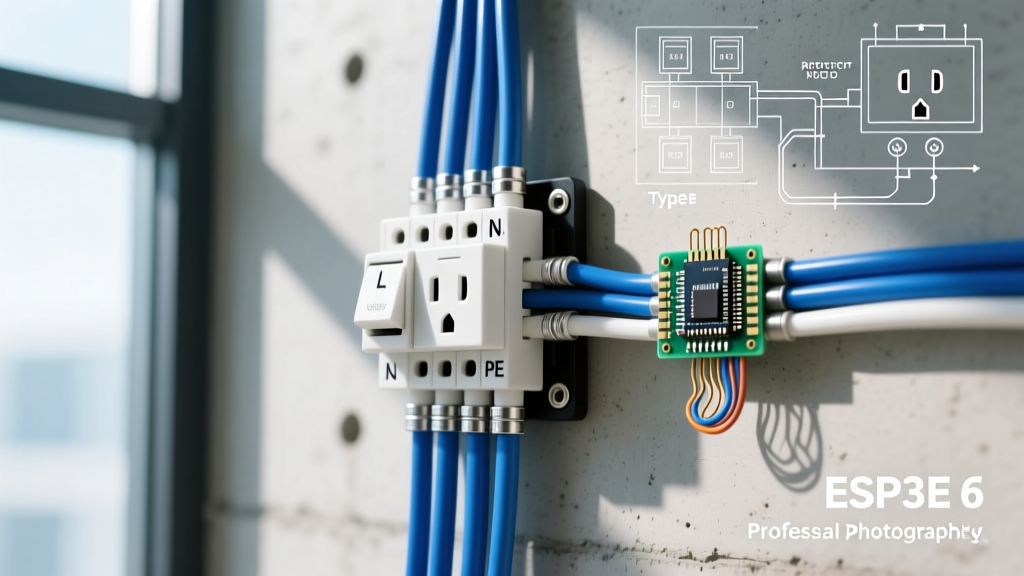
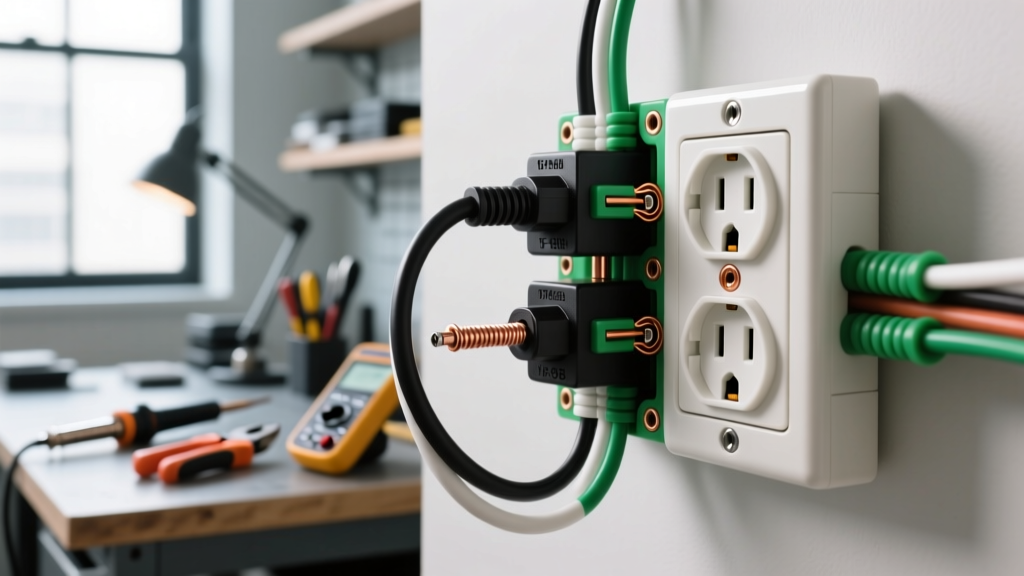
In residential wiring, outlets are rarely home-run directly to the panel. They are "daisy-chained" in series. Power enters the first outlet (LINE), passes through it, and exits to the next outlet (LOAD). If a wire nut fails or a terminal burns out at Outlet A, Outlets B, C, and D will also lose power.
Diagnosing the Break
If you have fixed the dead outlet but downstream outlets remain dead, the issue is a broken LOAD connection. Trace the cable path. In older work, electricians often used the receptacle's internal brass bridge to pass power. If the receptacle fails, the bridge fails.
The Fix: Pigtailing for Code Compliance
The modern best practice (and a requirement in many 2026 local jurisdictions for multi-wire branch circuits) is pigtailing. Instead of relying on the receptacle to pass current, you join the incoming and outgoing wires together with a short "pigtail" wire that connects to the receptacle.
Pro Tip: Upgrade from traditional twist-on wire nuts to Wago 221-3 Lever Nuts. They cost about $0.30 each, provide a gas-tight connection, eliminate the risk of a wire nut vibrating loose inside a crowded gang box, and allow for instant visual verification of the wire strip length through the transparent housing.
Wiring Scenario 3: Open Neutral or Reversed Polarity
Sometimes an outlet appears to have power (a lamp might glow dimly or a non-contact tester beeps), but devices won't function correctly, or you get a shock from an appliance chassis. This is usually an open neutral or reversed polarity.
Use a standard 3-light receptacle tester to diagnose the exact wiring fault. Below is the diagnostic matrix for a standard 120V circuit:
| Light Pattern (Left to Right) | Condition | Root Cause & Required Fix |
|---|---|---|
| Amber - Amber - OFF | Correct Wiring | No fix needed. Circuit is healthy. |
| OFF - Amber - Amber | Reversed Polarity | Hot (black) and Neutral (white) are swapped at the terminal. Move black to the brass screw and white to the silver screw. |
| Amber - OFF - OFF | Open Neutral | Neutral wire is disconnected. Check the silver screw terminal or the upstream white wire nut connection. |
| OFF - OFF - Amber | Open Hot | Hot wire is disconnected. Check the brass screw terminal or upstream black wire nut. (Also occurs when breaker is off). |
| Amber - Amber - Red | Hot/Ground Reversed | Dangerous. Bare copper ground is connected to the brass hot screw. Requires immediate rewiring and inspection of the entire cable run. |
2026 Tool and Material Cost Breakdown
Fixing a dead outlet is highly cost-effective when done as a DIY project, provided you invest in the correct diagnostic and safety tools. Below is a realistic pricing matrix for 2026:
| Item / Tool | Specific Model Recommendation | Estimated Cost (2026) |
|---|---|---|
| 15A Duplex Receptacle | Leviton T5262 (Spec Grade) | $1.75 |
| Non-Contact Voltage Tester | Fluke 1AC-II VoltAlert | $35.00 |
| Receptacle Tester | Sperry Instruments ET6402 | $12.50 |
| Wire Strippers (8-20 AWG) | Klein Tools 11063W | $28.00 |
| Lever Wire Connectors | Wago 221-3 (Pack of 50) | $14.50 |
| Multimeter (Basic) | AstroAI AM33D | $13.00 |
Edge Cases: When to Call a Licensed Electrician
While most dead outlets are simple wiring faults, certain scenarios require professional intervention to comply with OSHA and local electrical safety guidelines:
- Aluminum Wiring: If you pull the outlet and see dull, silver-colored wire instead of bright copper, you have aluminum branch wiring (common in homes built between 1965 and 1973). Standard copper-rated receptacles will oxidize and cause fires. You must use CO/ALR rated devices or have an electrician perform COPALUM or AlumiConn pigtailing.
- Burnt or Melted Gang Boxes: If the plastic wall box or the drywall around it shows scorch marks, the arc fault may have compromised the structural integrity of the box or the wire insulation. The damaged cable must be cut back and replaced.
- Federal Pacific or Zinsco Panels: If your breaker refuses to trip during a dead short, or if you discover your main panel is a known defective brand like Federal Pacific Electric (FPE), stop working immediately. These panels are notorious for failing to interrupt fault currents and require full panel replacement.
Frequently Asked Questions
Can a bad outlet cause a fire even if nothing is plugged into it?
Yes. If the outlet is part of a daisy-chained circuit and is passing current to downstream outlets, the internal brass bus bars are still under load. A loose backstabbed connection can arc and ignite surrounding dust or insulation even when the specific receptacle is unused.
Why does my outlet have two black and two white wires?
This indicates a daisy-chain setup. One pair is the LINE (power coming from the panel), and the other pair is the LOAD (power continuing to the next outlet). Both black wires must be connected to the brass side, and both white wires to the silver side, ideally using pigtails.
Is it safe to replace a 15-amp outlet with a 20-amp outlet?
No. A 20-amp receptacle (which features a T-shaped neutral slot) should only be installed on a 20-amp circuit wired with 12 AWG copper. Installing it on a 15-amp circuit with 14 AWG wire allows you to plug in a 20-amp appliance that could draw enough current to melt the 14 AWG wire before the 15-amp breaker trips.