
When planning a home renovation or upgrading your electrical system in 2026, the placement of your receptacles is just as critical as the wiring itself. While most homeowners focus on the number of outlets or the integration of USB-C receptacles, the electric outlet height dramatically impacts both the functionality and the aesthetic flow of a room. Whether you are finishing a basement, updating a mid-century home, or retrofitting for aging-in-place accessibility, understanding standard heights and code requirements is essential.
This comprehensive upgrade and replacement guide breaks down the exact measurements, National Electrical Code (NEC) requirements, and practical installation steps for adjusting outlet heights in your home.
Does the NEC Dictate Standard Electric Outlet Height?
A common misconception among DIYers is that the National Electrical Code (NEC) mandates a specific height for standard wall outlets. In reality, the NEC is primarily concerned with the spacing of outlets rather than their vertical placement. According to NEC Article 210.52, no point along the floor line in any wall space can be more than 6 feet from a receptacle.
Because the NEC does not enforce a strict vertical measurement for general living spaces, the industry has adopted a standard convention: 12 to 18 inches from the finished floor to the center of the electrical box. This standard height keeps cords hidden behind standard furniture while remaining accessible. However, when you are upgrading specific rooms like kitchens, bathrooms, or accessible living spaces, different height rules and strict codes apply.
Room-by-Room Electric Outlet Height Chart
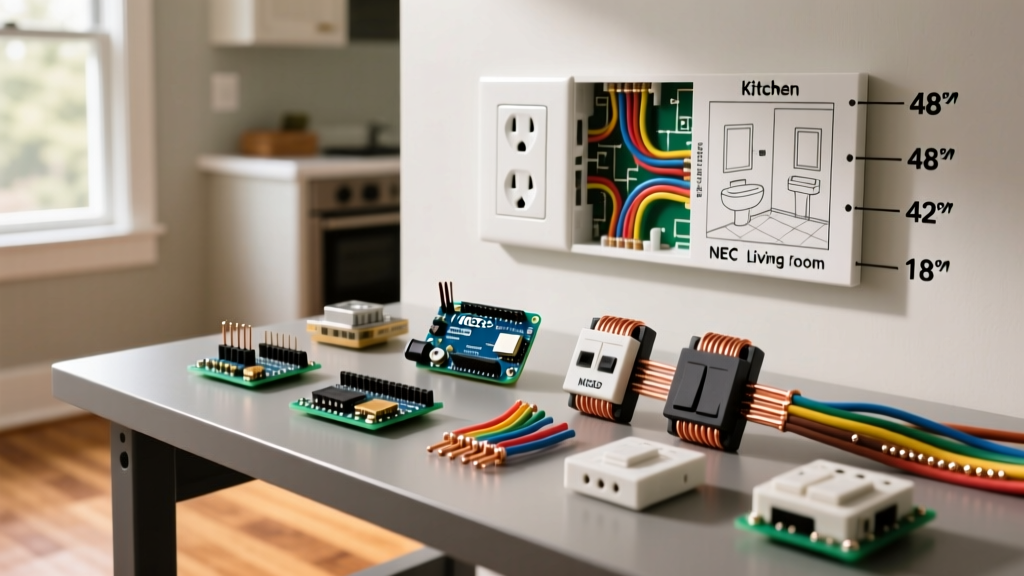
When replacing old outlets or adding new drops during a remodel, use this reference chart to ensure your heights align with modern 2026 design standards and practical usage.
| Room / Location | Standard Height (Floor to Box Center) | Upgrade & Code Notes |
|---|---|---|
| Living Room / Bedrooms | 12" to 18" | Aligns with standard baseboard heights. Keep at least 1.5" above thick moldings. |
| Kitchen Countertops | 15" to 20" above counter | NEC 210.52(C) requires GFCI. Standard counter is 36", placing boxes at 51"-56" from floor. |
| Bathroom Vanities | 15" to 20" above vanity | Must be GFCI protected. Avoid placing directly over the sink basin. |
| Wall-Mounted TVs | 24" to 36" (or recessed) | Use recessed media boxes (e.g., Legrand 3100) to hide plugs behind the display. |
| Washer / Laundry | 48" | Placed high to prevent hose burst flooding from reaching the receptacle. |
| Garage / Workshop | 18" to 48" | Often mounted at 48" to avoid workbench obstructions and floor-level moisture. |
Upgrading for Accessibility: ADA Compliance
If your 2026 renovation includes aging-in-place modifications or building an accessory dwelling unit (ADU) for rent, you must consider the Americans with Disabilities Act (ADA) guidelines. While ADA compliance is strictly enforced in commercial and public buildings, applying these standards to residential upgrades is a massive selling point and a vital safety measure for wheelchair users.
According to the 2010 ADA Standards for Accessible Design (Section 308), the reach ranges for operable parts (including electrical receptacles) are strictly defined:
- Minimum Height: 15 inches above the finished floor. (Prevents users from having to bend down dangerously low).
- Maximum Height: 48 inches above the finished floor for an unobstructed forward or side reach.
- Obstructed Reach: If reaching over a counter or furniture (obstruction depth up to 20"), the maximum height drops to 44 inches.
Pro-Tip for Universal Design: When upgrading a primary bedroom or bathroom for accessibility, standardizing all wall switches at 48 inches and all receptacles at 18 to 24 inches provides the most comfortable reach range for both standing adults and wheelchair users.
Kitchen and Bathroom Upgrade Specifics
Kitchens and bathrooms are the most heavily regulated spaces in the home due to the proximity of water and electricity. When replacing outlets in these areas, height is intrinsically tied to your countertop installation.
The Kitchen Backsplash Dilemma
Standard kitchen countertops sit at 36 inches from the floor. The NEC requires that no point along the countertop wall space be more than 24 inches from a receptacle. During a kitchen upgrade, electricians typically mount the bottom of the outlet box exactly 15 inches above the countertop (51 inches from the floor). This ensures the outlet sits comfortably above a standard 4-inch backsplash but below upper cabinets, which usually begin at 54 inches from the floor.
Bathroom Mirror and Sconce Conflicts
In bathrooms, vanity height dictates outlet placement. Modern floating vanities often sit at 34 inches. If you are upgrading to a floating vanity, ensure your outlet height is mapped to the new vanity height, not the old pedestal sink height. A common mistake during replacements is leaving the outlet at 42 inches, which ends up awkwardly bisecting a new wall-mounted mirror or conflicting with vanity sconce wiring.
Step-by-Step Replacement: Adjusting Outlet Height
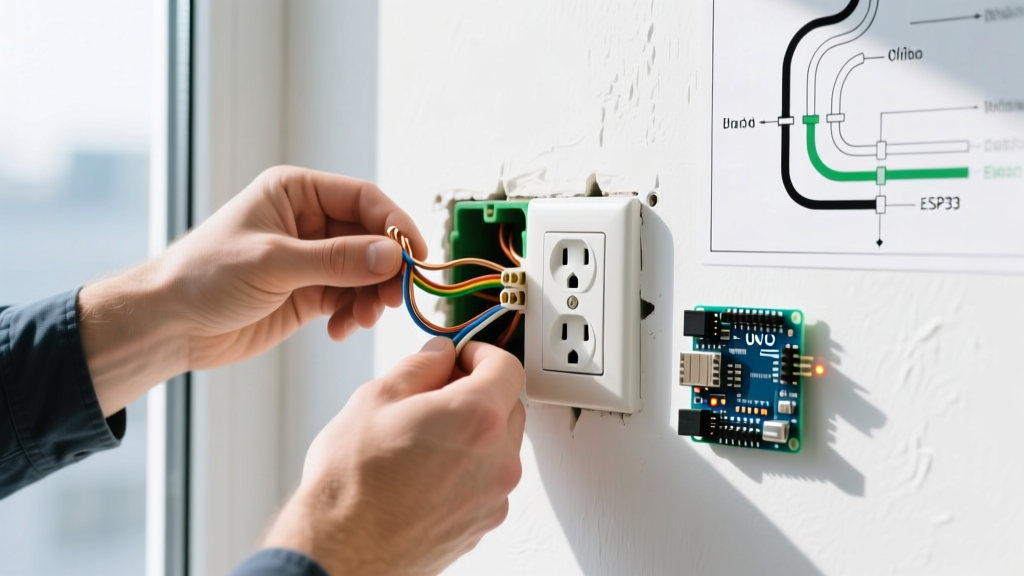
Moving an existing outlet up or down a wall during a renovation is a common task, especially when installing new baseboards, wainscoting, or custom built-in shelving. Here is how to safely relocate a standard wall receptacle using an old-work box.
Tools and Materials Required
- Non-contact voltage tester (e.g., Fluke 2AC)
- Drywall saw (e.g., Stanley 20-045)
- 1-Gang Old Work Electrical Box (e.g., Carlon B618R-UPC)
- Fish tape or glow rods for wire retrieval
- Wire strippers and lineman's pliers
- 12/2 or 14/2 NM-B Romex (matching existing circuit gauge)
The Relocation Process
- Kill the Power: Turn off the circuit breaker and verify the outlet is dead using your Fluke 2AC tester. Never skip this step.
- Remove the Existing Receptacle: Unscrew the faceplate, remove the mounting screws, and gently pull the receptacle from the box. Disconnect the wires.
- Cut the New Opening: Measure your desired new height (e.g., moving up 6 inches to clear new wainscoting). Trace the outline of the Carlon old-work box on the drywall and cut it out with your drywall saw.
- Fish the Cable: If the existing cable has enough slack, gently pull it through the new hole. If it is too short, you must cut it, push it back into the wall cavity, and run a new piece of NM-B cable from the original junction point to the new hole using fish tape.
- Install the Old-Work Box: Feed the cable through the knockout in the Carlon box, insert the box into the drywall hole, and tighten the mounting screws. The plastic flanges will flip and clamp securely against the back of the drywall.
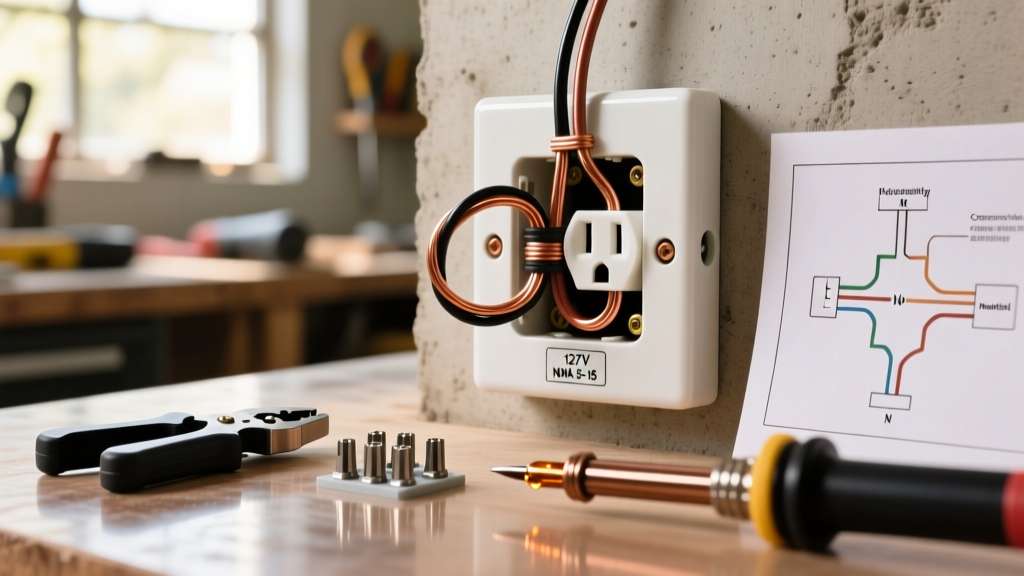
- Wire and Finish: Connect the black (hot) to the brass screw, white (neutral) to the silver screw, and bare copper (ground) to the green screw. Secure the receptacle, attach the faceplate, and restore power.
Common Mistakes to Avoid During Height Adjustments
When altering electric outlet height, contractors and DIYers frequently run into structural and code-related roadblocks. Avoid these costly errors:
- Ignoring Baseboard Heaters: If your home uses electric baseboard heaters, the NEC strictly prohibits placing receptacles directly above them. The rising heat can melt wire insulation and cause a fire. You must offset the outlet horizontally or relocate it to an adjacent wall.
- Stud Conflicts: When cutting a new hole for an old-work box, always use a stud finder. Cutting through a load-bearing stud to route a cable compromises structural integrity and violates building codes. Use fire-rated steel nail plates if you must notch a non-load-bearing stud.
- Using the Wrong Box Depth: If you are upgrading to a smart receptacle (like the Leviton Decora Smart Wi-Fi), these devices have much deeper bodies than standard duplex outlets. Ensure your old-work box is at least 3.5 inches deep (like the Carlon B618R) to accommodate the bulky internal relays.
Frequently Asked Questions (FAQ)
What is the standard height for an outdoor outlet?
Outdoor receptacles should be installed at least 12 inches above the finished grade (ground level) to prevent snow and water accumulation. They must be housed in a weatherproof 'in-use' bubble cover and be GFCI protected, as mandated by NEC 210.8(A)(3).
Can I install an outlet in the floor instead of the wall?
Yes, but floor receptacles require specific listed floor boxes (such as the Hubbell FDBOX) and can only be installed in floors constructed with joist cavities or concrete slabs with pre-planned conduit runs. They are not counted toward the NEC wall-spacing requirements unless they are located within 18 inches of the wall.
How much does it cost to move an outlet's height?
If you hire a licensed electrician in 2026, expect to pay between $150 and $300 per outlet relocation. This cost accounts for labor, drywall patching, and the installation of an old-work box. If the wall is already open down to the studs (such as during a full gut renovation), the cost drops to roughly $75 to $125 per drop.
Final Thoughts on Outlet Placement
Getting the electric outlet height right is a hallmark of a professional-grade renovation. Whether you are aligning receptacles to a custom tile backsplash, ensuring ADA compliance for an elderly family member, or simply hiding cords behind a new media console, precise measurements elevate the final result. Always consult the latest Mike Holt NEC resources or your local authority having jurisdiction (AHJ) before finalizing your electrical layout, as local amendments can occasionally supersede national baseline codes.