
The Anatomy of a Dead Bathroom Receptacle
Discovering an electrical outlet not working in bathroom environments is one of the most common residential electrical complaints. Unlike standard bedroom or living room receptacles, bathroom outlets operate in high-humidity zones and are tasked with powering heavy-draw grooming appliances. When a bathroom receptacle fails, it is rarely a simple "burnt out" wire; it is almost always a localized safety trip, an upstream daisy-chain fault, or a degraded connection struggling under modern thermal loads.
According to the Electrical Safety Foundation International (ESFI), Ground Fault Circuit Interrupters (GFCIs) are responsible for preventing thousands of electrocutions and electrical fires annually. However, their sensitivity to moisture and micro-arcing means they are often the first component to fail or trip. This guide provides a professional-grade, 6-step diagnostic protocol to isolate and repair your dead bathroom outlet, utilizing 2026 industry-standard testing methodologies.
6-Step Diagnostic Protocol
Step 1: Trace the Upstream GFCI Daisy-Chain
The most frequent cause of a dead bathroom receptacle is a tripped GFCI located elsewhere. The National Electrical Code (NEC) allows multiple bathroom receptacles to be wired to the LOAD terminals of a single GFCI device. If your master bathroom GFCI trips, it will simultaneously kill power to the guest bathroom, powder room, and sometimes even exterior or garage receptacles on the same circuit.
- Action: Inspect every bathroom, the garage, and exterior walls for a GFCI receptacle with a popped "RESET" button.
- Tool: Use a Klein Tools NCVT-3 Non-Contact Voltage Tester ($26) to verify the absence of voltage before touching any faceplates.
Step 2: Inspect the Panel for Dual-Function Breakers
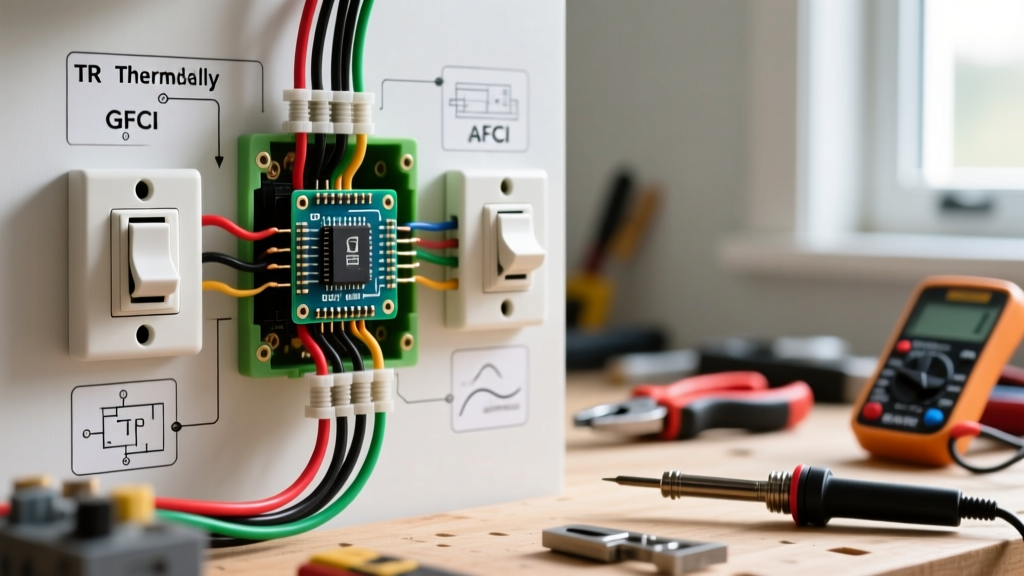
Modern homes built or renovated after 2014 frequently utilize Dual-Function (CAFCI/GFCI) breakers, such as the Eaton BR220DF or Square D HOM220DF. These breakers protect the entire bathroom circuit from both arc faults and ground faults at the panel level, meaning the bathroom receptacles themselves might be standard TR (Tamper Resistant) devices rather than GFCIs.
- Action: Locate the bathroom breaker in the main panel. Look for a coiled white neutral pigtail attached to the breaker and a "TEST" button.
- Diagnostic: If the breaker handle is in the middle "tripped" position, push it firmly to OFF, then to ON. If it immediately snaps back, you have a hard ground fault (likely moisture in an exterior wall box or a pinched wire).
Step 3: Perform the 3-Point Multimeter Test
If the breaker is ON and no upstream GFCI is tripped, pull the dead receptacle from the wall box. Do not touch bare wires. Set a True-RMS multimeter (like the Fluke 117, ~$175) to AC Voltage (V~) and perform the 3-point test:
- Hot to Neutral (Black to White): Should read 118V–122V. If 0V, you have an open hot or open neutral upstream.
- Hot to Ground (Black to Bare/Green): Should read 118V–122V. If 120V here but 0V on Hot-Neutral, you have an open neutral (broken white wire connection).
- Neutral to Ground (White to Bare/Green): Should read 0V–2V. If you read 120V here, the hot and neutral are reversed (a critical code violation and shock hazard).
Step 4: Rule Out Multi-Wire Branch Circuit (MWBC) Faults
Many bathrooms share a 240V split-phase circuit (MWBC) with an adjacent room, utilizing a shared neutral wire. If an electrician recently worked on the panel and removed the handle-tie connecting the two breakers, or if the shared neutral has become disconnected, the neutral can become overloaded, causing voltage drops or complete failure at the bathroom receptacle. Ensure both breakers tied to the bathroom circuit are intact and simultaneously switched.
Step 5: Check for Backstabbed Connection Burnouts
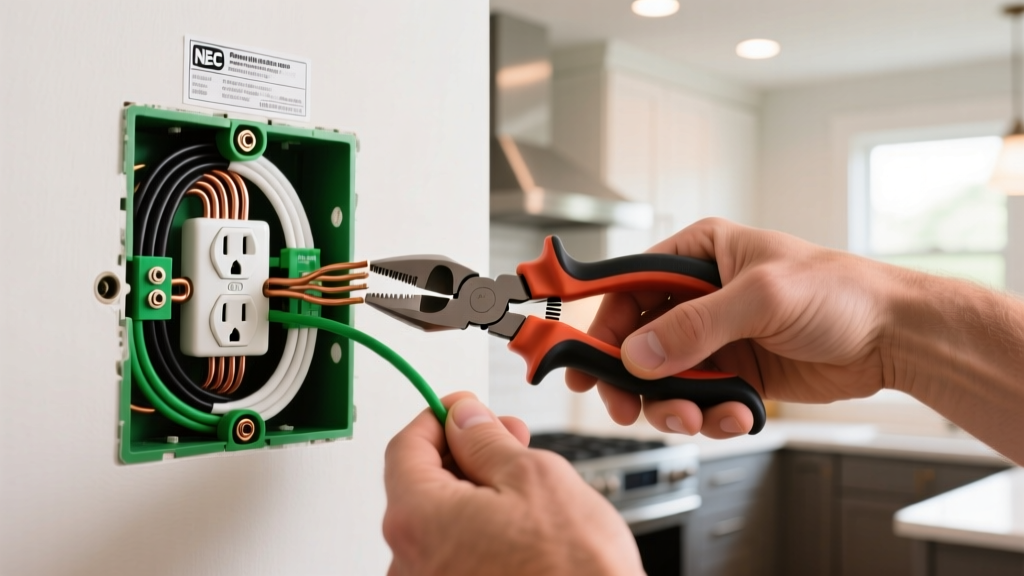
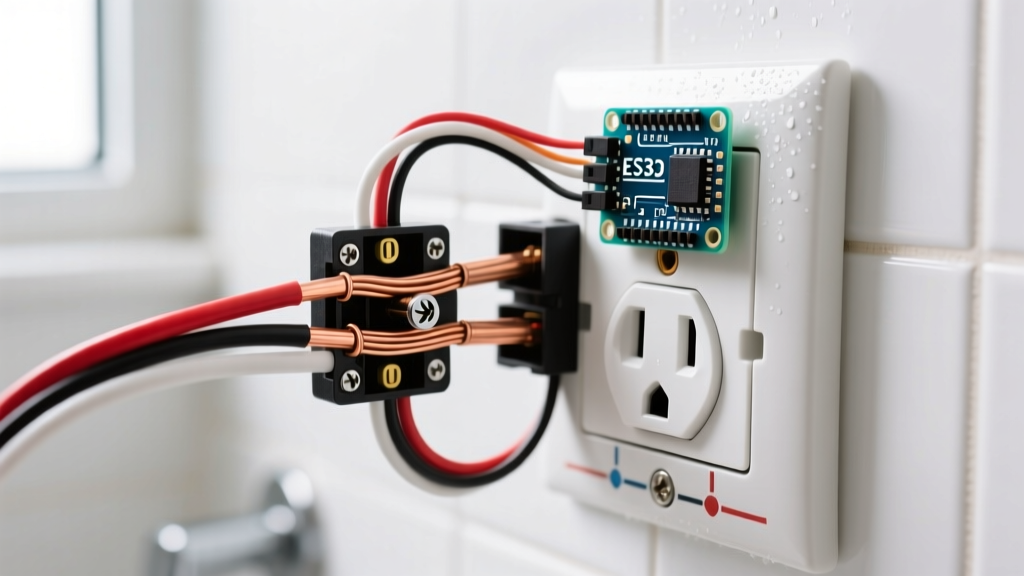
"Backstabbing" (pushing stripped wires into the quick-insert holes on the back of a 15A/20A receptacle) is a notorious failure point. The internal spring-loaded contacts degrade under the high thermal load of hair dryers, eventually melting or losing tension.
- Visual Inspection: Look for brown scorch marks on the plastic housing near the push-in holes.
- The Fix: Cut back the damaged wire, strip 3/4-inch of fresh insulation, and terminate using the side-binding screw terminals. Torque to the manufacturer's specification (typically 14 in-lbs for 12 AWG copper).
Step 6: Evaluate Moisture Intrusion and Nuisance Tripping
If the outlet works but trips randomly (nuisance tripping), inspect the wall box for condensation. Bathrooms with inadequate exhaust ventilation (under 50 CFM) trap steam, which condenses inside cold exterior wall boxes. This microscopic water layer bridges the gap between the hot bus and the ground strap, causing a 5mA ground fault leak that trips the GFCI. Install a weather-resistant (WR) GFCI and ensure your exhaust fan is properly ducted to the exterior, not just into the attic.
Common Bathroom Receptacle Failure Modes (2026 Data)
| Failure Mode | Visual / Diagnostic Symptom | Root Cause | Avg. Repair Cost (2026) |
|---|---|---|---|
| Upstream GFCI Trip | Receptacle is dead; no reset button present on the dead unit. | Daisy-chained LOAD wiring from a tripped master bath or garage GFCI. | $0 (DIY Reset) |
| Backstab Thermal Melt | Intermittent power; scorched plastic smell; works only when plug is wiggled. | Spring-tension failure inside quick-wire holes due to high-amp hair tools. | $25 - $45 (Receptacle + Wire) |
| Open Neutral | 120V Hot-Ground, but 0V Hot-Neutral on multimeter. | Disconnected white wire at an upstream junction box or receptacle. | $85 - $150 (Electrician Labor) |
| Moisture Ground Fault | GFCI trips immediately upon reset or randomly during showers. | Condensation in exterior wall box; degraded internal GFCI sensing coil. | $35 - $60 (WR GFCI Replacement) |
The High-Wattage Appliance Factor
A frequently overlooked reason for an electrical outlet not working in bathroom circuits is the evolution of personal care appliances. Legacy 15-amp bathroom circuits are routinely overwhelmed by modern styling tools. For example, the Dyson Airwrap and Shark FlexStyle systems can draw between 12.5A and 14A continuously. When paired with an illuminated vanity mirror or a heated towel rack on the same circuit, the continuous load exceeds the 80% continuous duty rating of a standard 15A breaker (12A max), causing thermal fatigue and eventual breaker failure.
If your multimeter confirms voltage at the receptacle, but the voltage drops below 105V the moment you turn on a high-wattage hair dryer, you are experiencing severe voltage drop due to undersized wiring (14 AWG) or a degraded breaker bus connection. Upgrading the circuit to 12 AWG wire and a 20A breaker is the only permanent solution.
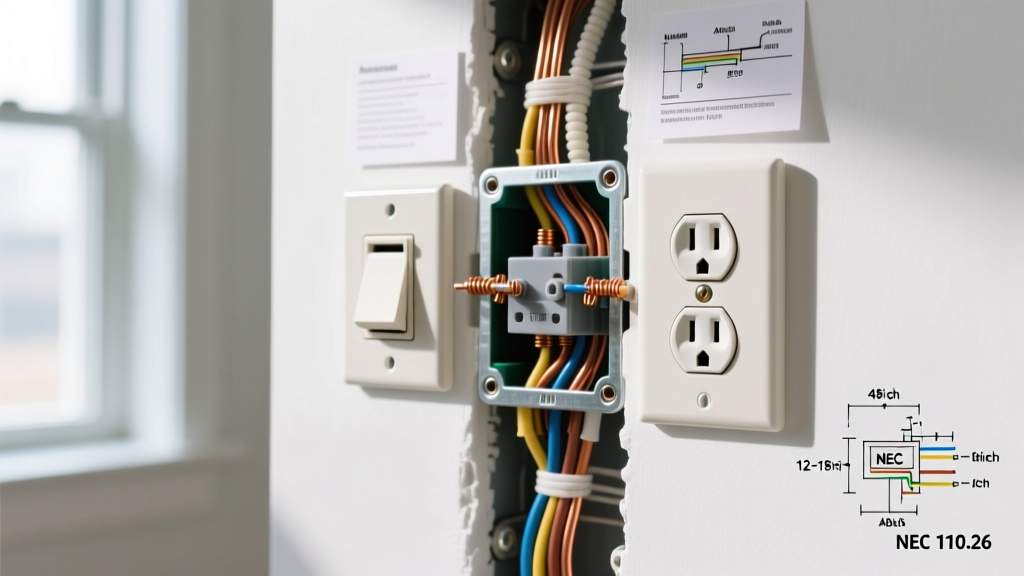
NEC Code Requirement: The National Fire Protection Association (NFPA) mandates via NEC Article 210.11(C)(3) that at least one 20-ampere branch circuit must be provided to supply bathroom receptacle outlet(s). This circuit must have no other outlets (like lighting or exhaust fans) if it supplies more than one bathroom. Always verify your local jurisdiction's adoption of the latest NEC cycle when upgrading.
Frequently Asked Questions
Why does my bathroom outlet have no reset button?
If your bathroom receptacle lacks a reset button, it is a standard Tamper-Resistant (TR) duplex receptacle. The GFCI protection is either located upstream (another bathroom, garage, or exterior wall) or at the main electrical panel via a GFCI or Dual-Function (CAFCI/GFCI) breaker.
Can I replace a 15A bathroom GFCI with a 20A GFCI?
Only if the existing wiring in the wall is 12 AWG copper and the breaker in the panel is rated for 20 Amps. Installing a 20A receptacle on 14 AWG wire protected by a 15A breaker is a code violation and creates a fire hazard, as the wire can overheat before the breaker trips.
My GFCI resets, but trips again when I turn on the exhaust fan. Why?
This indicates a shared neutral fault or a ground fault in the exhaust fan motor. If the fan and receptacle share a neutral wire and the connections are crossed, the GFCI will detect an imbalance between the hot and neutral current (a ground fault) the moment the fan motor engages. You will need to separate the fan's neutral from the GFCI's LOAD neutral.