
Understanding the Electrical Outlet with Light
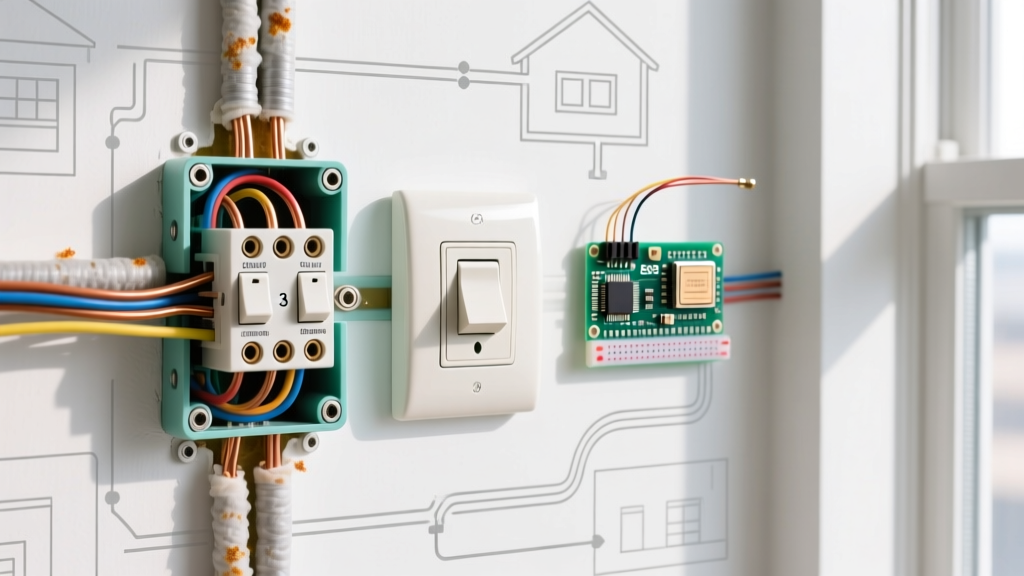
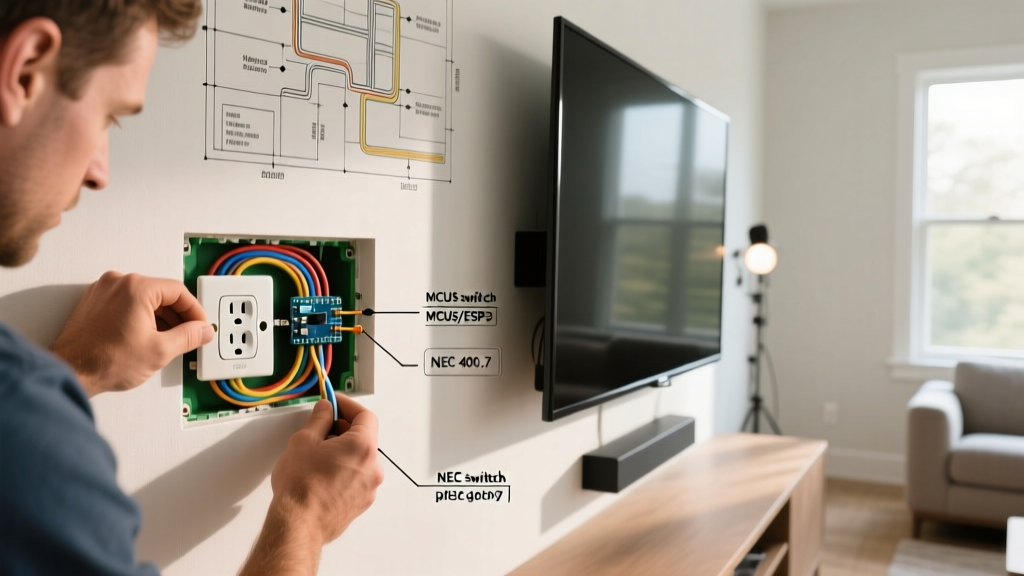
Upgrading a standard duplex receptacle to an electrical outlet with light is one of the most practical modifications you can make to a home or workshop electrical system. Unlike standard receptacles, illuminated outlets feature an integrated indicator—typically a neon gas capsule or a modern LED diode—that provides immediate visual feedback regarding circuit status. Whether you are installing a pilot light receptacle to verify power to critical equipment, upgrading to a GFCI with status LEDs for code compliance, or adding a smart outlet with locator lighting, understanding the specific wiring topology and failure modes is essential.
In this comprehensive upgrade and replacement guide, we break down the exact specifications, wiring procedures, and edge-case troubleshooting steps required for a flawless installation. We will also cover current pricing and model recommendations to ensure your 2026 upgrade is both cost-effective and compliant with the latest National Electrical Code (NEC) standards.
Why Upgrade to an Illuminated Receptacle?
Expert Insight: Standard outlets offer zero visual confirmation of power. In environments with frequent breaker trips, shared neutral circuits, or critical uptime requirements (like sump pumps, freezers, or server racks), an electrical outlet with light eliminates the guesswork. A quick visual check prevents catastrophic inventory loss or equipment downtime.
Types of Illuminated Outlets: Comparison Matrix
Not all indicator lights serve the same purpose. Before purchasing your replacement, identify which category of illuminated receptacle fits your application. The table below compares the three primary types available on the market today.
| Receptacle Type | Example Model | Light Technology | Avg. Cost | Primary Use Case |
|---|---|---|---|---|
| Standard Pilot Light | Leviton 5262-PLW (15A) | Neon Gas Capsule | $5.00 - $8.50 | Verifying line voltage presence; basement/utility lighting. |
| GFCI with Status LED | Leviton GFNT1-W (SmartlockPro) | Bi-Color LED (Green/Red) | $18.00 - $26.00 | Kitchens, bathrooms, and garages; indicates GFCI protection status and trip faults. |
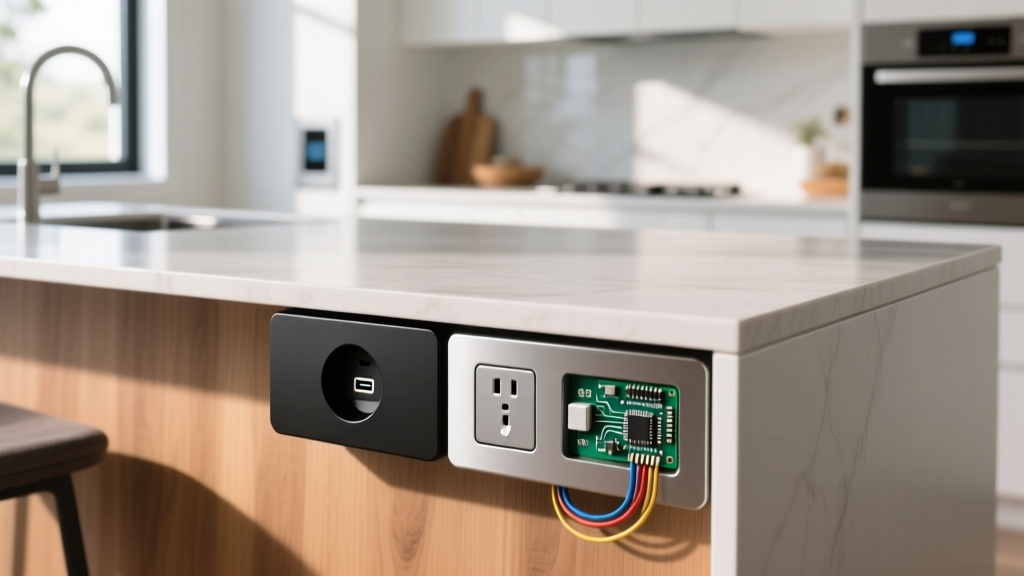
| Smart Wi-Fi Outlet | Kasa EP25 / Leviton DW15R | RGB / Status LED Ring | $15.00 - $32.00 | Automation, remote monitoring, and dark-room locator lighting. |
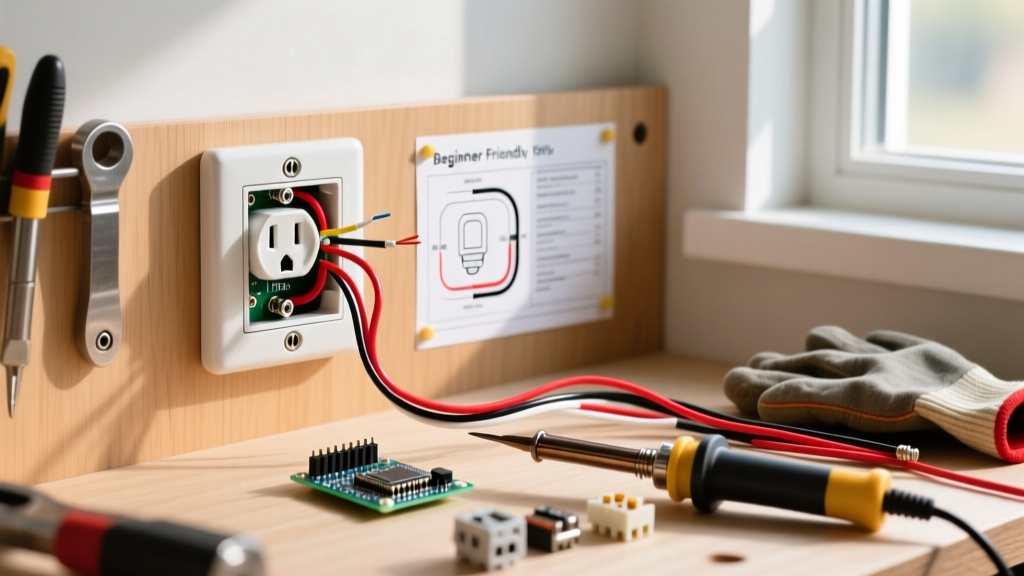
Tools and Materials Required
Do not attempt this replacement without the proper diagnostic and installation tools. Relying on visual inspection alone is a leading cause of electrical shocks and fires.
- Non-Contact Voltage Tester (NCVT): Klein Tools NCVT-3 (Dual-range for 12V to 1000V AC).
- Receptacle Tester: Sperry ET6402 or Klein Tools RT210 to verify wiring topology post-installation.
- Wire Strippers: Capable of stripping 12 AWG and 14 AWG solid copper to exactly 5/8 inch.
- Screwdrivers: #2 Phillips and 1/4-inch flathead (Robertson/square drive if using commercial-grade Leviton or Hubbell devices).
- Torque Screwdriver: Optional but recommended for commercial applications (typically 14-16 in-lbs for terminal screws).
Step-by-Step Replacement Guide
Replacing a standard receptacle with an electrical outlet with light requires careful attention to the internal wiring of the pilot light or LED circuit. Follow these steps precisely.
Step 1: Isolate and Verify the Circuit
Turn off the corresponding breaker at the main panel. Insert your NCVT into both the top and bottom slots of the existing outlet. Crucial Edge Case: If the outlet is on a multi-wire branch circuit (MWBC), two adjacent hot wires may share a single neutral. Ensure both breakers (often tied together with a handle tie) are turned off to prevent lethal shock from the secondary hot leg.
Step 2: Extract and Inspect Existing Wiring
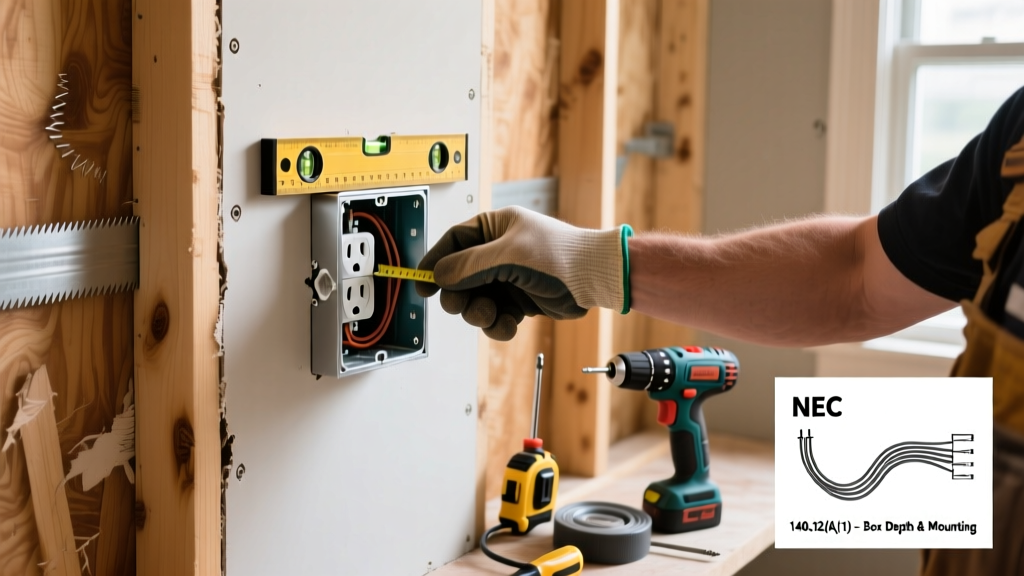
Remove the faceplate and unscrew the top and bottom mounting tabs. Gently pull the receptacle from the gang box. Inspect the wire gauge. If you have 12 AWG wire (20-amp circuit), you must use a 20-amp rated receptacle (like the Leviton 5266 series) or a 15-amp receptacle explicitly rated for 20-amp feed-through. Never use the push-in back-wire holes on standard DIY receptacles for 12 AWG wire; they are notorious for loosening over time due to thermal expansion and contraction.
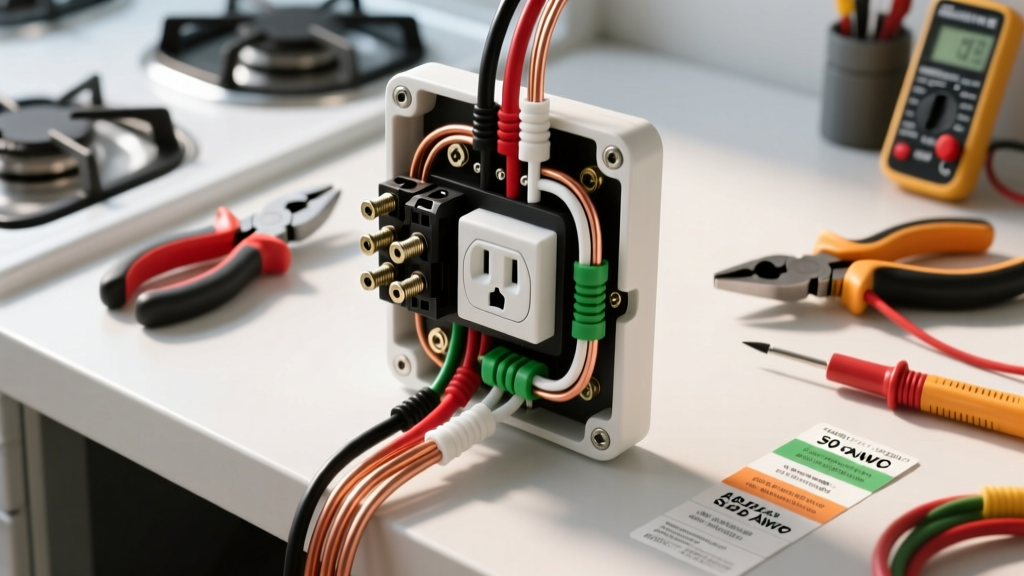
Step 3: Wire the Illuminated Receptacle
- Prepare the Wires: Snip off any damaged or excessively bent copper ends. Strip exactly 5/8 inch of insulation. A wire that is stripped too short will cause the screw head to bite into the insulation, creating a high-resistance fault. A wire stripped too long will leave exposed copper, creating a short-circuit hazard.
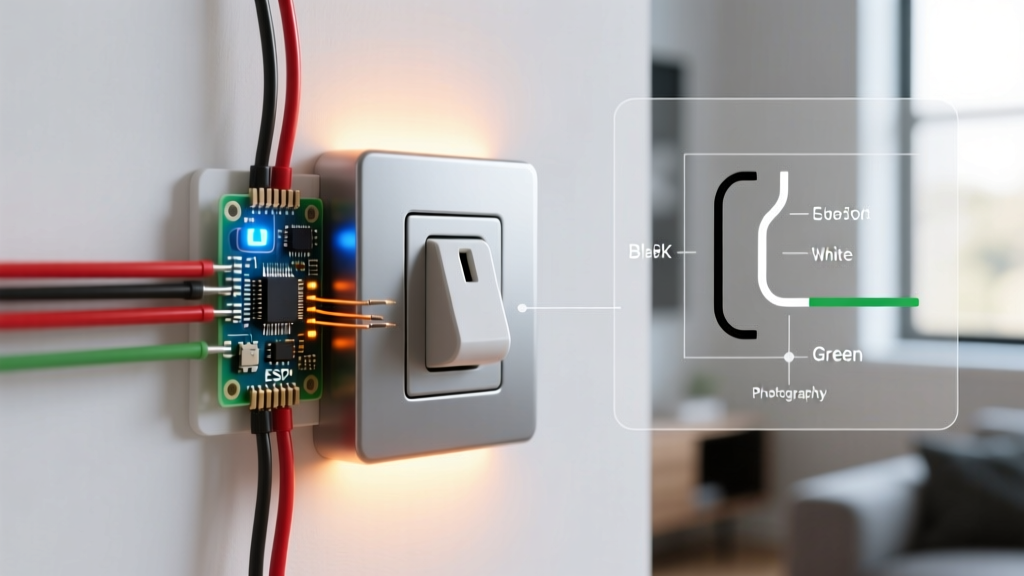
- Connect the Ground: Loop the bare copper or green wire clockwise around the green grounding screw. Tighten firmly.
- Connect the Neutral: Attach the white neutral wire to the silver terminal. Note on Pilot Lights: The internal neon or LED indicator in a standard pilot light receptacle is wired in parallel across the hot and neutral terminals. If your neutral connection is loose, the light will flicker or fail to illuminate, even if the hot leg is secure.
- Connect the Hot: Attach the black hot wire to the brass terminal. Ensure the clockwise loop pulls tighter as the screw is driven down.
Step 4: Final Testing and Mounting
Before pushing the device back into the box, turn the breaker back on. The pilot light or LED should illuminate immediately. Use your plug-in receptacle tester to confirm correct polarity and ground presence. If the tester shows "Open Neutral" but the pilot light is on, you likely have a shared neutral issue or a broken neutral downstream. Turn the power back off, fold the wires neatly (ground in back, neutrals folded, hots on top), and secure the device with 6-32 mounting screws.
Troubleshooting Indicator Light Failures
When an electrical outlet with light fails to perform as expected, the issue is rarely the receptacle itself. Here are the most common failure modes and how to resolve them.
The Light is ON When the Breaker is OFF (Phantom Voltage)
If your pilot light glows faintly or a smart outlet's LED pulses after the breaker is switched off, you are experiencing induced phantom voltage. This occurs when the de-energized wire runs parallel to an active, energized wire in the same conduit or Romex cable for an extended distance. The capacitive coupling induces a low-current voltage (often 20V to 50V). While harmless to humans and incapable of delivering lethal amperage, it is enough to trigger high-impedance LEDs. Fix: This is normal in modern high-efficiency LED/Smart devices. If it is bothersome, install a bleeder resistor across the line and neutral at the load.
The Light Flickers Under Load
A flickering pilot light indicates a voltage drop caused by a high-resistance connection. This is almost always a loose neutral wire at the receptacle or an upstream junction box. As appliances draw heavy current (like a vacuum or space heater), the loose connection arcs microscopically, dropping the voltage and causing the indicator to dim or flicker. This is a severe fire hazard. Tighten all terminal screws and inspect for heat-discolored plastic on the receptacle yoke.
GFCI Status LED is Solid Red
On modern GFCI receptacles (like the Leviton SmartlockPro), a solid green light means protected, while a solid or flashing red light indicates a trip event or a self-test failure. If the device will not reset and the light remains red, the internal ground-fault sensor has detected a leakage current exceeding 5 milliamps, or the internal MOVs (Metal Oxide Varistors) have degraded from a previous surge event. Replace the GFCI immediately; do not attempt to bypass it.
NEC Compliance and Safety Standards
When upgrading receptacles, you must adhere to the current National Electrical Code. According to the NFPA NEC guidelines, all 15-amp and 20-amp, 125-volt receptacles installed in dwelling units must be Tamper-Resistant (TR). When purchasing an electrical outlet with light, ensure the packaging explicitly states "TR". The internal shutters prevent children from inserting foreign objects into the hot or neutral slots.
Furthermore, if you are replacing an outlet in a kitchen, bathroom, garage, or outdoor location, the U.S. Consumer Product Safety Commission (CPSC) and NEC Article 210.8 mandate the use of a GFCI-protected receptacle. In these locations, your "outlet with light" must be a GFCI model with an integrated status LED, rather than a standard pilot light duplex receptacle. Always verify local municipal amendments, as some jurisdictions require AFCI (Arc-Fault Circuit Interrupter) protection at the breaker level for bedroom and living room receptacle upgrades.
Final Thoughts on Illuminated Upgrades
Upgrading to an electrical outlet with light is a low-cost, high-reward project that enhances both the safety and functionality of your electrical system. By selecting the correct device type—whether a simple neon pilot light for a basement freezer or a Wi-Fi-enabled smart outlet for home automation—and adhering to strict wire-preparation and torque standards, you ensure a reliable installation that will last for decades. Always prioritize tamper-resistant models and verify GFCI requirements in wet or damp locations to maintain full code compliance.