
Never assume an outlet is dead just because a device plugged into it lacks power. Always verify the absence of voltage with a properly rated multimeter before removing any faceplates. According to the Electrical Safety Foundation International (ESFI), electrical receptacles are involved in thousands of residential fires annually. If you lack experience working inside live electrical panels or junction boxes, hire a licensed electrician.
The Systematic Approach to Electrical Outlet Troubleshooting
When a standard 15-amp or 20-amp duplex receptacle stops working, the temptation is to immediately unscrew the faceplate and start yanking wires. This is a rookie mistake. Professional electrical outlet troubleshooting requires a top-down diagnostic hierarchy. A dead outlet is rarely an isolated failure; it is usually the final symptom of an upstream interruption, a tripped protection device, or a thermal failure at a termination point.
In this comprehensive 2026 guide, we will bypass generic advice and dive into the exact diagnostic flow, tool requirements, and failure modes that master electricians use to isolate and repair faulty receptacles.
The 2026 Diagnostic Toolkit: What You Actually Need
You cannot accurately diagnose modern branch circuits with a $10 neon voltage tester. The proliferation of AFCI/GFCI combinations and sensitive electronics demands precision. Here is the exact loadout required for professional-grade troubleshooting:
- True-RMS Digital Multimeter: The Fluke 117 True RMS (retailing around $215 in 2026) is the industry standard. Its non-contact voltage (NCV) and VoltAlert features allow for safe initial sweeps, while True-RMS ensures accurate readings on circuits with non-linear loads.
- Receptacle Tester: The Klein Tools RT210 (~$28) is essential for quickly identifying wiring faults like reversed polarity, open grounds, and hot/neutral swaps without exposing bare copper.
- Torque Screwdriver: The Wiha 320P or a calibrated Klein Tools 32500 torque screwdriver. NEC 110.14(D) strictly requires terminations to be torqued to manufacturer specifications (typically 14 in-lbs for standard 15A/20A receptacles) to prevent thermal loosening.
- Insulated Screwdrivers: 1000V rated Phillips #2 and flathead drivers (e.g., Wera VDE series).
The 3-Point Voltage Verification Test
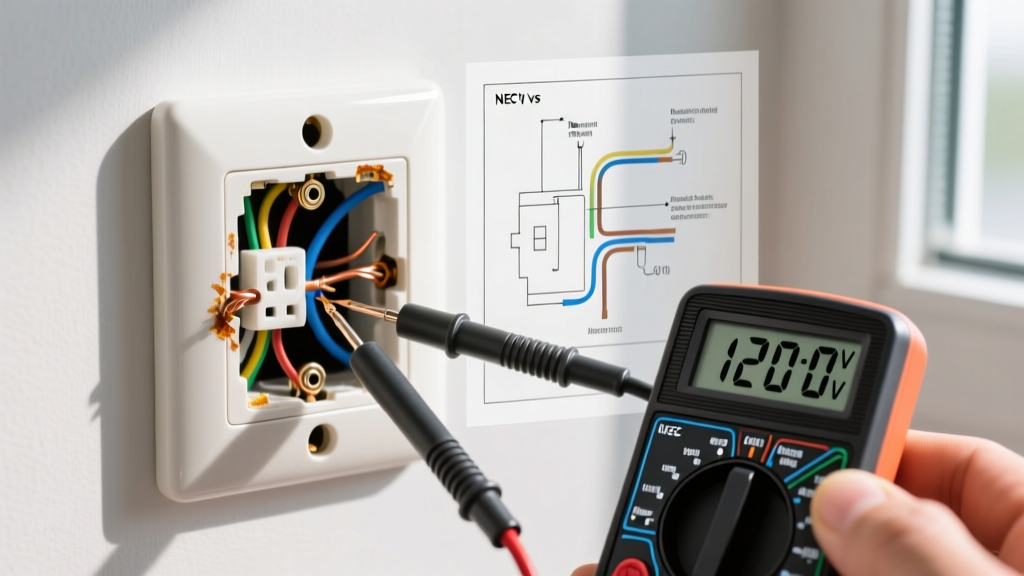
Before pulling the outlet from the wall box, you must establish the circuit's baseline voltage. As outlined in Fluke Corporation's official testing guidelines, a standard 120V branch circuit should read between 114V and 126V under load. Insert your multimeter probes into the receptacle slots to perform the 3-point test:
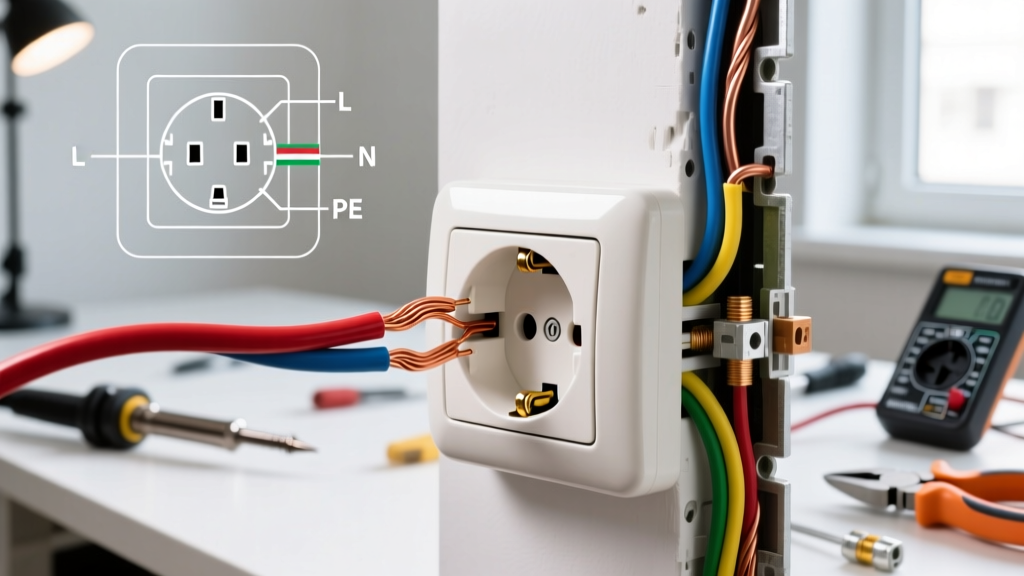
- Hot to Neutral (Short slot to Long slot): Should read ~120V. If 0V, you have an open hot or open neutral.
- Hot to Ground (Short slot to U-shaped ground): Should read ~120V. If this reads 0V but Hot-Neutral reads 120V, you have an open ground (a severe shock hazard).
- Neutral to Ground (Long slot to U-shaped ground): Should read 0V to 2V. If this reads 120V, the hot and neutral wires are reversed at the outlet or upstream. If it reads 3V-5V, you are experiencing voltage drop due to an overloaded circuit or undersized wiring (NEC recommends a maximum 3% voltage drop for branch circuits).
Common Failure Modes & Diagnostic Matrix
Once you have identified the electrical anomaly via the 3-point test, cross-reference the symptoms with this failure matrix to pinpoint the root cause.
| Symptom / Test Result | Probable Root Cause | Diagnostic Action & Fix | Est. DIY Cost |
|---|---|---|---|
| 0V across all points; upstream outlets also dead. | Tripped GFCI, AFCI breaker, or standard breaker. | Check panel and upstream bathrooms/kitchens for tripped GFCI reset buttons. | $0 |
| 120V Hot-Neutral, but 0V Hot-Ground. | Open ground or disconnected ground pigtail. | Remove faceplate; verify bare copper/green wire is secured to the green terminal and box ground. | $2 (Wire nut/pigtail) |
| Intermittent power; works when wiggling plug. | Worn internal brass contacts (loss of tension). | Replace receptacle. Upgrade to a commercial-grade spec (e.g., Hubbell 5262). | $6 - $9 |
| 0V Hot-Neutral; 120V Hot-Ground. | Open neutral (disconnected white wire upstream or at backstab). | Trace circuit to previous outlet; check for failed push-in backstab connections. | $3 (New receptacle) |
Deep Dive: The 'Backstab' Wiring Epidemic
If your home was built between 1980 and 2015, there is a high probability that your outlets were wired using 'backstab' (push-in) terminals rather than traditional side-screw terminations. While the NEC permits push-in connectors for 14 AWG solid copper wire, they are the single leading cause of intermittent open-neutral and open-hot failures in modern residential troubleshooting.
Why Backstabs Fail
Backstab terminals rely on a small internal spring-metal tang to bite into the copper wire. Over years of thermal cycling—heating up under load and cooling down when idle—the copper wire and the steel spring expand and contract at different rates. This micro-movement eventually causes the tang to lose its grip, creating a high-resistance connection. This high resistance generates localized heat, melting the plastic housing and causing the circuit to fail.
Pro-Tip: Never use backstab terminals for 12 AWG wire (20-amp circuits). While some older receptacles physically allowed it, the thermal expansion of thicker 12-gauge wire accelerates spring fatigue. When troubleshooting a dead outlet, if you pull it from the box and see wires shoved into the back, cut the wires back, strip 3/4 inch of fresh insulation, and terminate them using the side screws or a proper pigtail wire nut connection.
GFCI and AFCI Ghost Trips: Line vs. Load Confusion
When troubleshooting a dead outlet in a kitchen, bathroom, or exterior wall, you are likely dealing with a Ground Fault Circuit Interrupter (GFCI). A common DIY error during replacement is reversing the LINE and LOAD terminals. The LINE terminals receive power from the panel; the LOAD terminals send protected power downstream to other outlets.
If you wire the incoming power to the LOAD terminals, the GFCI will function locally but will instantly trip (or refuse to reset) as soon as a downstream load is applied, or it will fail to provide ground-fault protection to downstream receptacles. Always use your multimeter to identify the constantly hot pair of wires before disconnecting the old GFCI; those are your LINE wires. Modern devices like the Leviton GFNT1-W feature a 'Line/Load Reversal' lockout that prevents the device from resetting if wired incorrectly, saving hours of diagnostic confusion.
When to Call a Professional: Edge Cases and Hazards
While replacing a $3 Leviton duplex receptacle is a straightforward DIY task, certain diagnostic findings require immediate professional intervention. The U.S. Department of Energy strongly advises against amateur repairs on legacy or compromised electrical systems.
- Aluminum Wiring (1965-1973): If you pull the outlet and see dull gray wire instead of copper, stop immediately. Aluminum requires special CO/ALR rated receptacles and antioxidant paste (Penetrox). Standard copper-rated outlets will cause galvanic corrosion and severe fire hazards.
- Melted or Scorched Plastic: If the outlet faceplate or the drywall around the box shows brown scorch marks, the circuit has experienced a severe thermal event. The wiring insulation inside the box may be brittle and compromised, requiring a licensed electrician to cut back to healthy wire or pull a new home run.
- Federal Pacific (FPE) or Zinsco Panels: If your troubleshooting leads you back to a breaker that refuses to trip under a short-circuit condition, and your panel is an FPE Stab-Lok, the entire panel is a known fire hazard and must be replaced.
2026 Cost Analysis: DIY vs. Professional Troubleshooting
If you lack the tools or confidence, hiring a professional is the safest route. In 2026, the national average for an electrician's diagnostic service call ranges from $150 to $250, which typically covers the first hour of troubleshooting. Replacing a standard receptacle will add $75 to $125 in labor. However, if the troubleshooting reveals a broken wire inside the wall requiring fish-taping and drywall repair, costs can easily escalate to $400 - $600. By investing $250 upfront in a quality Fluke multimeter and learning the 3-point voltage test, homeowners can safely diagnose and resolve 90% of common receptacle failures for under $10 in parts.