
Diagnosing the Fault: Why Your Electrical Outlet Keeps Tripping
When an electrical outlet keeps tripping, it is actively protecting your home from ground faults, arc faults, or overcurrent events. However, nuisance tripping often indicates a failing internal solenoid, moisture intrusion, or a miswired downstream load. Before ripping wires out of the wall, you must determine whether the fault lies with the circuit breaker in your main panel or the GFCI/AFCI receptacle itself.
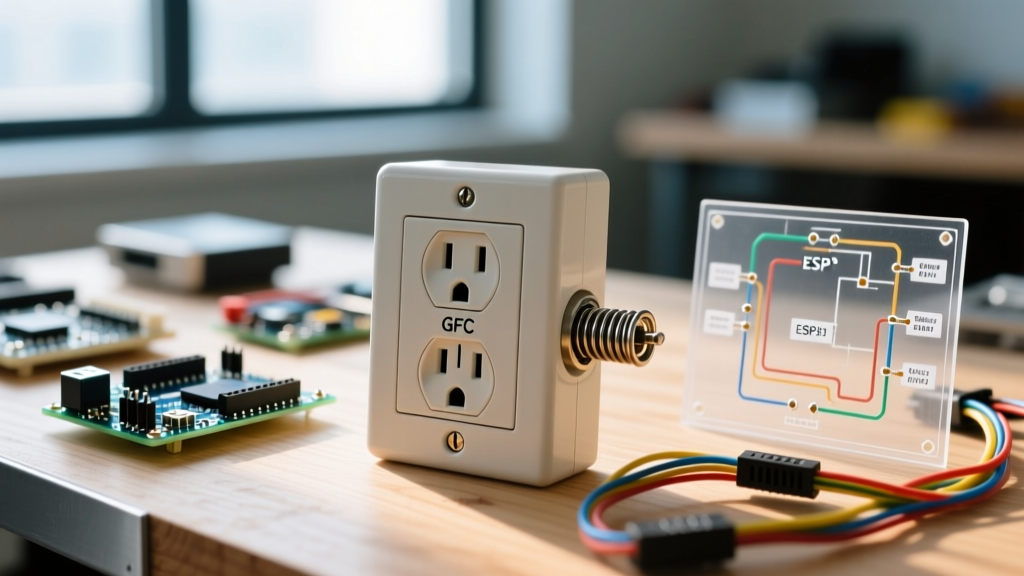
Ground Fault Circuit Interrupter (GFCI) receptacles contain an internal sensing coil that monitors the current balance between the hot and neutral conductors. If a variance as small as 4 to 6 milliamps is detected, the internal solenoid trips the circuit in under 25 milliseconds. Over a typical 10-year lifespan, these solenoids degrade, leading to phantom tripping even when no actual fault exists.
Troubleshooting Matrix: Breaker vs. Receptacle Tripping
| Symptom | Probable Cause | Component at Fault |
|---|---|---|
| Receptacle reset button pops immediately | Line/Load reversal or downstream ground fault | GFCI Receptacle |
| Panel breaker trips, receptacle reset stays in | Overcurrent, short circuit, or arc fault | Circuit Breaker |
| Trips only when specific appliance is plugged in | Appliance internal leakage (e.g., failing heating element) | Appliance / GFCI sensitivity |
| Random tripping during storms or high humidity | Moisture ingress in outdoor or condensation-prone boxes | Weatherproof cover / GFCI |
Tools and Materials for a Code-Compliant Installation
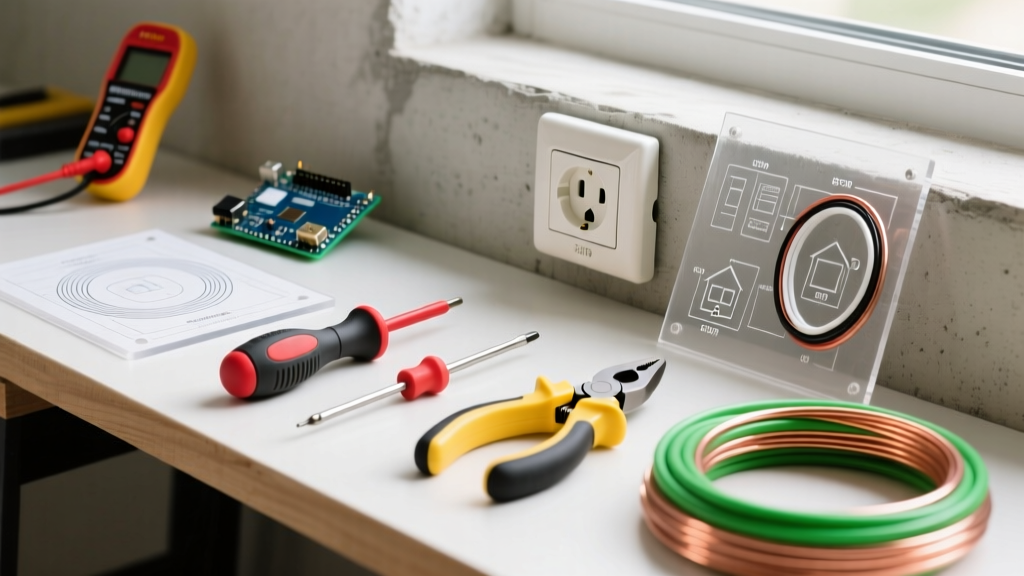
To replace a failing receptacle safely and in accordance with the latest National Electrical Code (NEC) standards, you need more than just a flathead screwdriver. Professional-grade diagnostics and precise termination are mandatory.
- Fluke 1AC-II VoltAlert Non-Contact Voltage Tester ($28-$32): Essential for verifying the circuit is dead before touching bare copper.
- Klein Tools 32308 11-in-1 Screwdriver ($16): Features the exact Robertson and flathead bits needed for standard 6-32 UNC device screws and terminal clamps.
- Southwire 11055 Wire Stripper ($22): Calibrated for 10-18 AWG solid and stranded copper to prevent nicking the conductor.
- CDI 1002MFRMH Torque Screwdriver ($95): Critical for NEC compliance. NEC Article 110.14(D) requires terminals to be tightened to the manufacturer's specified torque.
- Leviton GFNT1-W 15A Tamper-Resistant GFCI ($18-$24) or Leviton AGFTR1-W Dual-Function (AFCI/GFCI) ($42-$48) for areas requiring both arc-fault and ground-fault protection.
Step-by-Step Installation: Replacing a Faulty GFCI Receptacle
Step 1: Isolate and Verify the Circuit
Locate the breaker controlling the tripping outlet and switch it to the OFF position. Insert your Fluke 1AC-II into both the top and bottom slots of the receptacle. The LED must remain dark, and the audible alarm must be silent. Always test the voltage tester on a known live circuit before and after checking the dead circuit to ensure the tool's battery hasn't failed mid-job.
Step 2: Extract and Audit the Existing Wiring
Remove the center 6-32 UNC mounting screw and pull the device out of the electrical box. Do not immediately disconnect the wires. Audit the existing termination:
- Check for Backstabbed Wires: If the previous installer used the push-in backstab terminals, this is likely a contributing factor to your issues. Backstabbed connections create high-resistance points that generate heat and micro-arcs, which can confuse the sensitive electronics of an AFCI/GFCI device.
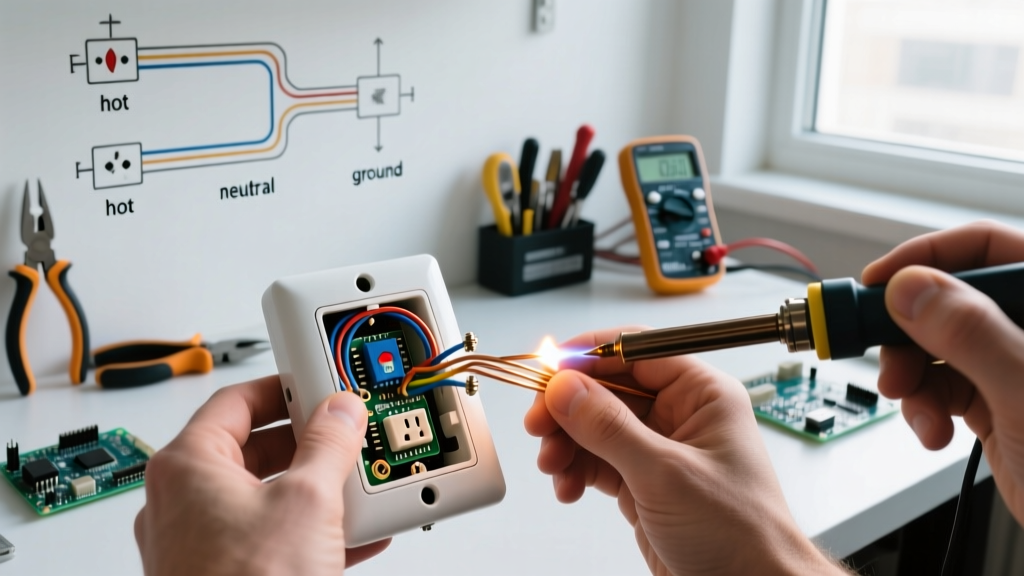
- Identify LINE vs. LOAD: The GFCI will have two sets of terminals marked with tape or stamped lettering. LINE brings power from the panel; LOAD sends protected power to downstream outlets. Reversing these is the #1 cause of a newly installed GFCI tripping immediately.
- Prep the Conductors: Use your wire strippers to cut off any exposed copper that was previously backstabbed or heavily oxidized. Strip exactly 3/4 inch of fresh insulation for a clean screw-loop termination.
Step 3: Terminate with Precision (The 14 in-lb Rule)
Form a clockwise hook in the 12 AWG or 14 AWG solid copper wire using the stripping hole on your pliers. Hook the wire clockwise around the brass (hot) and silver (neutral) screws so that tightening the screw pulls the loop tighter rather than pushing it out.
NEC Compliance Warning: Under NEC 110.14(D), any terminal with a marked torque specification must be tightened using a calibrated torque tool. Most Leviton and Eaton GFCI receptacles specify 14 in-lbs (1.6 N-m). Overtightening strips the brass screw head; undertightening causes thermal expansion and nuisance tripping.
Set your torque screwdriver to 14 in-lbs and tighten until the tool clicks. Wrap the device with high-quality electrical tape (3M Super 33+) over the side terminals before pushing it back into the box to prevent ground faults against a metal electrical box.
Advanced Edge Cases: Shared Neutrals and Line/Load Reversals
If you have replaced the receptacle, verified the line and load, and the electrical outlet keeps tripping the moment you restore power, you are likely dealing with a Multi-Wire Branch Circuit (MWBC) or a shared neutral scenario.
In an MWBC, two hot wires (typically black and red) share a single neutral wire. If you install a standard single-pole GFCI on one of the hot legs, the GFCI will monitor the current returning on the shared neutral. Because the neutral is carrying return current from both hot legs, the GFCI will read a massive imbalance and trip instantly.
The Fix: You cannot use a standard receptacle GFCI on an MWBC. You must either:
- Install a 2-pole GFCI circuit breaker in the main panel to monitor both hot legs and the shared neutral simultaneously.
- Pull a new dedicated neutral wire from the panel to the receptacle box, effectively separating the circuits.
Upgrading to Dual-Function (AFCI/GFCI) Receptacles
Modern electrical codes mandate both Arc-Fault (AFCI) and Ground-Fault (GFCI) protection for areas like laundry rooms, kitchens, and bathrooms. If your home has an older breaker panel that lacks AFCI breakers, replacing a tripping standard GFCI with a Dual-Function Tamper-Resistant Receptacle (like the Leviton AGFTR1-W) is the most cost-effective way to achieve 2026 code compliance without spending $250+ on a specialized AFCI/GFCI breaker.
These devices feature advanced digital signal processing (DSP) that distinguishes between harmless appliance motor arcs (like a vacuum starting up) and dangerous parallel arcing, drastically reducing the nuisance tripping that plagued early-generation AFCI devices.
Final Testing and Commissioning
Once the device is mounted and the faceplate is secured, restore power at the panel. Press the "TEST" button on the receptacle. You should hear a distinct mechanical click, and the "RESET" button should pop out. Plug in a 150W incandescent work light or a dedicated GFCI tester (like the Klein Tools RT250) to verify that downstream LOAD outlets have also lost power. Press "RESET" to restore the circuit.
For authoritative guidelines on electrical safety and grounding requirements, always consult the National Fire Protection Association (NFPA) Electrical Safety Guidelines and the U.S. Consumer Product Safety Commission (CPSC) Electrical Safety Center. Proper installation not only stops the frustrating cycle of a tripping outlet but ensures the life-saving functionality of your home's electrical protection system.