
The Hidden Dangers of a Wobbly Receptacle
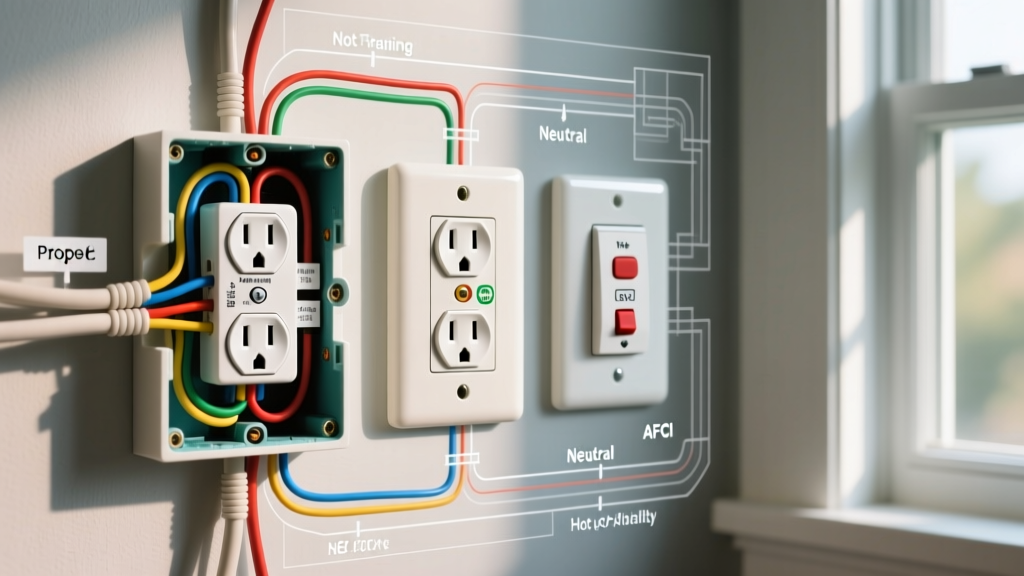
When you plug in a vacuum or a phone charger and the entire receptacle shifts, it is easy to dismiss it as a minor annoyance. However, if your electrical outlet is loose, you are dealing with a compounding mechanical and electrical hazard. A wobbly faceplate transfers physical stress directly to the wire terminations inside the junction box. Over time, this micro-movement degrades the connection, increases electrical resistance, and generates excess heat. According to the National Fire Protection Association (NFPA), electrical distribution and lighting equipment failures are consistently among the leading causes of home structure fires, with loose connections acting as a primary catalyst for arc faults.
As of 2026, while modern AFCI (Arc-Fault Circuit Interrupter) breakers are highly sensitive to the signatures of arcing, they cannot prevent the localized melting that occurs at a high-resistance loose terminal. To fix the issue permanently, you must first diagnose whether the looseness is a mechanical mounting failure or an internal wiring termination failure. Below, we break down the most common wiring scenarios that cause this issue and provide expert-level remediation steps.
Diagnostic Matrix: Mechanical vs. Terminal Looseness
Before cutting the power, perform a visual and tactile inspection to categorize the failure. Use this matrix to identify your specific scenario:
| Failure Type | Primary Symptom | Root Cause | Danger Level |
|---|---|---|---|
| Faceplate/Box Shift | The entire plastic cover and receptacle move when inserting a plug. | Crushed drywall, broken mounting ears, or missing box shims. | Moderate (Stresses internal wires) |
| Receptacle Body Wiggle | The faceplate is tight, but the plug feels loose inside the slots. | Worn internal brass contacts (common in 20+ year old standard duplex receptacles). | High (Causes arcing at the plug prongs) |
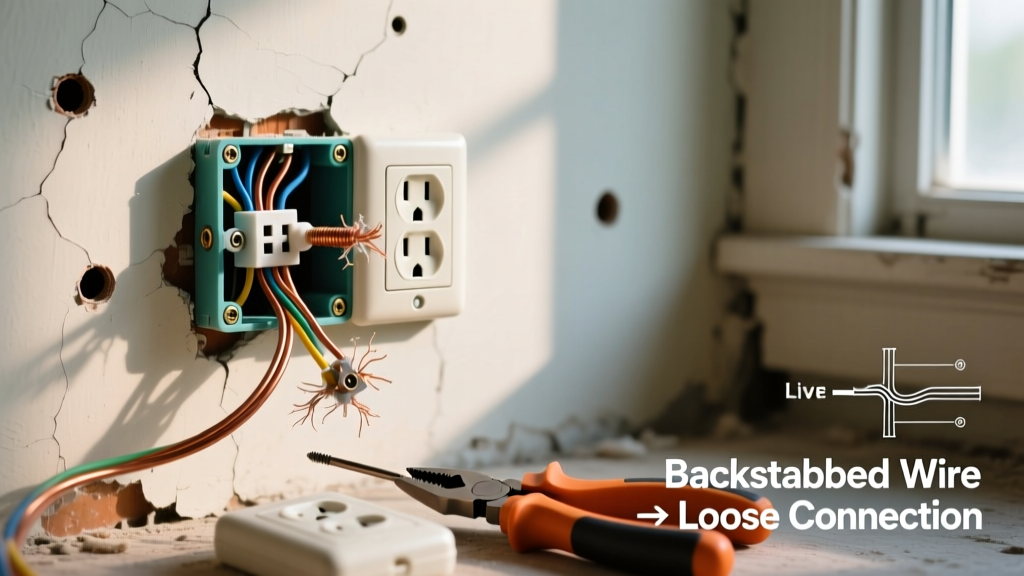
| Internal Wire Slip | Power intermittently cuts out when the receptacle is wiggled. | Backstabbed push-in connections failing due to thermal cycling. | Critical (High risk of arc fault and fire) |
| Aluminum Creep | Outlet feels loose, accompanied by a faint buzzing or warm faceplate. | Cold creep and oxidation in 1960s/70s aluminum branch wiring. | Critical (Requires immediate CO/ALR remediation) |
Scenario 1: The 'Push-In' Backstab Failure (Thermal Cycling)
The most dangerous reason an electrical outlet is loose internally stems from the use of push-in backstab terminals. Many tract homes built between 1990 and 2015 utilized backstabbed 15A receptacles (like the standard Leviton 1515) to save installation time. These terminals rely on a tiny internal spring-leaf to grip 14 AWG solid copper wire.
The Physics of the Failure
When a high-draw appliance (like a space heater pulling 12.5 amps) is used, the brass contacts and the wire heat up and expand. When unplugged, they cool and contract. Over hundreds of thermal cycles, the internal spring leaf loses its tension—a phenomenon known as spring fatigue. The wire becomes physically loose inside the terminal, creating a high-resistance micro-gap. This gap leads to series arcing. The Consumer Product Safety Commission (CPSC) explicitly warns against reusing backstabbed connections once a wire has been removed, as the spring tension is permanently compromised.
The Expert Fix
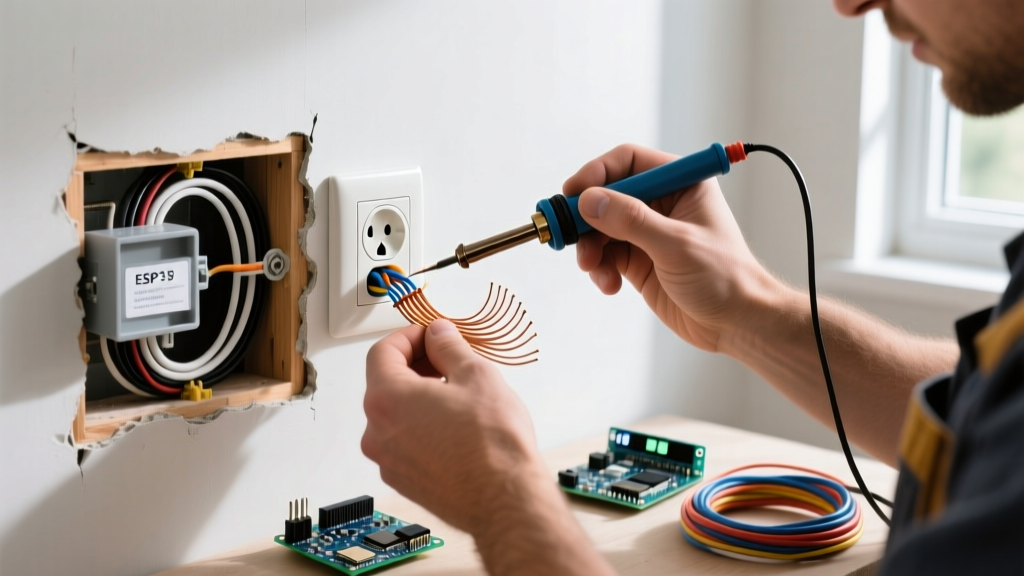
- Remove the backstabbed wires: Insert a small flathead screwdriver or dedicated release tool into the release slot next to the wire to free it. Never just pull the wire, which can damage the internal mechanism.
- Strip and Side-Wire: Strip 3/4-inch of insulation. Hook the bare copper wire clockwise around the brass (hot) and silver (neutral) side-terminal screws. The clockwise wrap ensures that tightening the screw pulls the wire loop tighter rather than pushing it out.
- Upgrade the Device: Replace the old receptacle with a commercial-grade Tamper-Resistant (TR) model, such as the Leviton T5262-E ($4.50 - $6.00), which features deep side-wiring clamps that physically trap the wire under a metal plate, eliminating loop slip.
Scenario 2: Drywall Degradation and Mounting Ear Failure
If the junction box is secure but the receptacle itself sinks into the wall when you push a plug in, the drywall behind the mounting ears (plaster rings) has crumbled. This is incredibly common in older homes or in walls that have suffered moisture damage or repeated impact.
Why Over-Tightening Makes It Worse
A common DIY mistake is cranking the 6-32 mounting screws tighter to force the outlet flush. This simply crushes the drywall further, bends the mounting ears inward, and places severe lateral stress on the internal wire terminations. If the receptacle sits more than 1/8-inch proud of the faceplate, or sinks behind it, you have a gap violation per NEC 314.20.
The Expert Fix: Adjustable Spacers
Do not use makeshift cardboard or stacked washers. Use purpose-built outlet shims.
- Measure the Gap: Determine the distance between the drywall surface and the junction box edge.
- Install Spacers: Use a product like the Madison Electric MS300 Adjustable Spacers (approx. $4.00 for a 10-pack). These plastic, accordion-style shims allow you to snap off the exact thickness needed (from 1/16 to 1/4 inch increments).
- Stack and Secure: Slide the spacers over the 6-32 mounting screws between the drywall and the receptacle mounting ears. This provides a rigid, non-compressible backstop that absorbs the physical force of plugging and unplugging devices without transferring it to the wires.
Scenario 3: Aluminum Wire 'Cold Creep' and Oxidation
If your home was built between 1965 and 1973, you may have aluminum branch circuit wiring. Aluminum has a higher coefficient of thermal expansion than copper and is subject to 'cold creep'—meaning it slowly deforms and loosens under the constant pressure of a terminal screw over time.
Code Warning: Standard copper-rated receptacles connected to aluminum wire will eventually loosen, oxidize, and overheat. The NEC strictly requires devices rated specifically for aluminum wire to be marked CO/ALR.
The Expert Fix
If you discover aluminum wire (identifiable by its dull silver color and 'AL' stamping on the wire jacket), you must replace the loose receptacle with a CO/ALR specific device, such as the Leviton 1699 ($9.00 - $12.00). Furthermore, you must apply an anti-oxidant compound like Ideal Industries Noalox to the stripped aluminum wire before terminating it under the screw. This paste breaks down surface aluminum oxide and prevents future oxidation that leads to high-resistance loose connections.
Step-by-Step Remediation Flow for Secure Terminations
When addressing a loose electrical outlet, follow this professional workflow to ensure mechanical and electrical integrity:
- Kill and Verify: Turn off the breaker. Use a non-contact voltage tester (NCVT) and a plug-in circuit tester to verify zero voltage.
- Extract and Inspect: Pull the receptacle out. Check for melted plastic, scorched wires, or exposed copper beyond the terminal. If the thermoplastic body is warped, discard it immediately.
- Re-terminate with Torque: As mandated by NEC 110.14(D), terminations must be tightened to the manufacturer's specified torque. While most DIYers use a standard screwdriver, professionals use a torque screwdriver (like the Klein Tools 69500). For 14 AWG copper on a standard 15A receptacle, the target is typically 12 to 14 inch-pounds. For 12 AWG on a 20A receptacle, aim for 14 to 16 inch-pounds. This ensures the wire is tight enough to prevent arcing, but not so tight that it shears the brass screw head or crushes the copper strand.
- Wrap and Seat: Wrap electrical tape clockwise around the sides of the receptacle to cover the exposed terminal screws (a classic electrician's trick to prevent shorts against a metal box or ground wire). Push the wires neatly into the box using a folded accordion method, not a hard shove, to avoid pushing the wires off the terminals.
- Shim and Mount: Apply your Madison spacers if the drywall is compromised, then drive the 6-32 screws until the mounting ears are flush and rigid.
Expert Troubleshooting FAQ
Can I just use longer screws to fix a loose outlet?
No. If the receptacle is loose because the junction box itself is recessed too far into the wall (more than 1/4-inch for non-combustible surfaces, or 1/8-inch for combustible), longer screws will not provide lateral stability. The outlet will still pivot on the screw shaft. You must use an electrical box extender ring (like the Arlington BE1) to bring the box edge flush with the wall surface.
Why does my plug fall out of the outlet even when the outlet feels tight to the wall?
This indicates worn internal brass contacts, not a wiring issue. The U-shaped slots in the receptacle have lost their spring tension. This is incredibly dangerous as it causes arcing at the plug prongs. The U.S. Department of Energy recommends replacing any receptacle that no longer firmly grips a standard NEMA 1-15 or 5-15 plug. There is no repair for worn internal contacts; the entire $3 to $6 receptacle must be swapped out.
Do I need to pigtail the wires if the outlet is loose?
If your receptacle is part of a daisy-chained circuit (where power comes in from the breaker and continues to the next outlet), relying on the receptacle's side screws to splice the wires is a point of failure. If the receptacle is removed or fails, the downstream outlets lose power. Best practice is to use a Wago 221 lever-nut or a wire nut to pigtail the incoming and outgoing hot/neutral wires together, with a single short jumper wire connecting to the receptacle. This isolates the device from the circuit's continuity.
Final Thoughts on Receptacle Stability
Ignoring an outlet that wobbles or shifts is a gamble with your home's electrical safety. Whether the issue stems from degraded drywall, failed backstab springs, or aluminum cold creep, the solution requires addressing the root mechanical failure rather than just tightening a faceplate screw. By utilizing proper side-wiring techniques, torque-specific tools, and purpose-built shims, you ensure your receptacles remain stable, code-compliant, and safe for decades to come.