
Navigating Denver’s Electrical Codes and Permit Requirements
When undertaking an electrical outlet installation in Denver, understanding the local regulatory landscape is just as critical as knowing how to strip a wire. Denver’s housing stock is incredibly diverse, ranging from historic Victorian homes in Capitol Hill to mid-century bungalows in Washington Park. Many of these older properties still feature outdated, ungrounded wiring or knob-and-tube remnants that complicate modern receptacle upgrades.
Before you pick up a screwdriver, you must determine if your project requires a permit. According to Denver Community Planning and Development, replacing an existing receptacle with a like-for-like model in a standard location does not typically require a permit. However, if you are running a new circuit, extending an existing circuit to add a new outlet box, or upgrading an ungrounded 2-prong circuit to a grounded 3-prong or GFCI-protected system, a residential electrical permit is mandatory. Failing to pull a permit for structural electrical changes can result in fines and severe complications when selling your home.
Pro Tip for Denver Homeowners: Always check your main service panel's amperage before adding new outlets. Many older Denver homes operate on 100-amp panels. Adding high-draw circuits for modern electronics or EV chargers without a panel upgrade can lead to frequent main breaker trips and fire hazards.
Essential Tools and Materials for 2026
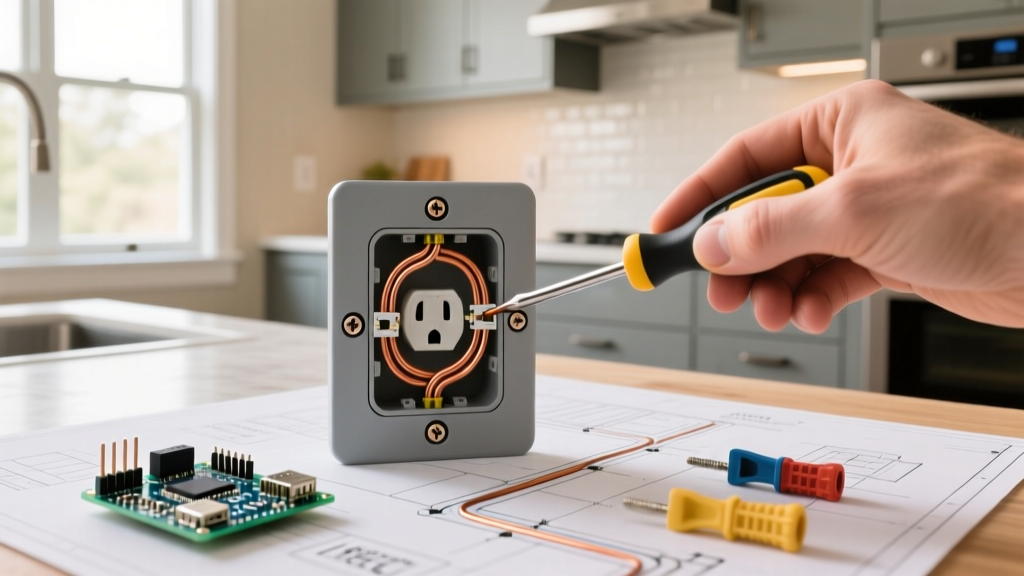
Skip the bargain-bin tools. For a safe, code-compliant installation, you need precision instruments. Here is the exact bill of materials (BOM) and tool list required for a standard 15-amp, 120-volt residential receptacle installation:
- Receptacle: Leviton 15A Tamper-Resistant (TR) Duplex Receptacle (Model: R52-05320-WST). TR outlets are mandated by the NEC for all indoor residential living spaces to prevent child shock hazards.
- Wire: 14/2 NM-B (Romex) for 15A circuits, or 12/2 NM-B for 20A circuits. Never mix wire gauges on a single breaker.
- Junction Box: Carlon B618R 1-Gang New Work Nail-On Box (if adding a new drop) or an Arlington BE1 Old Work Box for retrofitting drywall.
- Wire Strippers: Klein Tools 11055 (10-20 AWG) for clean insulation removal without nicking the copper conductor.
- Voltage Tester: Fluke 1AC-II VoltAlert or a Klein Tools NCVT-3 non-contact voltage tester.
- Torque Screwdriver: CDI 401SM Torque Screwdriver. While NEC torque requirements heavily target panel breakers, best practice for receptacle termination is 12 to 14 inch-pounds to prevent thermal loosening over time.
Step-by-Step Electrical Outlet Installation
Step 1: Circuit De-energization and Verification
Safety is non-negotiable. Locate your main service panel and switch off the breaker controlling the circuit you are working on. Tag the breaker with a piece of painter's tape so no one accidentally turns it back on. Next, remove the existing faceplate and use your non-contact voltage tester on both the top and bottom brass (hot) screws. For absolute certainty, use a multimeter set to AC voltage and test between the hot (black) and neutral (white), and hot to ground (bare copper). The reading must be exactly 0.0V.
Step 2: Rough-In and Box Preparation
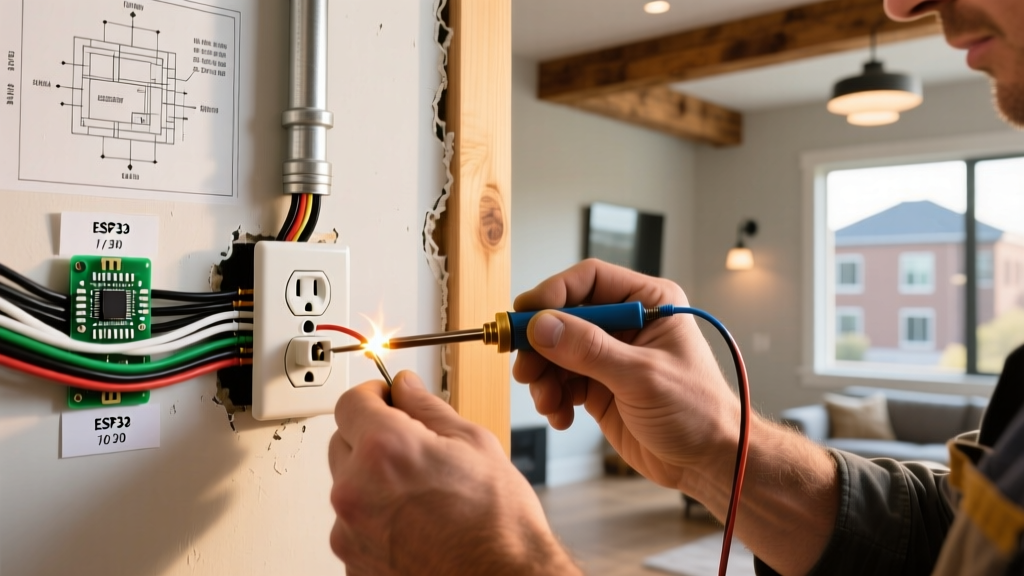
If you are installing a new outlet location, cut the drywall using a rotary tool or drywall saw, ensuring you avoid hidden plumbing or HVAC ducts. Feed your 14/2 or 12/2 NM cable into the junction box, leaving at least 3 inches of cable extending past the front edge of the box. Secure the cable with the internal cable clamps. According to the National Fire Protection Association (NFPA) NEC guidelines, you must leave a minimum of 6 inches of free conductor length measured from the point where the cable enters the box.
Step 3: Stripping and Terminating Conductors
Strip exactly 3/4 inch of insulation from the black and white wires. Do not exceed this length; exposed copper outside the terminal connection is a severe shock and short-circuit risk.
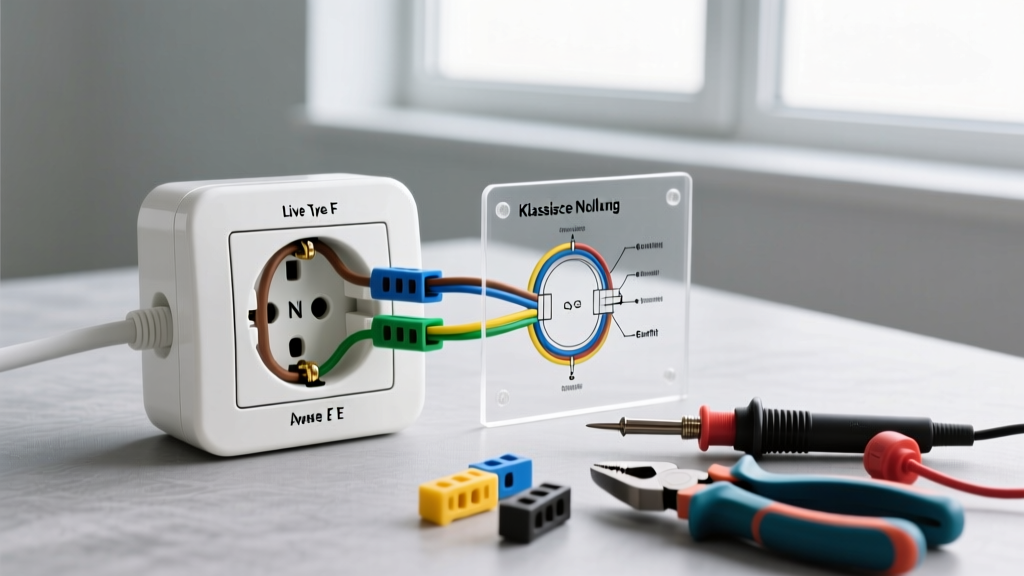
Termination Method: Avoid using the push-in back-wire holes on the back of the receptacle. These rely on spring tension that can degrade over time, especially in Denver's dry climate where thermal expansion and contraction cycles are prominent. Instead, use the side-wiring terminals or the back-wire clamp plates (if your Leviton model supports them).
- Form a clockwise hook on the bare end of the black (hot) wire using needle-nose pliers.
- Loop it around the brass terminal screw and tighten to 12-14 in-lbs.
- Repeat the process with the white (neutral) wire on the silver terminal screw.
- Create a pigtail for the bare copper ground wire using a green wire nut (Ideal Industries 341), connecting it to the green grounding screw on the receptacle and the metal box (if applicable).
Step 4: Device Mounting and Cover Plate
Carefully fold the wires back into the junction box using a specific accordion-fold technique. Pushing the wires in haphazardly can pinch the insulation or disconnect a terminal. Mount the receptacle to the box using the provided 6-32 machine screws, ensuring the device sits perfectly plumb. Snap on a polycarbonate screwless cover plate for a clean, professional finish.
Upgrading Older Denver Homes: GFCI and AFCI Mandates
A massive part of electrical outlet installation in Denver involves retrofitting older homes to meet modern safety standards. The NEC requires Ground Fault Circuit Interrupter (GFCI) protection for all outlets in wet or damp locations, including kitchens, bathrooms, garages, and exterior walls. Furthermore, Arc Fault Circuit Interrupter (AFCI) protection is now required for nearly all 120V, single-phase, 15A and 20A branch circuits supplying living rooms, bedrooms, and hallways.
If your Denver home was built before 1990, you likely lack these protections. You can achieve compliance without rewiring the entire house by installing a GFCI/AFCI dual-function breaker in your panel, or by using a DUAL-FUNCTION GFCI/AFCI receptacle at the first outlet in the circuit run to protect all downstream devices. The U.S. Consumer Product Safety Commission (CPSC) estimates that widespread GFCI use prevents thousands of electrocutions annually, making this upgrade a critical life-safety investment.
2026 Cost Analysis: DIY vs. Hiring a Denver Electrician
Understanding the financial breakdown helps you decide whether to tackle this as a weekend DIY project or call a licensed professional. Denver's electrical labor rates have seen steady increases, reflecting broader metro-area economic shifts.
| Installation Scenario | DIY Material Cost | Denver Pro Labor Rate (2026) | Total Estimated Cost |
|---|---|---|---|
| Like-for-Like Replacement (Standard Room) | $5 - $15 | $150 - $225 (Min. Trip Charge) | $5 - $225 |
| New Outlet Drop (Existing Circuit, Drywall Patch) | $25 - $45 | $250 - $400 | $25 - $400 |
| New Dedicated 20A Circuit (e.g., Kitchen/Bathroom) | $80 - $150 | $450 - $850 | $80 - $850 |
| Unground 2-Prong to GFCI Upgrade (Per Outlet) | $25 - $35 | $175 - $275 | $25 - $275 |
Note: Professional costs include standard materials, labor, and the mandatory Denver city permit fees. DIY costs assume you already own the requisite hand tools and voltage testers.
Frequently Asked Questions
Can I install a 3-prong outlet in my older Denver home without a ground wire?
Yes, but only under specific NEC conditions. If your existing cable lacks an equipment grounding conductor, you can replace a 2-prong outlet with a GFCI receptacle. The GFCI provides shock protection without a physical ground. You must apply the "No Equipment Ground" and "GFCI Protected" stickers provided with the receptacle to the faceplate. You cannot, however, use this method to protect sensitive electronics that require a true ground for surge suppression.
Do I need a permit to replace an outdoor outlet in Denver?
If you are simply swapping an existing weather-resistant GFCI receptacle for a new one, a permit is generally not required. However, if you are installing a brand-new exterior outlet where one did not previously exist, or upgrading the circuit wiring to meet current NEC outdoor burial and conduit depths, you must pull a permit through the Denver Building Department.
Why does my new outlet trip the breaker immediately?
This is almost always caused by a ground fault or a short circuit. The most common DIY error is allowing the bare copper ground wire to touch the brass (hot) terminal screw, or leaving too much exposed copper on the stripped wires, allowing the hot and neutral to bridge. Turn the breaker off immediately, remove the receptacle, and inspect your terminations with a flashlight.