
The Ergonomics of Power: Why Outlet Height Matters in Remodels
When upgrading a home's electrical system, most DIYers and contractors focus on circuit capacity, GFCI protection, and aesthetic faceplate choices. However, the height of electrical outlet placements is a critical, often overlooked factor that impacts daily ergonomics, furniture layout, and strict building code compliance. Whether you are stripping a 1970s living room down to the studs or simply replacing outdated beige receptacles with modern tamper-resistant models, aligning your outlets to current 2026 standards ensures a professional, code-compliant finish.
This comprehensive replacement guide breaks down the exact measurements you need for every room, the intersection of NEC (National Electrical Code) and ADA (Americans with Disabilities Act) requirements, and a step-by-step workflow for relocating poorly placed boxes during a remodel.
Baseline Measurements: Standard Outlet Heights by Room
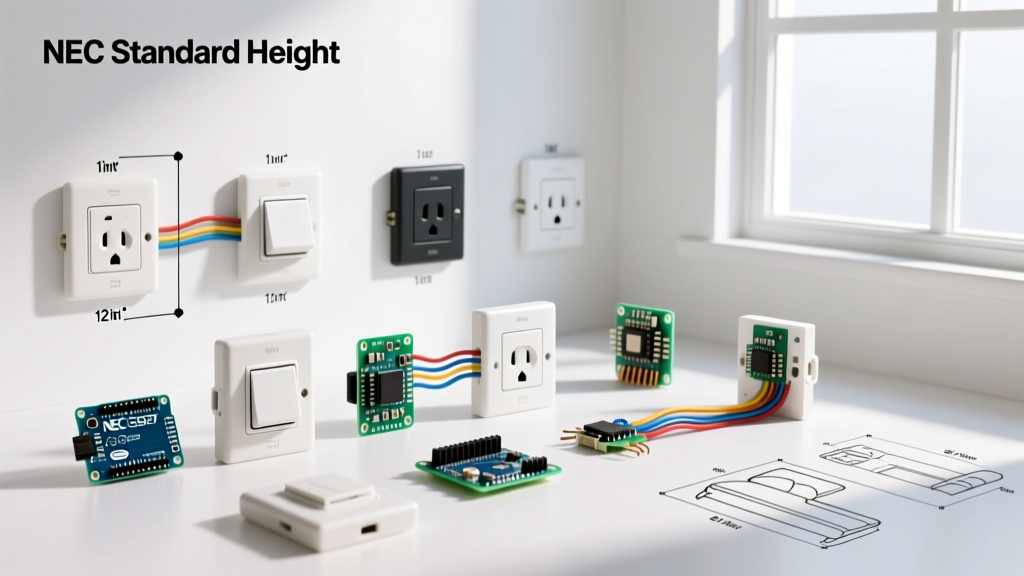
While the NEC dictates the spacing of receptacles (NEC Article 210.52 requires no point along a wall to be more than 6 feet from an outlet), it does not strictly mandate the vertical height for standard residential living spaces. Instead, industry conventions and ergonomic best practices dictate the standard height of electrical outlet installations.
| Room / Application | Standard Height (Floor to Box Center) | Primary Considerations |
|---|---|---|
| Living Room / Bedroom | 12" to 16" | Clearance above standard 8" baseboards; hidden behind nightstands. |
| Kitchen Countertops | 44" to 48" | Typically 4" to 6" above a standard 36" countertop; avoids backsplash grout lines. |
| Bathroom Vanities | 40" to 44" | Placed beside the mirror, clear of the sink basin; requires GFCI protection. |
| Garage / Workbench | 44" to 48" | Positioned above standard 34" workbenches; 20A circuits recommended for power tools. |
| Laundry Room | 36" to 40" | Placed above the washer/dryer control panels for easy access. |
| Hallways & Foyers | 12" to 16" | Standard alignment with adjacent living spaces for visual consistency. |
Code Compliance: NEC Spacing vs. ADA Reach Ranges
When replacing outlets in multi-family dwellings, ground-floor units, or commercial spaces, you must bridge the gap between the National Electrical Code and federal accessibility guidelines.
The 6-Foot / 12-Foot Rule (NEC 210.52): In living areas, receptacles must be installed so that no point measured horizontally along the floor line in any wall space is more than 6 feet from a receptacle outlet. Any wall space 2 feet or wider requires its own outlet. The NEC does not specify vertical height for these, leaving it to the 12"-16" industry standard.
For accessible units, the U.S. Access Board ADA Standards impose strict vertical limitations to ensure individuals in wheelchairs can safely reach the receptacles:
- Unobstructed Forward Reach: Maximum high reach of 48 inches, minimum low reach of 15 inches from the finished floor.
- Obstructed Reach (e.g., over a countertop): If the depth of the obstruction (counter) is 20 inches or less, the maximum reach height remains 48 inches. If the counter is deeper than 20 inches, the maximum reach height drops to 44 inches.
Upgrade Tip: If you are remodeling an aging-in-place home, standardizing all general-use outlets at exactly 18 inches and switches at 44 inches provides the best compromise between standard furniture clearance and ADA accessibility.
Room-by-Room Upgrade Scenarios & Edge Cases
Kitchens: Navigating Backsplashes and GFCI Zones
The standard kitchen counter is 36 inches high. When replacing old outlets that were cut directly into the drywall above a tile backsplash, the goal is to center the new box on a full tile or a grout line, never straddling two tiles awkwardly. Aim for a height of 44 inches to 46 inches.
Product Recommendation: Use the Leviton Decora 20A Tamper-Resistant GFCI (Model R72-08320-WMP) for countertop small-appliance circuits. Ensure the weather-resistant cover is used if the outlet is within 6 feet of a sink, per updated NEC Article 406.8 interpretations.
Living Spaces: The Baseboard Molding Conflict
A common failure mode in DIY remodels is installing the outlet box at 12 inches, only to realize the new 7-inch Craftsman-style baseboard molding completely covers the faceplate.
The Fix: Always establish your finished floor height and baseboard profile before nailing down your old-work boxes. If you are upgrading to tall baseboards, you must relocate the boxes to a minimum of 18 inches from the subfloor.
Garages: Heavy-Duty Workbench Integrations
Standard 15A receptacles placed 16 inches off the ground in a garage are practically useless for a workbench and prone to impact damage from shop vacuums and toolboxes. During a garage upgrade, run a dedicated 20A circuit using 12/2 NM-B wire and install Leviton 5362-W (20A Commercial Grade Duplex Receptacles) at 44 inches, directly above your workbench surface.
Step-by-Step: How to Relocate an Outlet Vertically
Relocating an outlet up or down a wall cavity during an open-stud remodel is trivial. Doing it in a closed, finished wall requires precision to minimize drywall repair. Here is the professional workflow for moving a receptacle from an awkward 8-inch height to a standard 16-inch height without tearing up the wall.
- Verify Power & Map the Cavity: Kill the breaker. Use a non-contact voltage tester like the Klein Tools NCVT-3 to confirm the circuit is dead. Use a high-density stud finder to ensure the new target location is free of plumbing or HVAC ducts.
- Cut the New Opening: Trace a standard single-gang old-work box (e.g., Carlon B618R-UPC) on the drywall at the new 16-inch mark. Cut the drywall using an oscillating multi-tool equipped with a flush-cut blade to avoid slicing hidden Romex wires.
- Disconnect and Fish: Remove the old outlet faceplate. If you have enough slack in the existing 14/2 or 12/2 NM cable, gently push it back into the wall cavity. Use a fish tape or a stiff wire coat hanger with a hook to grab the cable from the new opening and pull it through.
- Addressing Short Wires (The Pigtailing Method): If the existing wire is too short to reach the new 16-inch height, do not stretch it. Leave the old box in the wall, use it as a junction box, and run a new 12-inch piece of matching gauge wire (pigtail) to the new box. You must install a blank cover plate over the old, abandoned junction box to maintain NEC code compliance.
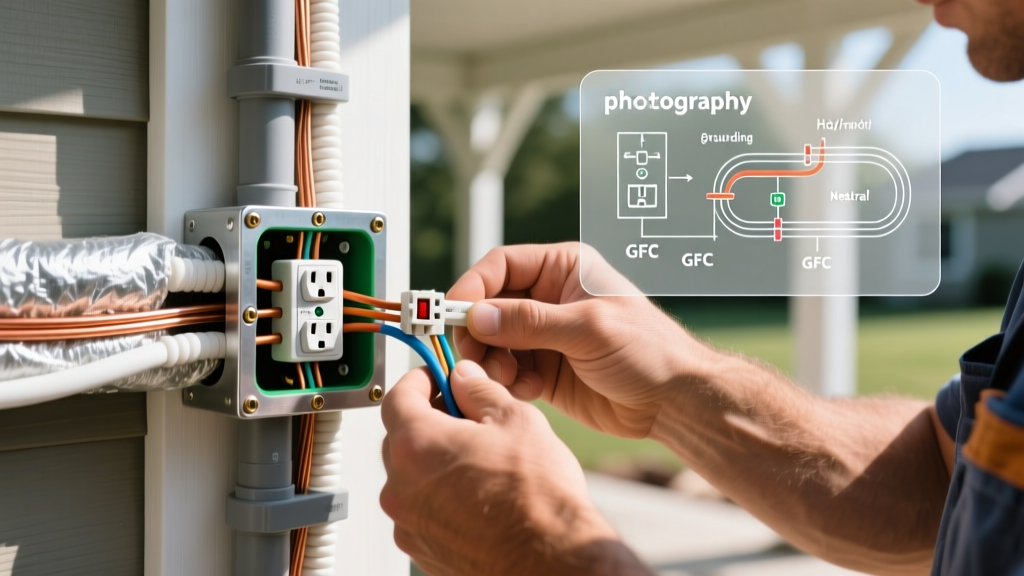
- Mount and Terminate: Insert the Carlon old-work box into the new hole, tighten the mounting screws to flip the internal wings, and terminate the wires. Ensure the ground wire is securely bonded to both the box (if metal) and the receptacle's green grounding screw.
Cost Breakdown: DIY vs. Professional Relocation
Upgrading the height of your outlets involves distinct cost profiles depending on whether your walls are open or closed.
- Open-Wall Remodel (DIY): $8 to $15 per outlet. Costs include the new receptacle ($3-$5), a nail-on electrical box ($1), and minimal wire extensions.
- Closed-Wall Relocation (DIY): $25 to $45 per outlet. Adds the cost of an old-work box, drywall patching compound, mesh tape, and paint to match the existing wall.
- Closed-Wall Relocation (Licensed Electrician): $175 to $300 per point. Electricians charge a premium for the drywall cutting, fishing, patching, and texturing required to make the relocation invisible.
Common Mistakes to Avoid During Replacement
According to safety guidelines outlined by the Consumer Product Safety Commission (CPSC), improper electrical modifications are a leading cause of residential fires. Avoid these critical errors when adjusting outlet heights:
- Stretching Taut Wires: Pulling a wire too tight to reach a higher box creates mechanical stress on the terminal screws, leading to arcing and fire hazards over time.
- Ignoring Kitchen Small-Appliance Circuits: Never drop a kitchen countertop outlet down to the 16-inch floor level to hide it. Countertop receptacles must be on the dedicated 20A small-appliance branch circuits and cannot supply standard living room lighting or electronics.
- Forgetting AFCI/GFCI Upgrades: If you are relocating an outlet in a bedroom or living room (AFCI zone) or within 6 feet of a water source (GFCI zone), the 2023 and upcoming 2026 NEC cycles require the replacement receptacle or the upstream breaker to feature the appropriate fault interruption technology.
Frequently Asked Questions
Can I install an outlet flush with the floor?
Standard wall receptacles cannot be installed in the floor. If you require floor-level power (e.g., for a kitchen island or a living room sofa floating in the center of the room), you must use a UL-listed floor box assembly, such as the Leviton 6230-W flush-mount floor box, which is rated to withstand foot traffic and vacuum impacts.
Do outlet heights need to be exactly uniform across a room?
While not legally mandated by the NEC in single-family homes, visual consistency is a hallmark of quality craftsmanship. Measure from the subfloor to the bottom of the electrical box (rather than the center) to ensure all faceplates align perfectly, even if you switch between single-gang and double-gang boxes.
What is the maximum height for a switched outlet?
If you are installing a receptacle that is controlled by a wall switch (common in living rooms for lamps), it should remain at the standard 12" to 16" height. However, the wall switch controlling it should be placed at 48 inches from the floor to the center of the switch box for optimal ergonomic access.
For more in-depth wiring diagrams and breaker sizing charts, consult the official National Fire Protection Association (NFPA) NEC portal before beginning any major electrical demolition.