
The Stakes of Code-Compliant Outlet Wiring
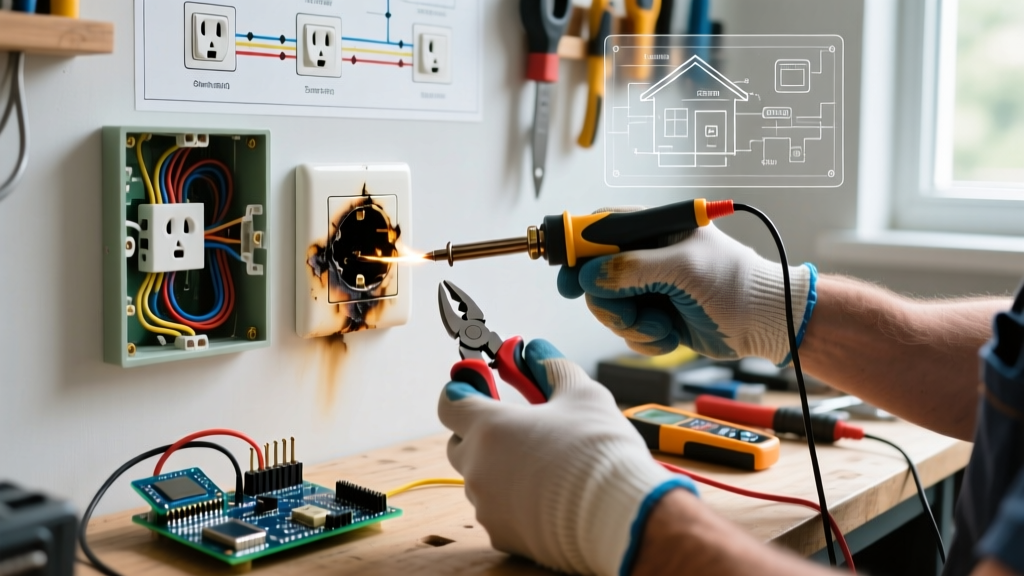
Electrical receptacles are the most frequently used components in any residential or commercial wiring system. According to the National Fire Protection Association (NFPA), electrical failures or malfunctions are a leading cause of home structure fires, resulting in billions of dollars in direct property damage annually. When you wire electric outlet receptacles, you are not just making a connection; you are establishing a critical safety node in the building's electrical infrastructure.
As we navigate the widespread enforcement of the 2023 National Electrical Code (NEC) and the early adoption phases of the 2026 NEC across various jurisdictions, the tolerance for improper wiring has dropped to zero. Inspectors are now routinely checking for calibrated torque on terminal screws and strict adherence to Tamper-Resistant (TR) mandates. This guide provides a master-class, code-compliant approach to wiring standard 15A and 20A duplex receptacles, ensuring your installation passes inspection and, more importantly, protects human life.
Core NEC Articles Governing Receptacle Wiring
Before stripping a single wire, an electrician must understand the specific NEC articles that dictate outlet installation. Ignorance of these codes is the primary reason DIYers and novice apprentices fail inspections.
- NEC 406.12 (Tamper-Resistant Receptacles): All 15A and 20A, 125V and 250V non-locking receptacles in residential dwellings must be listed as Tamper-Resistant (TR). This applies to almost every room, including kitchens, bathrooms, and garages.
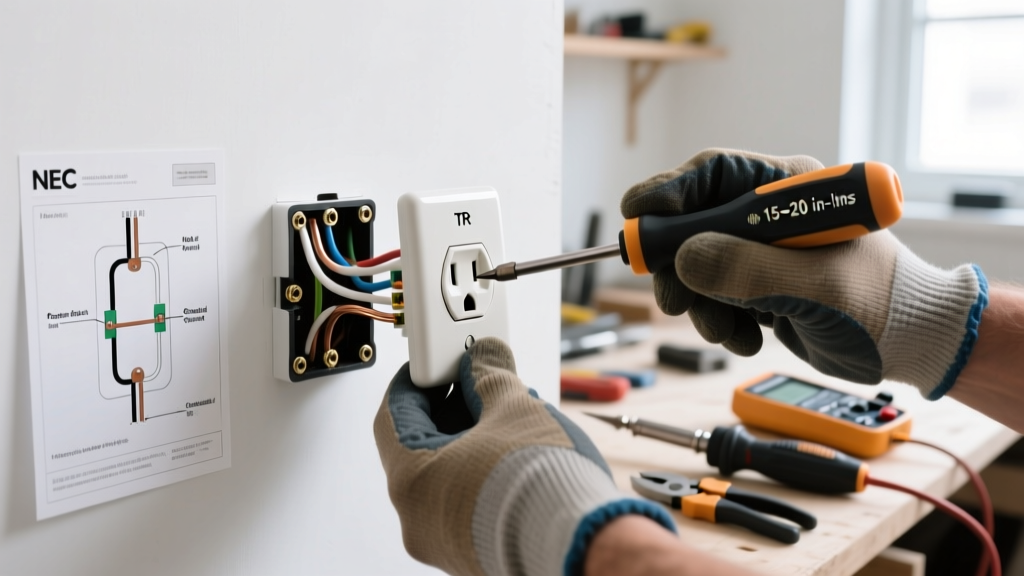
- NEC 110.14(D) (Tightening Torque): This is the most heavily scrutinized code in modern inspections. You must use a calibrated torque screwdriver to tighten terminal screws to the manufacturer's specified inch-pound (in-lb) rating. Hand-tightening is no longer code-compliant.
- NEC 250.148 (Equipment Grounding Conductors): Grounding wires must be securely connected to the receptacle and the metal box (if applicable) using approved methods, ensuring continuity even if the device is removed.
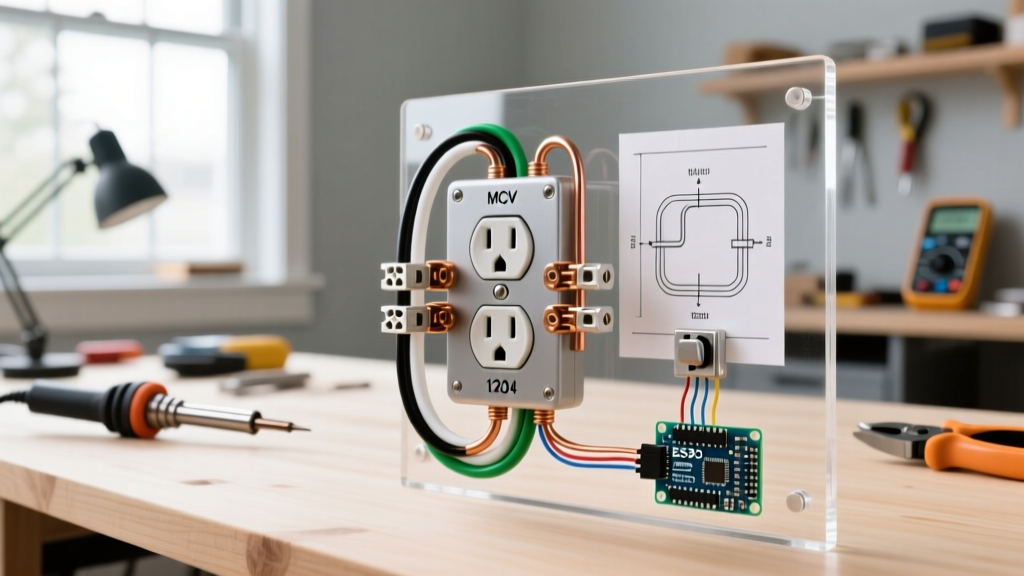
- NEC 300.13(B) (Continuity of Neutral Conductors): On Multi-Wire Branch Circuits (MWBC), the neutral wire must be pigtailed to the receptacle, not daisy-chained through the device's silver terminal.
Tooling Up: Code-Mandated Equipment
To wire electric outlet receptacles to modern safety standards, you must invest in professional-grade tools. The Occupational Safety and Health Administration (OSHA) and the NEC both emphasize using the correct tool for the specific electrical task to prevent arc flashes and thermal failures.
| Tool | Specific Model Recommendation | Code/Safety Purpose |
|---|---|---|
| Torque Screwdriver | Klein Tools 32500 (or IDEAL 61-820 Torq-It) | Meets NEC 110.14(D) for exact terminal torque (typically 14 in-lbs for standard duplex). |
| Wire Strippers | Klein 11055 (10-20 AWG) | Prevents nicking the copper conductor, which creates a high-resistance hot spot. |
| Voltage Tester | Fluke 1AC-II Non-Contact or Milwaukee 2202-20 | Verifies de-energized state before physical contact (Lockout/Tagout compliance). |
Step-by-Step: Wiring a 15A/20A TR Duplex Receptacle
For this procedure, we are wiring a standard 15A Tamper-Resistant receptacle (e.g., Leviton T5262-W, retailing around $3.50) on a 14 AWG copper branch circuit.
1. Verification and Preparation
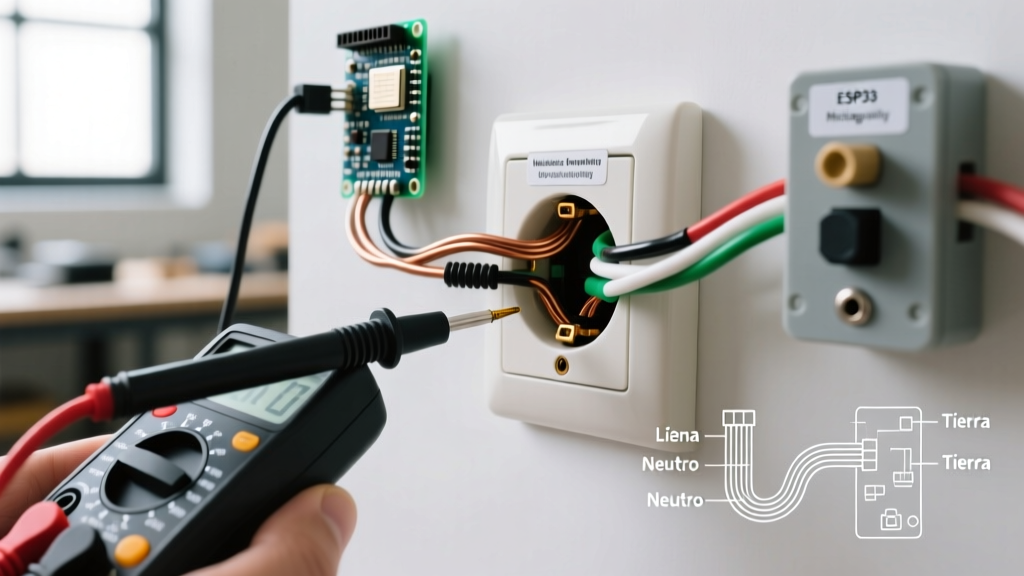
Turn off the breaker and verify the absence of voltage at the receptacle using your non-contact tester and a multimeter. Score the cable jacket and strip it back exactly 8 inches from the edge of the electrical box to ensure adequate working length without overcrowding the box (which violates NEC box fill calculations).
2. Precision Wire Stripping
Do not guess the strip length. Look at the back of the receptacle; you will find a physical 'strip gauge' molded into the plastic. For most Leviton and Hubbell devices, this is exactly 5/8 of an inch. Strip the black (hot), white (neutral), and bare (ground) wires to this exact length. Exposed copper outside the terminal housing is a shock hazard and an instant inspection failure.
3. Forming the Hook and Terminal Connection
Using the needle-nose bending hole on your wire strippers, form a tight 'U' hook in the stripped copper.
Critical Rule: The hook must wrap around the terminal screw in a clockwise direction. When you tighten the screw, the clockwise rotation pulls the wire loop tighter. A counter-clockwise hook will be pushed out from under the screw head as you tighten it, leading to a loose connection and eventual arcing.
4. Applying Calibrated Torque
Set your torque screwdriver to the manufacturer's specification. For a standard 15A Leviton TR receptacle, the brass and silver terminal screws require 14 inch-pounds of torque. The green ground screw typically requires 12 to 14 inch-pounds. Tighten until the torque driver clicks. This ensures the wire is compressed enough to prevent loosening from thermal expansion and contraction cycles over the next 30 years.
Wiring Methods: Backstab vs. Side-Wire vs. Pigtailing
How you physically connect the wires to the device dictates the longevity and safety of the circuit. According to data analyzed by the Consumer Product Safety Commission (CPSC), loose connections are a primary ignition source for residential fires.
| Method | Description | Code & Safety Verdict |
|---|---|---|
| Push-In (Backstab) | Pushing straight stripped wire into holes on the back of the device. | AVOID. Relies on a tiny internal spring clip. Prone to failure, high resistance, and arcing. Not recommended for any permanent installation. |
| Side-Wire (Screw Terminal) | Wrapping a hooked wire around the brass/silver screw. | EXCELLENT. The gold standard for single-feed receptacles when torqued to spec. Provides maximum surface area contact. |
| Back-Wire (Clamp Plate) | Inserting straight wire under a screw-driven clamp plate on the back. | EXCELLENT. Found on commercial-grade (spec-grade) receptacles like the Hubbell HBL5262. Allows two wires per terminal securely. |
| Pigtailing | Using a wire nut (or WAGO 221 lever) to join incoming/outgoing wires with a short jumper to the receptacle. | MANDATORY for MWBCs & Grounds. Ensures downstream devices don't lose power if the receptacle is removed. Best practice for all daisy-chained runs. |
GFCI and AFCI: Where the Code Demands Protection
Standard TR receptacles are not sufficient for every location. The NEC mandates Ground-Fault Circuit Interrupter (GFCI) and Arc-Fault Circuit Interrupter (AFCI) protection based on the environment's risk profile.
- Kitchens & Bathrooms: All 125V/250V receptacles require GFCI protection (NEC 210.8). A 20A GFCI receptacle (e.g., Leviton GFNT2-W, approx. $22.00) is required for kitchen small-appliance circuits.
- Garages & Outdoors: GFCI protection is mandatory. Furthermore, the 2023/2026 NEC expansions require GFCI for outdoor outlets up to 250V and specific HVAC equipment receptacles.
- Living Rooms & Bedrooms: While the receptacles themselves don't need to be GFCI (unless near a sink), the branch circuit feeding them requires Combination-Type AFCI protection at the breaker panel to detect parallel and series arcing.
Edge Cases and Dangerous Code Violations
When troubleshooting or upgrading older homes, you will encounter hazardous wiring methods that must be corrected to bring the system up to modern safety standards.
The 'Bootleg' Ground
In older homes with ungrounded (2-prong) circuits, some individuals illegally install a 3-prong receptacle and place a jumper wire between the silver neutral terminal and the green ground screw. This is known as a bootleg ground. This is lethal. If the neutral wire disconnects upstream, the metal casing of any plugged-in appliance will become fully energized at 120V. If you have an ungrounded circuit, you must either install a GFCI receptacle (labeled 'No Equipment Ground' per NEC 406.4(D)(2)) or pull a new grounding conductor back to the panel.
Shared Neutrals (MWBC) on Split Receptacles
In kitchens, you may find a Multi-Wire Branch Circuit (two hot wires sharing one neutral). If you are replacing the receptacle, you must break the brass tab on the hot side, but leave the silver tab intact. More importantly, per NEC 300.13(B), you must pigtail the neutral wire. If you daisy-chain the neutral through the receptacle's silver terminal and someone later removes the receptacle while the circuit is live, the downstream circuit will experience a catastrophic 240V surge, instantly destroying connected electronics and risking fire.
Final Inspection Checklist
Before calling your local authority having jurisdiction (AHJ) for an inspection, verify the following:
- All wires are stripped to the exact device gauge (no exposed copper outside the terminal).
- Terminal screws are torqued to the manufacturer's specification (e.g., 14 in-lbs).
- Grounding pigtails are secured to the box and the device.
- The receptacle is TR-listed for all required dwelling areas.
- The faceplate sits flush against the wall with no gaps (NEC 406.5).
'In 2026, electrical inspectors aren't just looking at what you wired; they are looking at how you torqued it. A $45 torque screwdriver is the cheapest insurance policy against a failed inspection and a potential house fire.'
Wiring an electric outlet is a precise science governed by strict safety parameters. By adhering to NEC mandates, utilizing calibrated tooling, and rejecting shortcut methods like backstabbing, you ensure a resilient, fire-resistant electrical system that will safely serve the building for decades.