
The Hidden Threat of High-Resistance Connections
An electrical outlet fire rarely happens without warning. While catastrophic short circuits can cause immediate explosions, the vast majority of receptacle fires begin slowly as high-resistance connections (HRC). According to the National Fire Protection Association (NFPA), electrical failures or malfunctions are involved in roughly 47,000 home fires annually, with wiring and related equipment accounting for the majority of these incidents.
As a DIYer or homeowner, understanding the physics of outlet degradation is your first line of defense. When a wire connection loosens or a push-in terminal fatigues, resistance at the terminal increases. Using Joule’s heating law ($P = I^2R$), a seemingly minor 0.5-ohm loose neutral carrying a 12-amp continuous load (like a space heater) will dissipate 72 watts of heat directly at the terminal block. Over months, this localized thermal runaway melts the receptacle’s polycarbonate housing, exposes live conductors, and ultimately triggers an arc fault or ignition.
5 Critical Warning Signs Before Ignition
Do not wait for smoke or visible flames. An impending electrical outlet fire broadcasts several sensory warnings weeks or even months in advance.
1. The "Fishy" or Acrid Plastic Odor
When PVC wire insulation and urea-formaldehyde or polycarbonate receptacle housings are subjected to sustained temperatures above 100°C (212°F), the plasticizers begin to off-gas. This produces a distinct, acrid "fishy" or burning chemical smell. If you detect this odor near a wall, immediately shut off the breaker and investigate. The Consumer Product Safety Commission (CPSC) frequently cites off-gassing as a primary early indicator of electrical overheating.
2. Faceplate Discoloration and Sooting
Inspect the receptacle faceplate for brown or yellow halos around the plug slots. This is not merely dirt; it is thermal degradation and carbon tracking. Micro-arcing inside the receptacle vaporizes microscopic amounts of copper and carbon, which deposits as soot on the plastic faceplate. If the plastic feels brittle or warped, the internal tamper-resistant (TR) shutters and contact springs have likely lost their tensile strength.
3. Acoustic Signatures: 60Hz Hum vs. High-Frequency Hiss
Place your ear near the outlet (without touching it). A faint 60Hz hum is normal for heavy transformers, but a sharp, high-frequency hissing or intermittent "crackling" sound indicates active series arcing. This means the electrical current is literally jumping across a microscopic gap between a loose wire and the terminal screw, generating temperatures exceeding 10,000°F.
4. Thermal Anomalies (The IR Thermometer Test)
Use an infrared thermometer (like the Fluke 62 MAX+) to scan your outlets under load. A healthy receptacle carrying 10 amps should remain within 5°F to 10°F of ambient room temperature. If the faceplate registers 110°F or higher, you have a severe high-resistance fault.
5. Intermittent Power and "Wiggle" Dependency
If a lamp flickers or a vacuum loses power unless you wiggle the plug, the internal brass contact springs have fatigued. This loss of clamping force increases contact resistance, paving the way for an electrical outlet fire.
Diagnostic Toolkit for 2026 Safety Standards
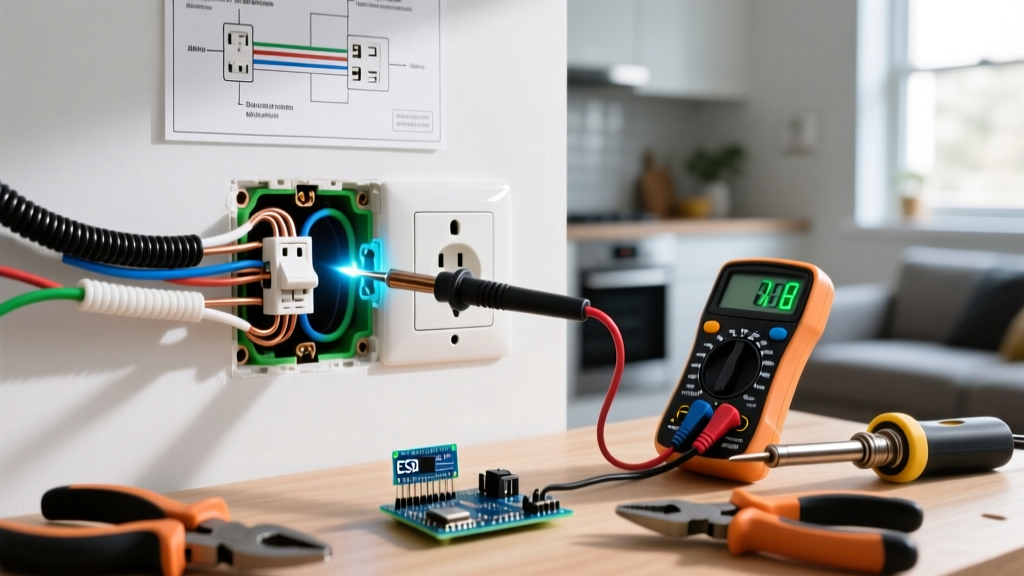
Proper diagnosis requires moving beyond simple visual inspections. To thoroughly audit a suspect receptacle, assemble the following toolkit:
- Non-Contact Voltage Tester (NCVT): Klein Tools NCVT-3 (Dual-range for 12-1000V and 70-1000V).
- Receptacle Tester: Klein Tools RT250 (Tests GFCI, AFCI, and standard wiring faults).
- Calibrated Torque Screwdriver: CDI 401SM or Wiha 64500 (Crucial for NEC 110.14(D) compliance).
- Insulation Multimeter: Fluke 1587 FC (For testing insulation breakdown and ground leakage).
Step-by-Step Diagnostic Flow
- De-energize and Verify: Turn off the circuit breaker. Test the outlet with your NCVT-3, then plug in a voltage tester to confirm zero potential. Never rely solely on a breaker label.
- Extract the Receptacle: Remove the faceplate and the two mounting screws. Gently pull the receptacle out of the junction box. Do not yank the wires.
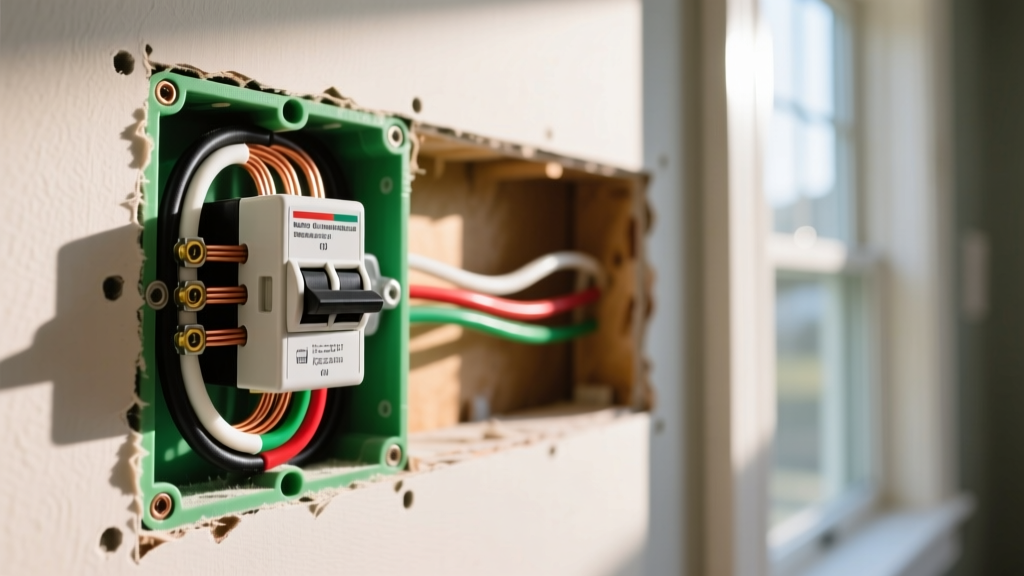
- Inspect the Junction Box: Look for scorched drywall paper, melted wire nuts, or crushed cable sheathing. If the Romex/NM-B outer jacket is melted back more than 1/4 inch inside the box, the cable must be cut back and replaced.
- Evaluate the Termination Method: Check if the wires are "backstabbed" (pushed into the rear holes) or looped around the side screws. Backstabbed connections are notorious for causing electrical outlet fires under continuous loads.
- Check Torque: If side-wired, test the screw tension with a torque screwdriver. The 2026 NEC mandates that terminations be torqued to the manufacturer's specifications (typically 12 to 14 lb-in for 14 AWG copper on a 15A receptacle).
Common Failure Modes & Root Cause Analysis
Understanding the specific failure mode dictates your repair strategy. Below is a diagnostic matrix for the most common receptacle faults.
| Failure Mode | Visual / Sensory Cue | Root Cause | NEC Code Reference | Estimated Fix Cost |
|---|---|---|---|---|
| Backstabbed Push-In Terminal | Melted rear housing, intermittent power | Micro-spring fatigue, thermal expansion/contraction cycles | NEC 110.12 (Mechanical Execution of Work) | $5 - $15 (DIY) |
| Loose Side-Wire Screw | Brown soot, hissing sound, high heat | Improper initial torque, thermal creep, aluminum wire creep | NEC 110.14(D) (Tightening Torque) | $5 - $20 (DIY) |
| Daisy-Chain Overload | Entire wall warm, breaker trips frequently | Downstream loads exceeding the 15A/20A feed-through capacity | NEC 210.23 (Permissible Loads) | $150 - $300 (Pro) |
| Aluminum to Copper Splice | Corroded green/white powder at wire nuts | Galvanic corrosion, differing thermal expansion rates | NEC 110.14 (Dissimilar Metals) | $50 - $100 (Pigtailing w/ AlumiConn) |
Remediation: Upgrading to Modern Safety Standards
If your diagnosis reveals any of the failure modes above, immediate remediation is required. The Electrical Safety Foundation International (ESFI) strongly recommends upgrading aging receptacles to modern, code-compliant alternatives.
Eliminate Backstabbing
Never use the push-in backstab terminals on $1.50 builder-grade receptacles. Instead, use the side-wire screw terminals. Form a proper "J-hook" in the stripped wire, loop it clockwise around the screw (so tightening the screw pulls the loop closed), and torque it to 14 lb-in. Alternatively, use commercial-grade receptacles (like the Leviton SmartlockPro series) that feature internal pressure plates for straight-wire insertion, which provide vastly superior clamping force compared to standard push-in holes.
Implement AFCI and GFCI Protection
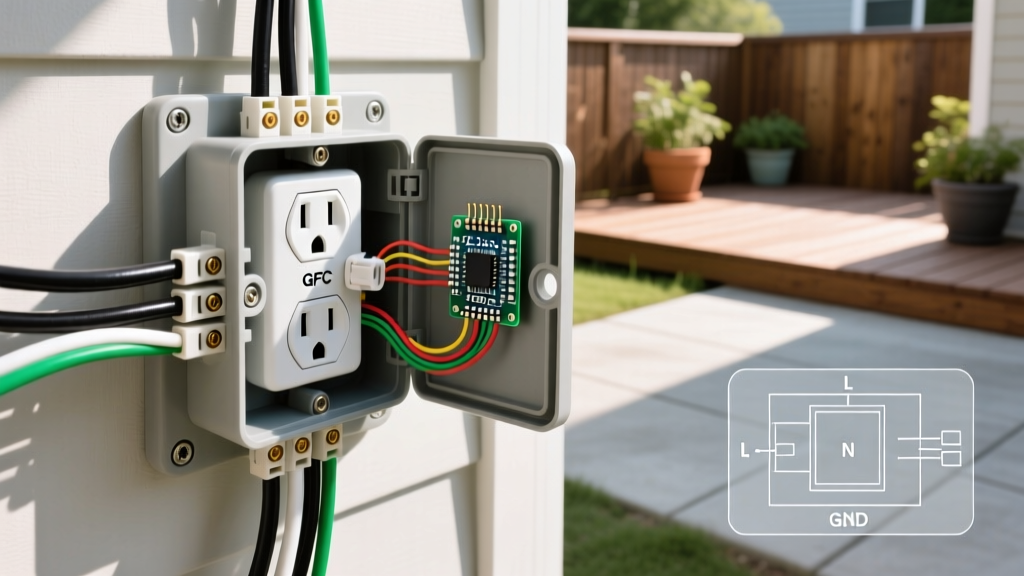
As of the 2026 NEC cycle, Arc Fault Circuit Interrupter (AFCI) protection is mandated in virtually all living spaces, while Ground Fault Circuit Interrupter (GFCI) is required in wet locations. If your home was built before 2002, your outlets likely lack this protection.
For maximum safety, install Dual Function (DF) receptacles, such as the Leviton AFGFI1-W (approx. $38). These devices monitor the circuit for both ground faults (shock hazard) and series/parallel arc faults (fire hazard), cutting power in milliseconds if an arc signature is detected. This effectively neutralizes the risk of an electrical outlet fire stemming from downstream cord damage or internal wiring faults.
Address Aluminum Wiring Edge Cases
If your diagnostic audit reveals 15A or 20A aluminum branch wiring (common in homes built between 1965 and 1973), do not simply swap the outlet. Aluminum requires CO/ALR rated receptacles or, preferably, pigtailing with AlumiConn connectors and copper wire to a standard receptacle. Failure to address aluminum creep will result in a guaranteed high-resistance fault and eventual fire.
CRITICAL SAFETY WARNING: If you open a junction box and find melted wire insulation, scorched drywall, or signs of active arcing (pitted copper wires), do not attempt a simple receptacle swap. The circuit wiring itself may be compromised. Cap the wires with ceramic wire nuts, leave the breaker off, and contact a licensed electrical contractor immediately.
When to Call a Professional
While replacing a standard 15A duplex receptacle is a foundational DIY skill, certain scenarios demand a licensed electrician. Call a professional if:
- The junction box is damaged, missing, or lacks proper cable clamps.
- You discover aluminum wiring and do not have the specific CO/ALR connectors or AlumiConn lugs.
- The circuit lacks an equipment grounding conductor (common in pre-1960s knob-and-tube or early cloth-sheathed NM cable).
- Your diagnostic multimeter shows ground leakage or insulation breakdown when testing the cable run.
Summary
Preventing an electrical outlet fire requires proactive diagnosis rather than reactive panic. By utilizing thermal imaging, acoustic monitoring, and strict adherence to torque specifications, you can identify high-resistance connections long before they reach ignition temperatures. Ditch the builder-grade backstabbed receptacles, invest in a calibrated torque screwdriver, and upgrade to AFCI/GFCI dual-function technology to ensure your home's electrical infrastructure meets the rigorous safety demands of 2026 and beyond.