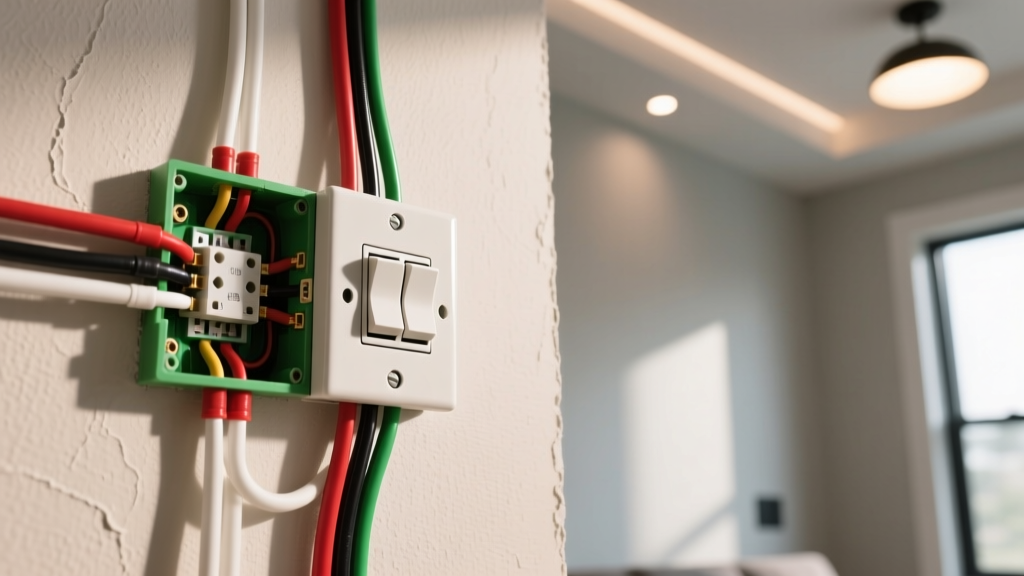

The Hidden Energy Leak: Why Electric Outlet Insulation Matters
Electrical outlets on exterior walls are among the most overlooked sources of thermal bridging and air infiltration in residential and commercial buildings. Because standard electrical boxes require drywall cutouts that are often slightly larger than the box itself, they create direct pathways for unconditioned outdoor air to enter the living space. This phenomenon, driven by the stack effect and wind pressure, forces your HVAC system to work harder, increasing energy bills by up to 15% in poorly sealed homes.
According to the Department of Energy's Air Sealing Guide, sealing bypasses around electrical boxes is a critical first step in whole-home weatherization. Furthermore, unsealed exterior outlets are prone to internal condensation during winter months, which can lead to corrosion on terminal screws and eventual arcing faults. This upgrade guide details the precise materials, code-compliant techniques, and edge-case solutions required to properly execute an electric outlet insulation upgrade in 2026.
Material Matrix: Choosing the Right Insulation Strategy
Not all insulation materials are safe or effective for use inside or around electrical boxes. Standard fiberglass batts leave gaps, and off-the-shelf expanding polyurethane foams can trap heat or violate fire codes. Below is a comparison of the industry-standard materials used for electric outlet insulation.
| Material Type | Specific Product Example | Avg. Cost (2026) | Best Application | Fire-Rated? |
|---|---|---|---|---|
| Pre-Cut Foam Gaskets | Frost King EG-1 / Thermwell | $0.25 - $0.50 ea. | Standard gaps (<1/8 inch) between drywall and box | No (but safe behind plates) |
| Intumescent Putty Pads | 3M Fire Barrier Putty Pad CP 25WB+ | $3.50 - $5.00 ea. | Oversized drywall cutouts, commercial fire walls | Yes (Up to 3-hour rating) |
| Fire-Rated Expanding Foam | Touch 'n Foam Fire Break | $14.00 - $18.00 / can | Deep voids behind boxes, masonry walls | Yes (Class A / ASTM E84) |
| Insulated Cover Plates | Leviton 80732-D (with foam backing) | $2.50 - $4.00 ea. | Supplemental seal for slightly warped walls | No |
Pre-Upgrade Diagnostics and Safety Protocols
Before removing any cover plates, you must verify the circuit status and assess the extent of the air leak. Never rely solely on the wall switch to confirm a circuit is dead.
- De-energize the Circuit: Turn off the corresponding breaker at the main panel.
- Verify with a Tester: Use a non-contact voltage tester (such as the Klein Tools NCVT-2) on both the top and bottom receptacles. Insert the probe into the slots to ensure no back-fed voltage is present.
- Thermal Imaging (Optional but Recommended): Use a FLIR thermal camera to scan the outlet. A temperature differential of more than 3°F compared to the center of the wall indicates significant air infiltration requiring more than just a surface gasket.
- Remove the Receptacle: Unscrew the top and bottom mounting screws and gently pull the receptacle out of the box to inspect the perimeter gap.
Step-by-Step Electric Outlet Insulation Installation
Scenario A: The Standard Gap (Less than 1/4 Inch)
If the drywall cutout is relatively clean and the gap between the drywall and the plastic or metal electrical box is minimal, a foam gasket combined with an airtight cover plate is the most efficient upgrade.
- Clean the drywall surface around the box with a dry brush to remove dust and joint compound debris.
- Peel the backing off a pre-cut foam gasket (aligned for either a duplex receptacle or a toggle switch).
- Press the gasket firmly against the drywall, ensuring the center cutout aligns perfectly with the electrical box.
- Push the receptacle back into the box. The foam will compress between the drywall and the receptacle yoke (strap), creating an airtight seal.
- Install the cover plate, tightening the center screw evenly to compress the gasket without cracking the plate.
Scenario B: Deep Voids and Masonry Walls
For homes with brick veneer, block walls, or deep stud bays where the electrical box is set far back from the drywall, expanding gaps require fire-rated foam. The EPA's Energy Star guidelines explicitly warn against using standard hardware-store expanding foam inside wall cavities near electrical boxes due to off-gassing and lack of fire resistance.
- Shake the can of fire-rated polyurethane foam (e.g., Touch 'n Foam Fire Break) for 60 seconds.
- Apply a thin, continuous bead around the exterior perimeter of the electrical box where it meets the drywall or masonry. Never spray foam inside the electrical box itself.
- Allow the foam to cure for 4 hours. It will expand to fill the void and harden into an airtight, fire-resistant barrier.
- Trim any excess cured foam flush with the drywall using a serrated utility knife before reinstalling the receptacle.
Edge Case: Oversized Drywall Cutouts and NEC Compliance
In older homes or after sloppy renovations, you may encounter drywall cutouts that are an inch or more wider than the electrical box. Foam gaskets will not bridge this gap, and standard foam violates firestopping codes if the wall is a fire-rated assembly (such as the wall between an attached garage and the living space).
NEC Code Alert: According to the NFPA 70 National Electrical Code (NEC) Section 300.21, the spread of fire or products of combustion through openings around electrical boxes must be prevented. Openings in fire-rated walls must be firestopped to maintain the wall's structural rating.
The Putty Pad Solution:
For massive gaps, use an intumescent putty pad like the 3M Fire Barrier Putty Pad CP 25WB+. This malleable, clay-like material is molded by hand to completely encase the back and sides of the electrical box, or to bridge the gap between the box and the drywall. When exposed to the heat of a fire, the putty intumesces (expands and hardens), choking off oxygen and preventing flames from entering the wall cavity. A single 6x6 inch pad costs roughly $4.50 and provides up to a 3-hour fire rating while simultaneously acting as a premium acoustic and thermal air seal.
Upgrading the Receptacle: WR and TR Standards
If you are insulating an exterior wall outlet, the upgrade is incomplete without addressing the receptacle itself. Standard indoor receptacles are susceptible to moisture ingress, which can bypass your new insulation if the exterior siding is compromised.
Upgrade to a Weather-Resistant (WR) and Tamper-Resistant (TR) receptacle, such as the Leviton 5362-WMP (approx. $4.25). WR receptacles are manufactured with UV-resistant polycarbonate thermoplastics and nickel-plated brass terminal screws that resist the corrosion caused by the exact type of condensation that forms in poorly insulated exterior boxes. Pair this with a die-cast aluminum weatherproof cover plate equipped with a foam backing to ensure the exterior envelope remains unbroken.
Final Verification and Maintenance
Once the insulation upgrade is complete and the cover plates are secured, restore power at the breaker panel. Use a standard 3-prong outlet tester to verify correct wiring (two amber lights indicate correct standard wiring). During the next extreme temperature swing (below 30°F or above 90°F), perform a quick tactile check around the cover plate edges. A properly insulated and sealed electric outlet will feel identical to the ambient room temperature of the adjacent painted drywall, confirming a successful elimination of the thermal bridge.