
Why Your Aging Receptacles Are a Hidden Liability
The standard 15-amp duplex receptacle is the most abused component in any residential electrical system. Over decades of use, the internal brass contacts fatigue, leading to loose plug retention, arcing, and localized heating. According to the National Fire Protection Association (NFPA), electrical distribution and lighting equipment are consistently among the top causes of home structure fires. Many of these incidents trace back to degraded receptacles and improper terminations.
Performing an electric outlet replacement is not merely about restoring power; it is a critical opportunity to upgrade your infrastructure to modern safety and convenience standards. As of the 2026 National Electrical Code (NEC) cycle, the push toward AFCI and GFCI protection, alongside the explosion of USB-C Power Delivery (PD) devices, makes upgrading your receptacles one of the highest-ROI electrical projects you can undertake.
Diagnostic Checklist: When to Initiate a Replacement
Before you pull out your screwdriver, evaluate your existing outlets against these critical failure modes. If you observe any of the following, immediate electric outlet replacement is required:
- Plug Fall-Out: If a standard two-prong or three-prong plug slides out of the receptacle without resistance, the internal wiper contacts have lost their spring tension. This creates a high-resistance connection that generates excessive heat under load.
- Faceplate Discoloration: Brown or yellow scorch marks around the slots indicate thermal creep or previous arcing events.
- Backstabbed Wiring: If you remove the faceplate and see wires pushed into the small holes on the back of the yoke rather than looped around the side terminal screws, you have a ticking time bomb. Push-in (backstab) terminations rely on a single, weak spring-steel wedge that routinely fails under thermal expansion cycles.
- Buzzing or Hissing: Audible noise from a receptacle indicates active micro-arcing, often caused by a loose neutral or degraded internal bus bar.
- Ungrounded Two-Prong Outlets: If you still have ungrounded receptacles, the Consumer Product Safety Commission (CPSC) strongly recommends upgrading to GFCI-protected receptacles to mitigate shock hazards, even if an equipment grounding conductor is absent.
2026 Receptacle Upgrade Matrix: Standard vs. USB-C vs. GFCI
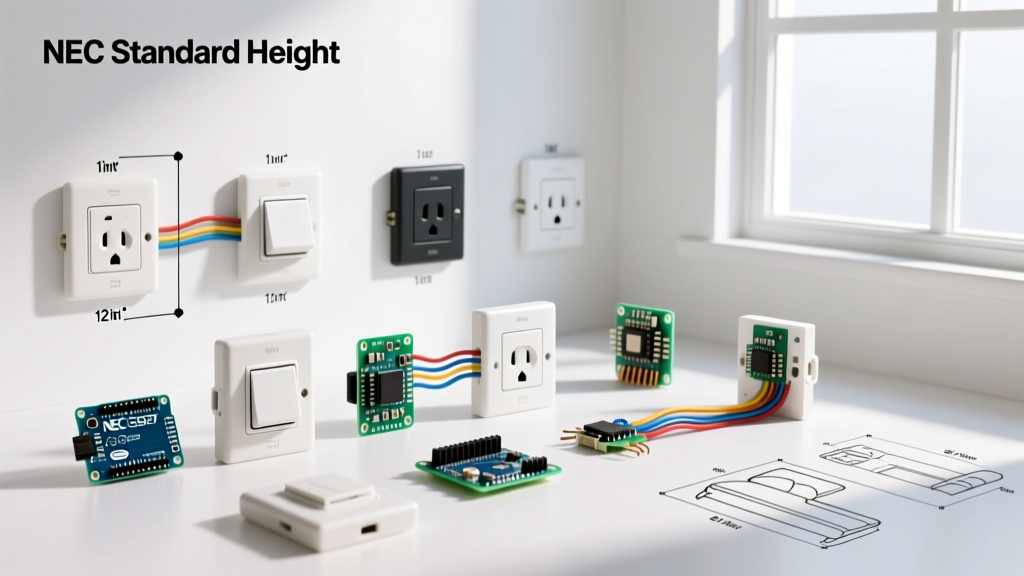
When planning your electric outlet replacement, choose the right device for the specific room and circuit. The table below compares the most common upgrade paths available in 2026.
| Receptacle Type | Model Example (2026) | Avg. Cost | Best Use Case & Code Notes |
|---|---|---|---|
| Standard 15A Duplex (TR) | Leviton 5320-W (Tamper Resistant) | $1.50 - $2.50 | General living areas, bedrooms. Must be TR per NEC 406.12. |
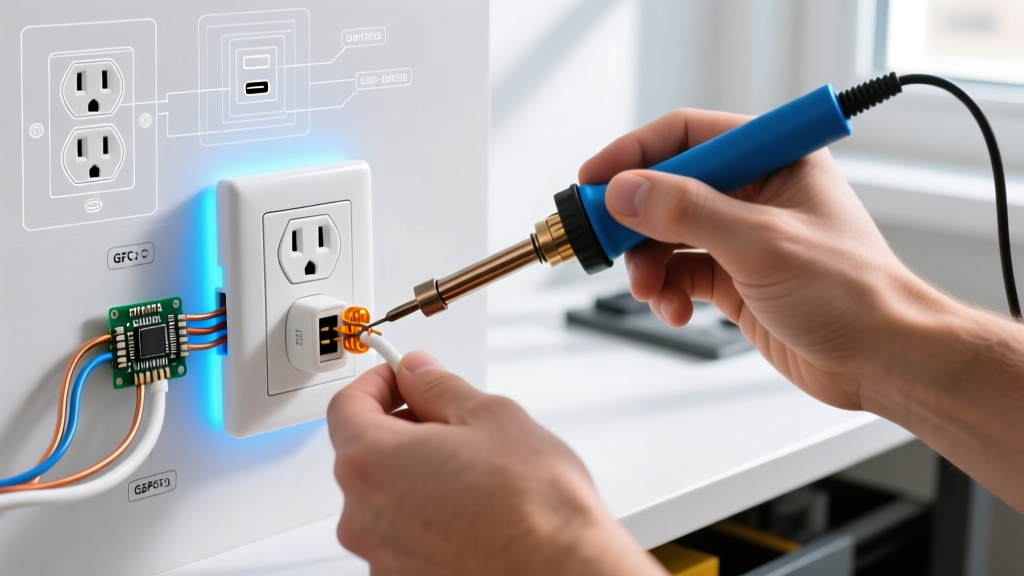
| USB-C/A Combo Receptacle | Leviton T5636 (25W PD) | $22.00 - $28.00 | Kitchens, nightstands, home offices. Eliminates bulky adapter bricks. |
| Slim GFCI (20A Feed-Through) | Leviton GFNT1-W | $18.00 - $24.00 | Bathrooms, garages, exteriors. Required within 6ft of water sources. |
| Smart / Wi-Fi Receptacle | TopGreener WF2-15A | $25.00 - $35.00 | Hard-to-reach lamps, holiday lighting. Requires neutral wire. |
The Professional Tool Kit for Safe Termination
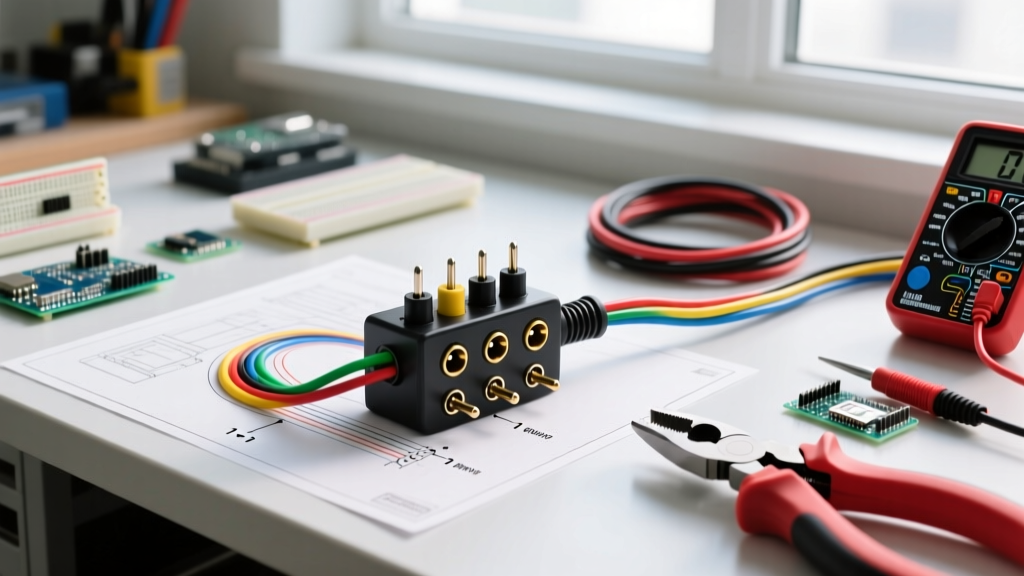
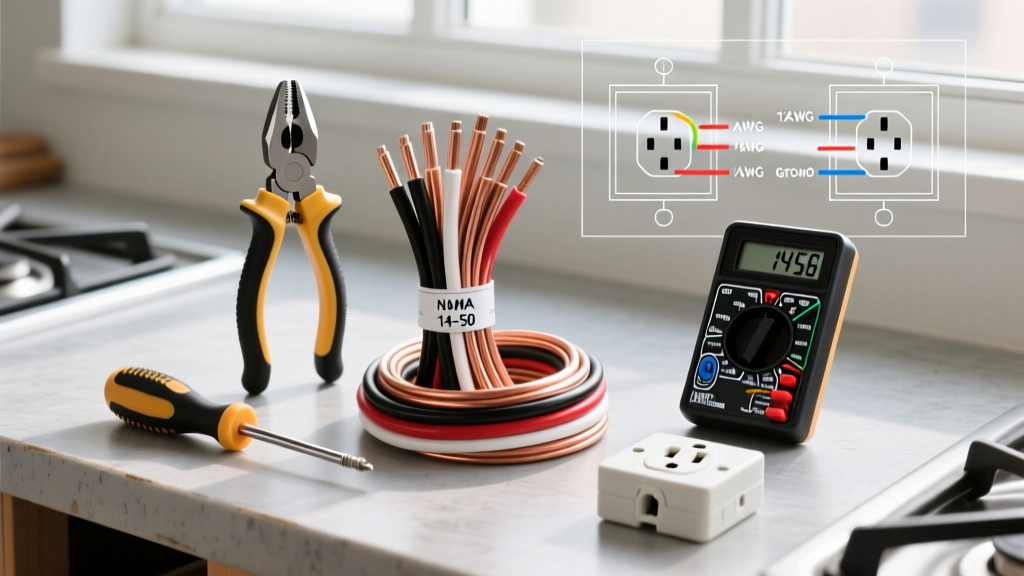
Do not attempt an electric outlet replacement with dull wire strippers or a worn-out screwdriver. Poor tooling leads to nicked copper conductors, which creates localized hot spots. Assemble the following kit:
- Non-Contact Voltage Tester: Fluke 1AC-II or Klein Tools NCVT-2. Always test a known live source before and after testing your target outlet.
- Precision Wire Strippers: Klein Tools 11055 (for 10-20 AWG). This ensures clean insulation removal without gouging the copper.
- Lineman's Pliers: For cutting and bending the shepherd's hook loop.
- Wire Connectors: Ideal 34 Yellow or Wago 221 Series lever nuts for pigtailing.
- Torque Screwdriver: While NEC 110.14(D) strictly mandates calibrated torque tools for terminations over 100A, manufacturer instructions (which are code-enforceable via 110.3(B)) often specify 14 in-lbs for 14 AWG and 16 in-lbs for 12 AWG on standard receptacles.
Step-by-Step Execution: The Side-Wire Method
Follow this exact sequence to ensure a safe, code-compliant installation that will last for decades.
1. Kill the Power and Verify
Turn off the breaker at the main panel. Plug a lamp into the top and bottom receptacles to verify power is dead. Use your NCVT tester on the receptacle slots as a secondary confirmation. Never trust a breaker label blindly; circuits are frequently mislabeled in older homes.
2. Extract and Inspect the Wiring
Remove the center screw and pull the yoke out of the gang box. If the wires are backstabbed, insert a small flathead screwdriver into the release slot to free them. Do not just pull the wires out, as this can damage the internal release mechanism and leave copper fragments inside the old device.
3. Re-Prep the Conductors
Cut off the old, oxidized ends of the copper wires. Strip exactly 3/4 of an inch of insulation. If you strip too little, the insulation will bind under the screw head; if you strip too much, exposed copper will sit outside the yoke, creating a shock and short-circuit hazard.
4. Form the Shepherd's Hook and Terminate
Bend the stripped wire into a tight, clockwise hook. Loop it around the terminal screw so that tightening the screw pulls the loop tighter, rather than pushing it out. Tighten until the brass washer bites firmly into the copper. If using a USB-C or Smart receptacle, use your torque screwdriver set to the manufacturer's specification (usually 14 in-lbs).
5. GFCI Line vs. Load Distinction
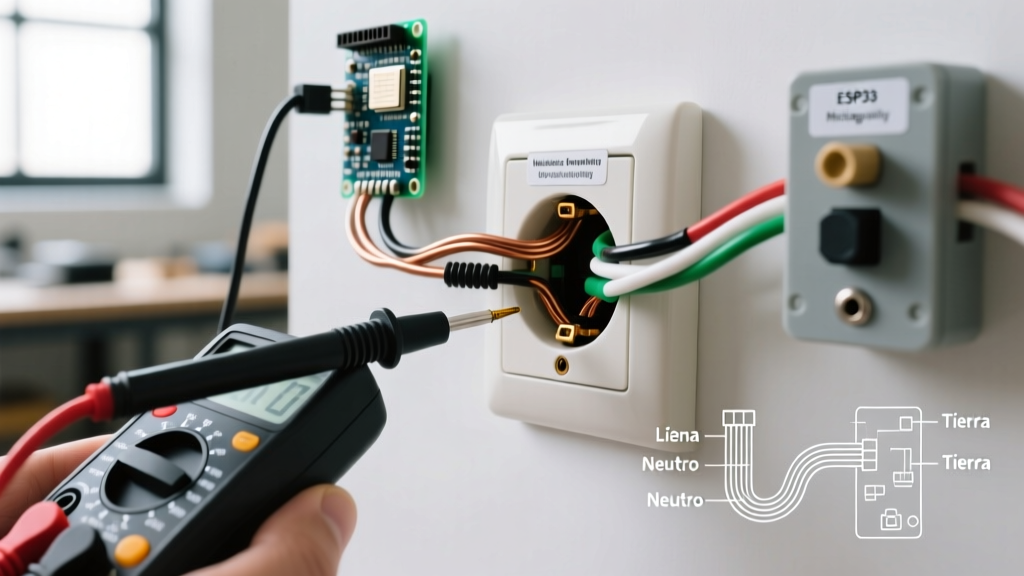
If you are upgrading to a GFCI, identifying Line (power from panel) and Load (power passing to downstream outlets) is the most common point of failure. Use your NCVT tester or a multimeter to identify the incoming hot wire before disconnecting the old outlet. Connect the incoming wires to the LINE terminals and downstream wires to the LOAD terminals. Reversing these will result in a GFCI that resets but provides no downstream protection.
Expert Warning on Aluminum Wiring: If you discover dull gray aluminum wires instead of copper, you cannot use standard receptacles. You must use devices specifically rated CO/ALR (Copper/Aluminum Revised), such as the Leviton 2026-ALR, and apply Noalox antioxidant paste to prevent galvanic corrosion and thermal expansion failures.
Advanced Edge Cases: Split Receptacles and Multi-Wire Circuits
In kitchens and living rooms, you may encounter a 'split' receptacle where the top half is controlled by a wall switch and the bottom half is always hot. This is achieved by breaking the brass connecting tab on the hot (black) side of the yoke.
The Golden Rule of Tabs: You may break the brass (hot) tab to create a switched outlet. You must never break the silver (neutral) tab unless you are dealing with a Multi-Wire Branch Circuit (MWBC) sharing a neutral, which is highly uncommon in standard residential receptacle upgrades. Breaking the neutral tab on a standard 3-wire setup will result in an open neutral, potentially sending 240V across your 120V appliances and destroying them.
Frequently Asked Questions
Can I replace a 15A receptacle with a 20A receptacle?
Only if the circuit wiring is 12 AWG and the breaker is rated for 20A. If your circuit uses 14 AWG wire or a 15A breaker, installing a 20A receptacle (which accepts 20A plugs with a horizontal neutral blade) is a severe code violation and fire hazard, as it allows users to plug in heavy loads that the 14 AWG wire cannot safely carry.
Do I need to pigtail the ground wire if I'm daisy-chaining outlets?
Yes. According to the Electrical Safety Foundation International (ESFI) and NEC 300.13(B), the continuity of the equipment grounding conductor cannot rely on the receptacle yoke itself. You must use a wire nut or Wago connector to join the incoming ground, the outgoing ground, and a 6-inch pigtail that terminates on the receptacle's green screw.
Why does my new USB-C outlet feel warm to the touch?
USB-C receptacles contain internal step-down transformers and switching power supplies. It is entirely normal for the faceplate to feel warm (up to 110°F/43°C) when actively charging a high-draw device like a laptop at 25W. However, if the plastic is too hot to touch, or if you smell melting polymer, immediately shut off the breaker and inspect for loose terminations or an overloaded gang box.