
The Anatomy of NEMA 14-30R and 14-50R Receptacles
When a heavy-duty appliance fails to start, the culprit is often the receptacle itself. The modern 4 prong electrical outlet (NEMA 14-30R for 30-amp dryers and NEMA 14-50R for 50-amp ranges and EV chargers) was mandated by the National Electrical Code (NEC) to separate the neutral and ground paths. This separation eliminates the shock hazard inherent in older 3-prong setups where the appliance chassis was bonded to the neutral wire.
Before pulling out a multimeter, you must understand the terminal layout. Looking at the face of a standard 14-30R or 14-50R receptacle:
- X and Y (Brass Terminals): The two 120V hot legs. Together, they provide 240V for the heating elements.
- W (Silver Terminal): The grounded neutral conductor. This carries the return current for 120V components like timers, displays, and drum motors.
- G (Green Terminal): The equipment grounding conductor. This provides a safe path for fault currents and should never carry current during normal operation.
CRITICAL SAFETY WARNING: Never troubleshoot a 240V receptacle with wet hands or while standing on a damp floor. Always verify your multimeter is rated CAT III 600V or CAT IV 600V before testing. According to the Consumer Product Safety Commission (CPSC), 240V arc flashes can cause severe burns and fatal electrocution.
Essential Diagnostic Tools for 2026
Forget the cheap non-contact voltage pens for definitive diagnosis; they can yield false positives due to capacitive coupling in 240V cables. You need a reliable digital multimeter (DMM). The Klein Tools MM400 (approx. $45) or the Fluke 117 (approx. $190) are industry standards. You will also need a flathead and Phillips screwdriver, a 1/4-inch nut driver for terminal blocks, and a flashlight.
Step-by-Step Receptacle Voltage Mapping
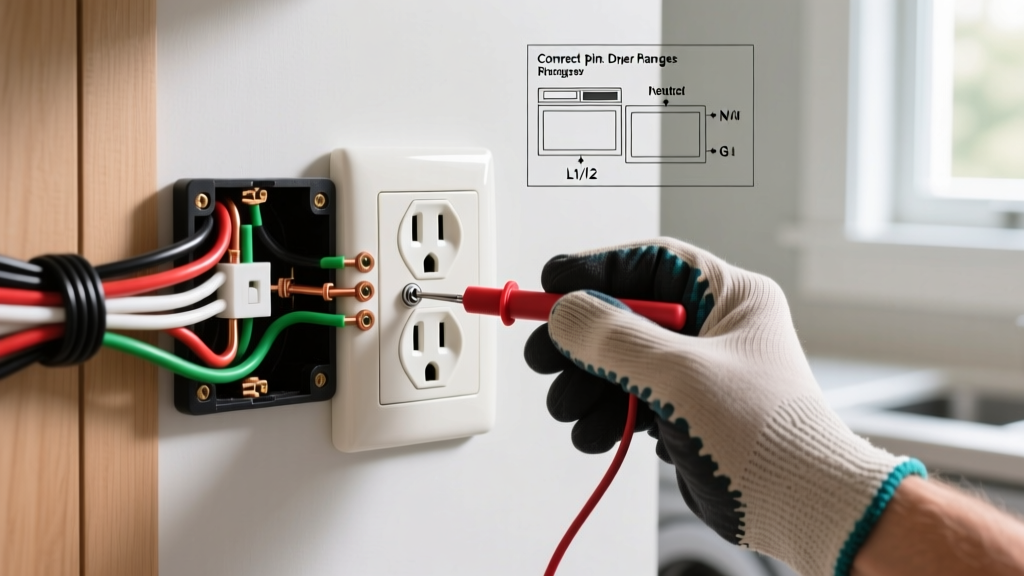
With the dryer or range unplugged and the DMM set to AC Voltage (V~), insert the probes into the receptacle slots. Use the following matrix to interpret your readings and isolate the fault.
| Probe 1 | Probe 2 | Expected Voltage | Failure Indication |
|---|---|---|---|
| X (Hot) | Y (Hot) | 240V | Tripped breaker, blown main fuse, or severed cable. |
| X (Hot) | W (Neutral) | 120V | Open neutral, loose wire nut in junction box. |
| Y (Hot) | W (Neutral) | 120V | Open neutral or reversed hot/neutral at panel. |
| X (Hot) | G (Ground) | 120V | Open ground, missing grounding rod bond. |
| W (Neutral) | G (Ground) | Less than 2V | High resistance neutral, shared neutral fault. |
Phase 1: The Breaker Panel Check
If your X-to-Y reading is 0V or 120V instead of 240V, head to the main service panel. A 240V breaker is essentially two 120V breakers tied together. If one half of the tandem breaker trips internally but the handle doesn't fully move, you lose one hot leg. Turn the breaker completely OFF, then firmly snap it back to the ON position. If the X-to-Y voltage remains at 120V, the breaker is defective and requires replacement (e.g., a Square D HOM230 for Homeline panels, costing around $12).
Phase 2: Inspecting the Receptacle Terminals
If the panel is delivering 240V but the receptacle is not, turn off the breaker and remove the receptacle cover. Pull the 4 prong electrical outlet out of the gang box. Look for:
- Backstabbed Wires: Never use the push-in backstab holes for 30A or 50A circuits. The spring tension fails under high thermal loads, causing arcing. Wires must be wrapped clockwise around the screw terminals.
- Thermal Discoloration: If the brass terminals are blackened or the plastic housing is melted, the receptacle has suffered thermal runaway. Replace it immediately.
- Aluminum Wire Creep: If your home was wired in the 1970s with aluminum branch circuit wiring, thermal cycling causes the metal to expand and contract, eventually loosening the terminal screws. This creates high resistance and extreme heat.
Advanced Edge Case: The 'Floating Neutral' Failure Mode
One of the most destructive and misunderstood failures in 4-prong dryer circuits is the floating (open) neutral. If the W (neutral) connection breaks at the receptacle or the appliance terminal block, the 120V control components (timer, display, motor) are forced into a series circuit with the 240V heating element.
Because the heating element has very low resistance compared to the control board, the voltage divider effect pushes upwards of 200V through the 120V timer motor or electronic control board. This instantly fries the control board—a $150 to $300 part. If your dryer has power to the light but the digital display is dead or behaving erratically, test the neutral continuity from the plug blade to the terminal block immediately before replacing expensive electronic modules.
Torque Requirements and NEC Compliance
A massive information gap among DIYers and even some journeymen is the strict torque requirement for heavy-gauge wires. According to NEC 110.14(D), any termination on a circuit rated over 14 AWG (which includes 10 AWG for 30A dryers and 6 AWG for 50A ranges) must be tightened using a calibrated torque tool.
The National Fire Protection Association (NFPA) emphasizes that under-torqued connections cause arcing fires, while over-torqued connections shear the wire strands, reducing the cross-sectional area and creating a hot spot. For a standard Leviton 14-30R receptacle, the terminal screws typically require 14 to 18 inch-pounds of torque. A simple torque screwdriver like the CDI 1002CFR (approx. $110) ensures code compliance and prevents future thermal failures.
When to Replace the Receptacle: Parts and Costs
If the internal contacts are pitted, loose, or show heat damage, the receptacle must be replaced. Do not attempt to clean pitted brass contacts; the spring tension is permanently compromised.
- 30-Amp Dryer Receptacle: Leviton 278-S00 or Hubbell HBL278. Retail price: $12 - $18. Ensure it is rated CU/AL if connecting to aluminum wire, or use Alumiconn pigtails.
- 50-Amp Range/EV Receptacle: Hubbell 9450A or Leviton 279-S00. Retail price: $18 - $35. The Hubbell 9450A features industrial-grade glass-reinforced nylon that resists high-heat deformation better than standard residential grades.
If you hire a licensed electrician to diagnose and replace a failed 4 prong electrical outlet, expect to pay a standard service call fee ($75-$125) plus one hour of labor ($75-$150), bringing the total out-of-pocket cost to between $150 and $300 in most US markets.
Frequently Asked Questions (FAQ)
Can I adapt a 4-prong dryer cord to a 3-prong outlet?
While the NEC allows changing a dryer cord from 4-prong to 3-prong to match an older home's existing outlet, you must install a bonding strap inside the dryer to tie the neutral to the chassis ground. However, upgrading the wall outlet to a 4 prong electrical outlet is vastly safer and recommended by the U.S. Department of Energy for modern appliance efficiency and safety.
Why does my dryer plug get hot to the touch?
A warm plug after a 60-minute high-heat cycle is normal. A plug that is too hot to touch indicates a high-resistance connection. This is usually caused by loose terminal screws at the receptacle, a damaged plug blade, or undersized wiring (e.g., using 12 AWG wire on a 30A breaker). Turn off the breaker immediately and inspect the terminals.
My multimeter reads 240V at the outlet, but the dryer won't start. What next?
If the receptacle tests perfectly, the fault lies in the dryer power cord, the appliance terminal block, or the internal thermal fuse. Unplug the unit, remove the terminal block cover on the back of the dryer, and test for 240V across the two outer hot terminals while the cord is plugged in. If voltage is present there, the issue is internal to the appliance.