
Understanding the True Cost to Install a New Electrical Outlet
When homeowners research the cost to install new electrical outlet configurations, they are often met with vague national averages that fail to account for the technical realities of modern electrical systems. In 2026, the financial scope of adding a single receptacle ranges from a $15 DIY material run to a $1,500+ professional project requiring panel upgrades, new circuit runs, and drywall restoration. Whether you are adding a dedicated 20-amp circuit for a kitchen appliance, upgrading to GFCI protection in a bathroom, or simply extending power to a finished basement, understanding the breakdown of materials, labor, and code requirements is essential.
This guide bridges the gap between budgeting and technical execution. We will analyze the exact costs associated with different outlet types and walk through the step-by-step professional installation process so you understand precisely what you are paying for.
2026 Cost Matrix: Materials vs. Professional Labor
The table below outlines the realistic cost ranges for adding new electrical outlets in 2026. Labor rates for licensed electricians currently average between $95 and $165 per hour, heavily dependent on regional markets and the complexity of wall fishing.
| Outlet Configuration | Material Cost (DIY) | Pro Labor (Avg) | Total Estimated Cost |
|---|---|---|---|
| Standard 15A Duplex (Tap Existing) | $12 - $25 | $150 - $250 | $162 - $275 |
| 20A GFCI Receptacle (Kitchen/Bath) | $35 - $60 | $200 - $350 | $235 - $410 |
| New 20A Dedicated Circuit Run | $85 - $140 | $450 - $800 | $535 - $940 |
| 240V 50A NEMA 14-50 (EV/Welder) | $120 - $250 | $600 - $1,200 | $720 - $1,450 |
What You Are Paying For: The Step-by-Step Pro Installation
To understand the labor portion of your quote, you must understand the meticulous, code-compliant steps a licensed electrician takes. According to the National Fire Protection Association (NFPA), improper wiring and loose connections are leading causes of residential electrical fires. Here is the exact sequence a professional follows to ensure safety and NEC compliance.
Step 1: Circuit Load Calculation and Panel Evaluation
Before cutting a single hole in your drywall, a professional evaluates the existing circuit's capacity. Under NEC Article 220, a standard 15-amp circuit should not exceed 80% continuous load (12 amps or 1,440 watts). If the target room is already heavily loaded with lighting and existing receptacles, the electrician must run a new home run from the main service panel. This step also involves checking the panel for available physical spaces and ensuring the main bus bar amperage (e.g., 200A) can support the additional load without requiring a costly service upgrade.
Step 2: Rough-In Wiring and Wall Fishing
If a new circuit is required, the electrician will route Southwire 12/2 NM-B (Romex) cable from the main panel to the new outlet location. In open-wall scenarios (new construction or active renovations), this is straightforward and inexpensive. However, in finished homes, electricians must use fiberglass fish tapes and flexible drill bits to navigate through top plates, fire blocks, and insulation. This 'fishing' process is highly labor-intensive and is the primary reason why the cost to install new electrical outlet setups in finished walls is significantly higher than in open framing.
Step 3: Box Mounting and Device Termination
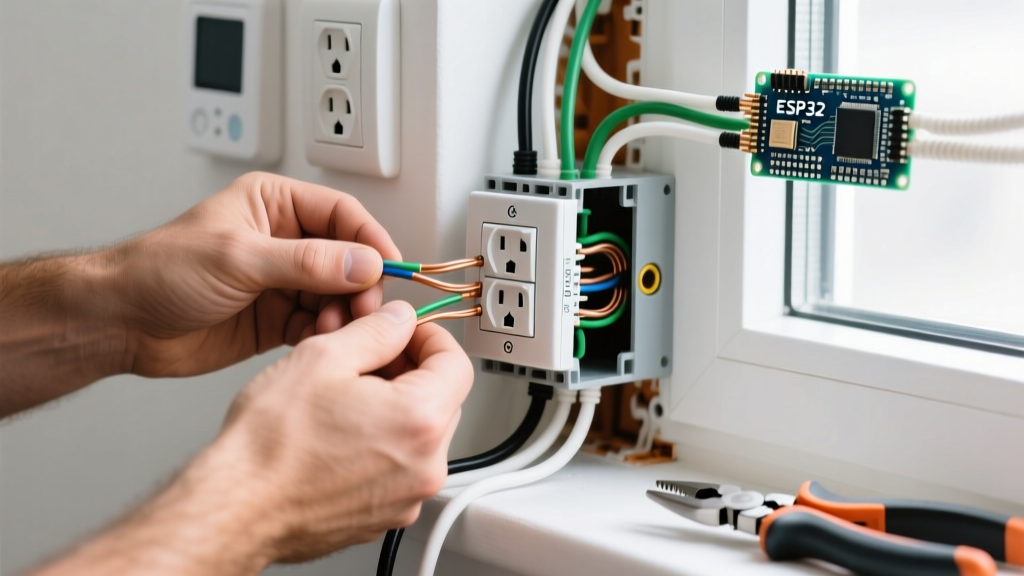
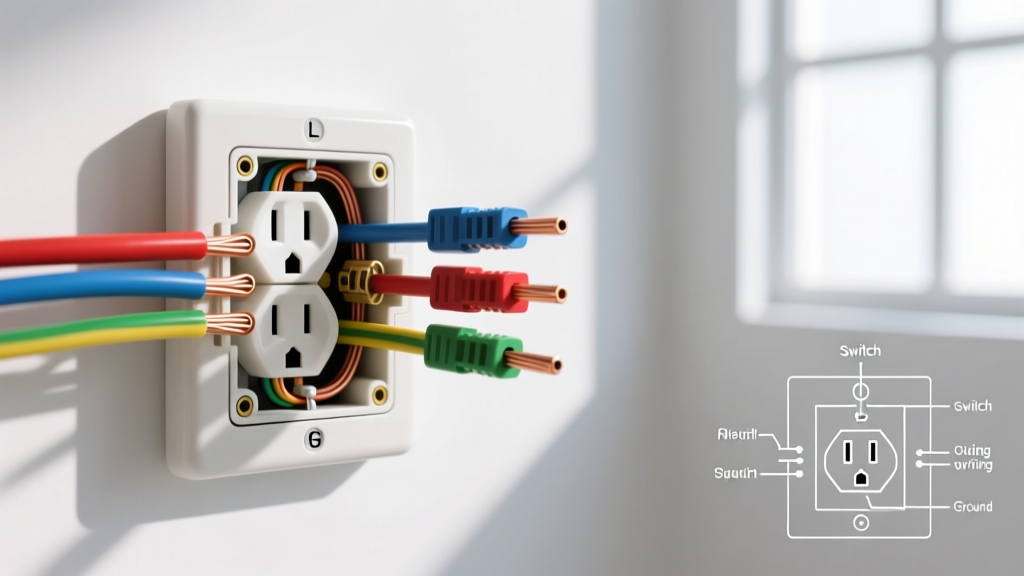
For retrofit installations, pros use specialized remodel boxes, such as the Carlon B618R-UPC, which feature adjustable wings that clamp securely to the back of the drywall. Once the cable is secured and the insulation jacket is stripped, the wires are terminated. Modern best practices dictate using spec-grade or hospital-grade receptacles—like the Leviton T5262 or Hubbell HBL5262I—which feature superior internal brass contacts and back-wire clamps that resist thermal expansion.
Expert Insight: The NEC strictly enforces torque specifications for terminal screws. Professional electricians use a calibrated torque screwdriver (such as the Klein Tools 695) to apply exactly 14 in-lbs of torque to the terminal screws. This prevents thermal loosening over time, a common failure mode in DIY installations that leads to arcing and melted receptacles.
Step 4: Testing and Code Verification
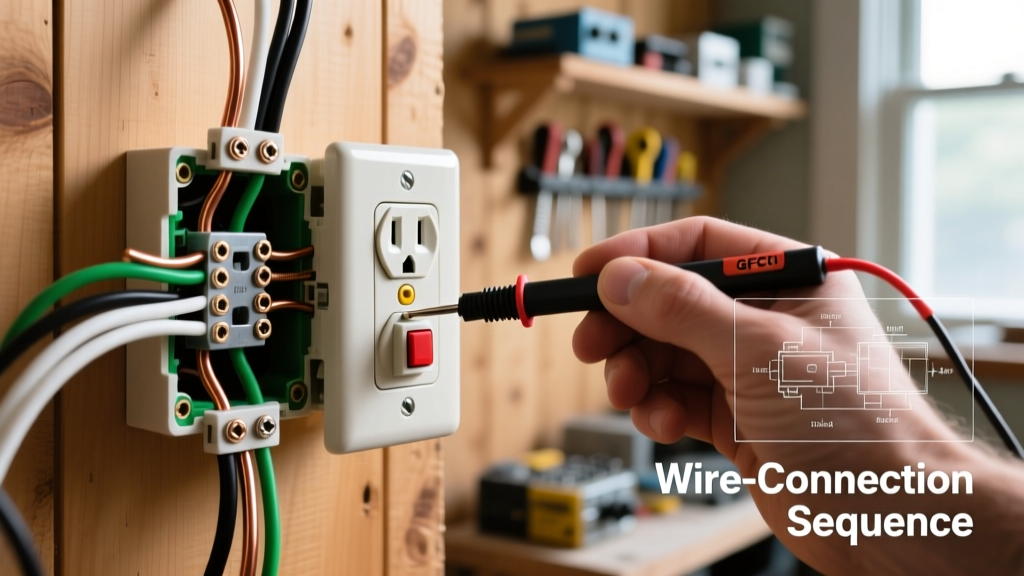
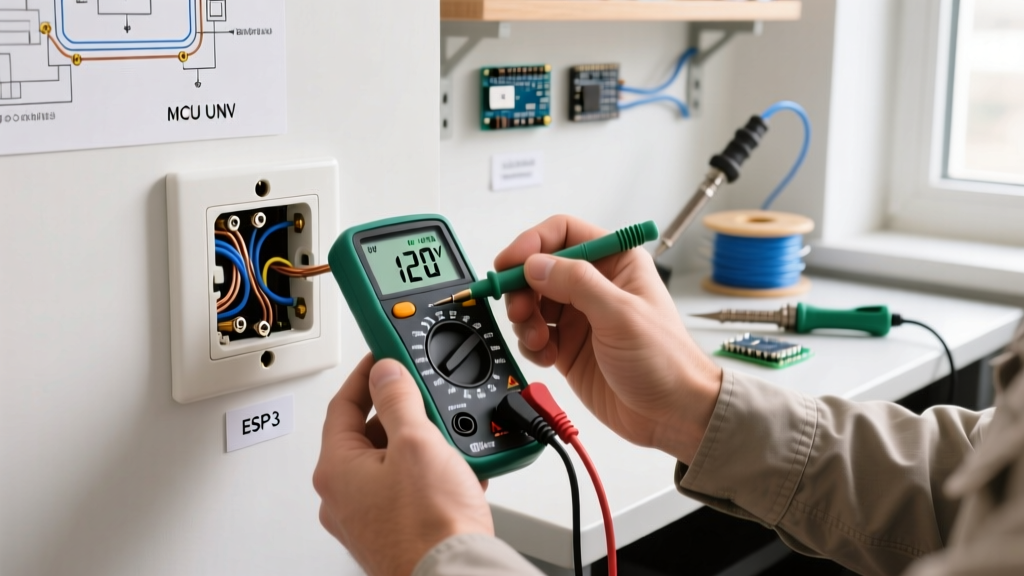
The final step involves testing the circuit. A pro will use a receptacle analyzer to verify correct hot/neutral/ground polarity and test the trip mechanism on GFCI or AFCI devices. They will also ensure the installation meets the specific room requirements outlined in NEC 210.8 (GFCI protection for wet areas) and NEC 210.12 (AFCI protection for living spaces).
Hidden Variables That Spike Installation Costs
When budgeting for your project, be aware of these secondary factors that can rapidly increase the final invoice:
- AFCI Breaker Requirements: If you are adding an outlet in a bedroom, living room, or hallway, the NEC requires Arc-Fault Circuit Interrupter (AFCI) protection. Upgrading a standard breaker to an Eaton BR220AF or Square D HOM120AFI breaker adds $45 to $75 to your material costs alone.
- Panel Space Limitations: If your main electrical panel is full, the electrician may need to install tandem breakers (if permitted by the panel manufacturer) or add a sub-panel, which can add $800 to $1,500 to the project.
- Drywall Repair and Painting: Electricians are not drywall finishers. Fishing wires often requires cutting access holes in walls or ceilings. Patching, mudding, sanding, and painting these holes will require hiring a separate handyman or drywall contractor.
- Permitting and Inspections: Most municipalities require a permit for new circuit runs. Permit fees typically range from $50 to $150, and the work must pass a rough-in and final inspection by the local Authority Having Jurisdiction (AHJ).
Frequently Asked Questions
Can I install a new outlet myself to save money?
You can save on labor costs if you are simply replacing an existing receptacle or tapping into an accessible junction box in an unfinished basement. However, the U.S. Consumer Product Safety Commission (CPSC) strongly advises against DIY work that involves running new cables through walls, splicing in concealed spaces, or modifying the main service panel. Incorrect wire sizing, missing grounds, or reverse polarity can result in fatal shocks or hidden electrical fires.
Why does a 240V outlet cost so much more than a standard 120V outlet?
A 240V outlet (like a NEMA 14-50 used for EV chargers or electric ranges) requires a double-pole breaker, thicker 6/3 or 8/3 NM-B copper wire, and a dedicated home run that cannot share a neutral with other circuits. The material cost for heavy-gauge copper wire is substantially higher, and the physical labor of pulling stiff, thick cables through wall cavities is much more demanding.
Do I need a permit to add a single electrical outlet?
In most jurisdictions, swapping an existing outlet does not require a permit. However, installing a new outlet that involves extending wiring or adding a new circuit almost always requires an electrical permit. The Electrical Safety Foundation International (ESFI) notes that unpermitted electrical work can void your homeowner's insurance policy in the event of an electrical fire and can cause significant issues during future real estate inspections.
What is the most cost-effective way to add power to a kitchen island?
Running a new 20A GFCI-protected circuit is the safest and most code-compliant method. While tapping an existing lighting circuit might seem cheaper upfront, kitchens require dedicated small-appliance branch circuits (SABCs) per NEC 210.52. Overloading a lighting circuit with high-draw kitchen appliances will result in constantly tripped breakers and potential wire overheating.