
Why Electric Outlet Box Dimensions Matter
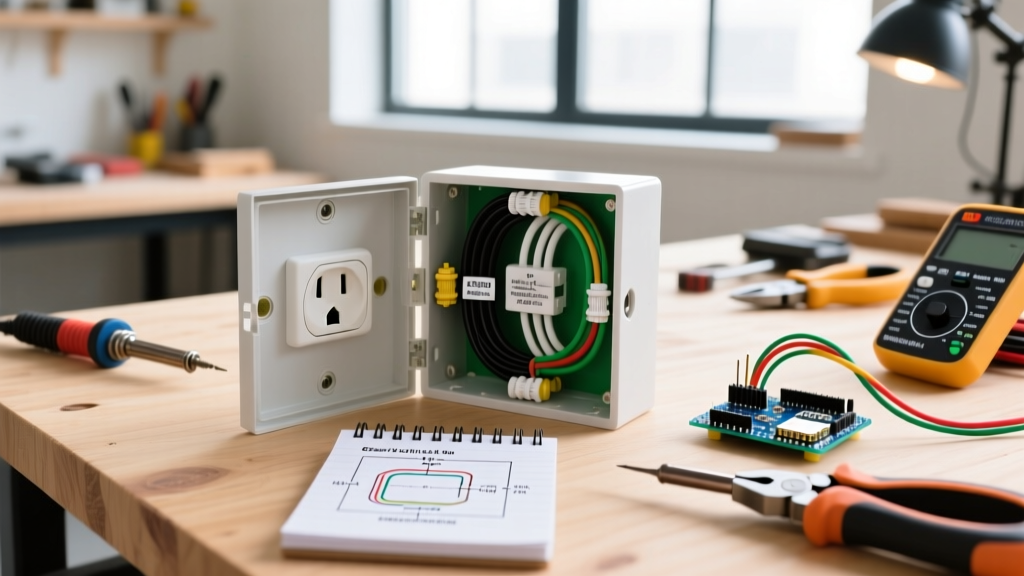
When wiring a new room or upgrading to smart home technology in 2026, guessing your electrical box size is a recipe for failed inspections, overheated wires, and cracked drywall. The National Electrical Code (NEC) strictly regulates box fill to prevent heat buildup and arc faults. According to the National Fire Protection Association (NFPA), overcrowded boxes are a leading cause of residential electrical fires. This beginner tutorial breaks down standard electric outlet box dimensions, depth requirements, and the exact math you need to pass inspection on the first try.
Standard Electric Outlet Box Dimensions Matrix
Before cutting into drywall or framing, you must select the correct footprint. Below is the industry-standard dimension chart for the most common non-metallic (PVC) and metal boxes used in residential wiring.
| Box Type | Face Dimensions (W x H) | Standard Depth | Typical Cubic Inch (cu in) | Best Use Case |
|---|---|---|---|---|
| Single Gang (New Work) | 2.75' x 4.5' | 1.5' | 14 - 18 cu in | Standard receptacles, basic toggle switches |
| Single Gang (Deep) | 2.75' x 4.5' | 2.125' to 3.0' | 20 - 24 cu in | GFCI outlets, smart dimmers with pigtails |
| Double Gang | 4.5' x 4.5' | 1.5' | 25 - 34 cu in | Two switches/outlets side-by-side |
| Round / Octagonal | 4' diameter | 1.5' to 2.125' | 12 - 16 cu in | Ceiling light fixtures, junction splices |
The Hidden Variable: Box Depth and Smart Switches
Beginners often focus on the width and height (the 'gang' size) but completely ignore depth. Standard 1.5-inch deep boxes (like the popular Carlon B114R, retailing around $1.85) are fine for simple pass-through wiring. However, the 2026 smart home landscape demands significantly more physical space behind the wall plate.
When to Upgrade to Extra-Deep Boxes (3.0 Inches)
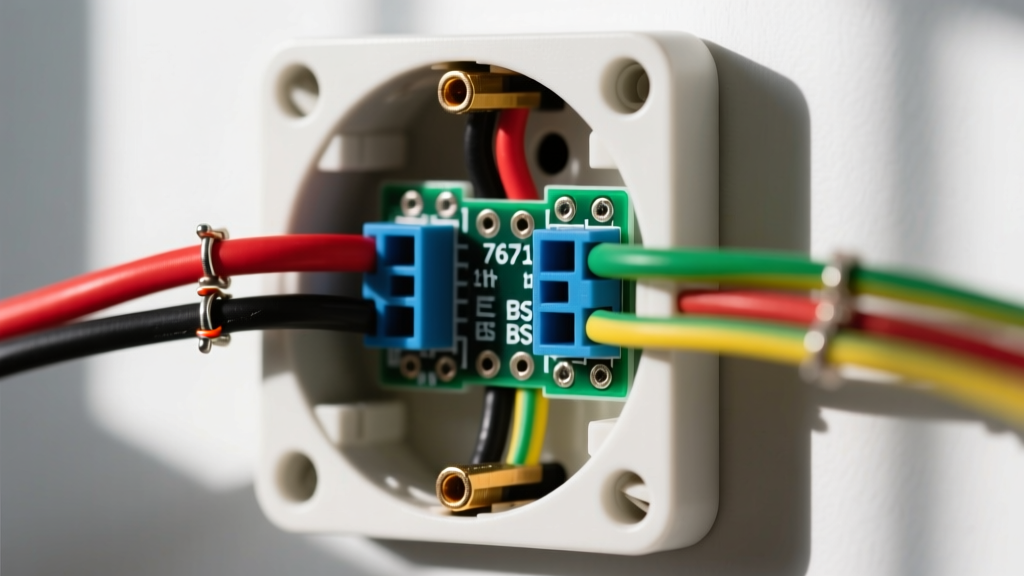
- Smart Dimmers: Devices like the Lutron Caseta PD-6WCL or Enbrighten Z-Wave Plus dimmers feature massive aluminum heat sinks and require you to tuck 4 to 6 wire nuts behind the device.
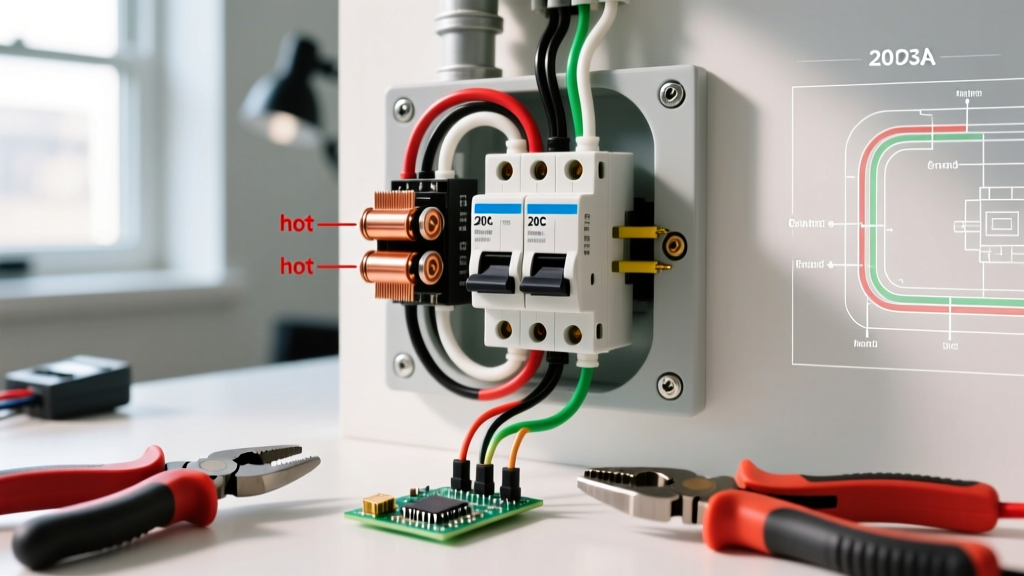
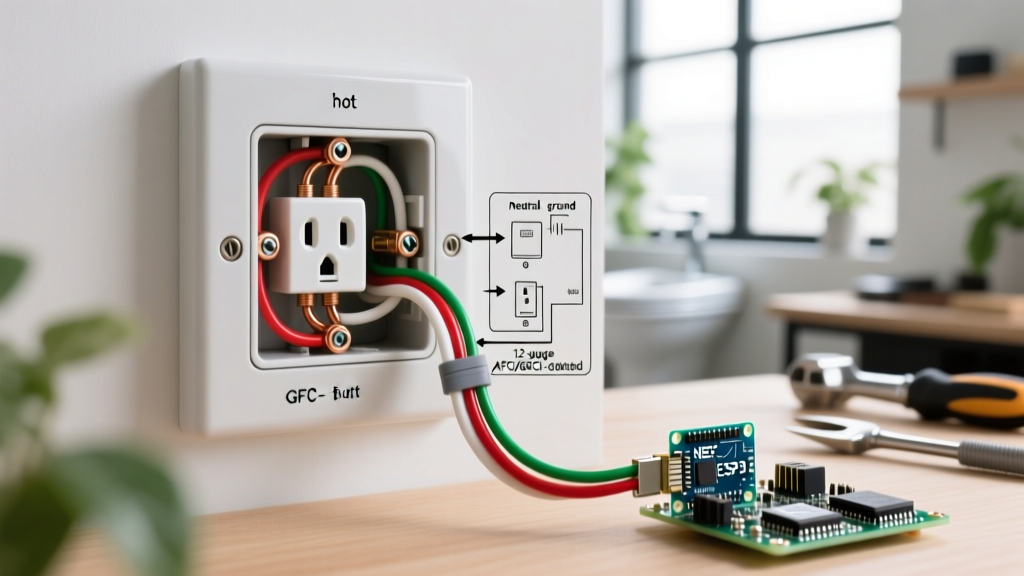
- GFCI and AFCI Receptacles: The internal circuitry of a Leviton 20-Amp GFCI extends nearly 1.25 inches into the box, leaving almost no room for 12 AWG ground and neutral wires in a standard shallow box.
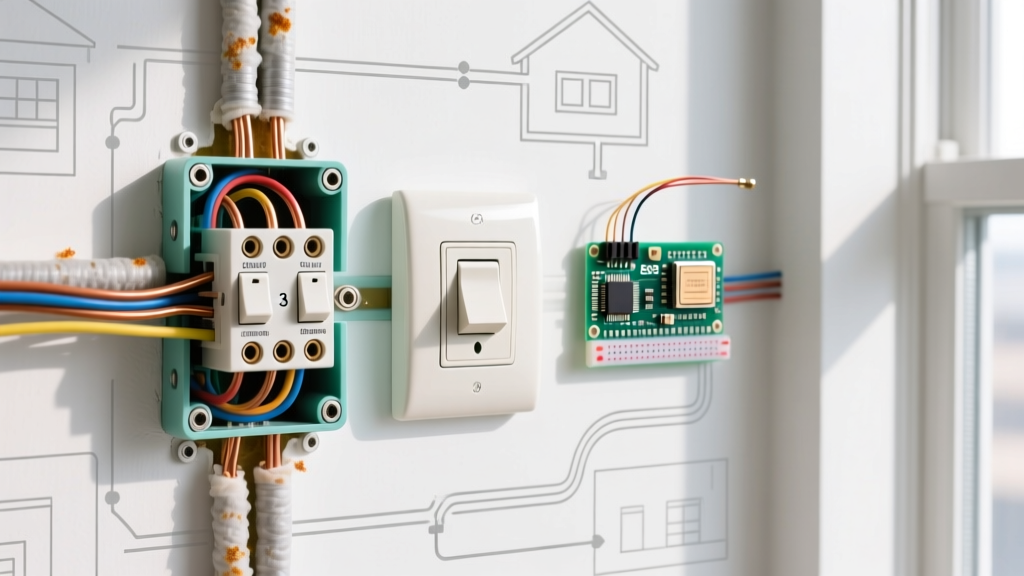
- Multi-Way Smart Switches: If you are wiring a 3-way smart switch setup, the traveler wires and neutral pigtails will easily overstuff a 1.5-inch box, causing severe wire bending radius violations.
Pro Tip: Always buy 2.125-inch or 3-inch deep boxes (such as the Carlon B120R-UPC or extra-deep metal boxes like the Raco 504) for any device containing a microchip or wireless radio. The extra $2.00 per box saves hours of frustrating wire-tucking and prevents drywall bowing.
NEC Box Fill Calculations: The Math Beginners Must Know
According to NEC Article 314.16, detailed extensively by industry experts at Electrical Contractor Magazine, every box has a maximum cubic inch capacity. You must calculate the 'box fill' to ensure you don't exceed it. Here is the exact volume allowance per wire gauge:
NEC Volume Allowances per Conductor:
14 AWG Wire = 2.0 cubic inches
12 AWG Wire = 2.25 cubic inches
10 AWG Wire = 2.50 cubic inches
How to Calculate Your Box Fill
- Count the Current-Carrying Wires: Every hot and neutral wire entering and terminating in the box counts as 1 volume unit. (Wires passing straight through without a splice count as 1; wires spliced or terminating count as 1 each).
- Count the Device: The switch or receptacle itself counts as two volume units based on the largest wire connected to it.
- Count the Clamps: Internal metal clamps count as 1 volume unit (total, regardless of how many clamps are present).
- Count the Grounds: All bare copper or green ground wires combined count as exactly one volume unit.
Example Calculation: You are installing a standard 15A single-pole switch using 14/2 NM-B cable (one cable entering, one leaving). You have two 14 AWG hots, two 14 AWG neutrals, and two 14 AWG grounds. The switch counts as two 14 AWG units. The grounds count as one 14 AWG unit. Total units = 2 (hots) + 2 (neutrals) + 2 (device) + 1 (grounds) = 7 units. Multiply 7 by 2.0 cu in = 14.0 cubic inches required. A standard 14 cu in box is exactly at the legal limit. If you add a smart switch pigtail, you will violate code and must upgrade to an 18 or 20 cu in deep box.
Metal vs. Non-Metallic (PVC) Box Dimensions
While the face dimensions (gang sizes) remain consistent across materials, the internal volume and mounting requirements differ significantly between metal and PVC boxes.
- Non-Metallic (PVC) Boxes: Brands like Carlon and Arlington dominate this space. PVC boxes feature integrated nail brackets for new work and internal cable clamps that do not require additional hardware. However, PVC boxes are restricted to use with non-metallic sheathed cable (Romex/NM-B) and cannot be used with metal conduit (EMT/MC) unless specific transition fittings are used.
- Steel and Metal Boxes: Brands like Raco and Steel City manufacture metal boxes that are slightly shallower but offer superior crush resistance and grounding continuity. Metal boxes require separate cable clamps (like the Raco 931 Romex connector), which must be factored into your NEC box fill calculations. Furthermore, metal boxes must be bonded to the equipment grounding conductor, adding an extra step for beginners.
Step-by-Step Installation: Cutting and Mounting
Knowing the dimensions is only half the battle. Translating those dimensions to your drywall requires precision. The Occupational Safety and Health Administration (OSHA) mandates strict adherence to enclosure mounting to prevent structural compromise and electrical shock hazards.
New Work Construction (Open Studs)
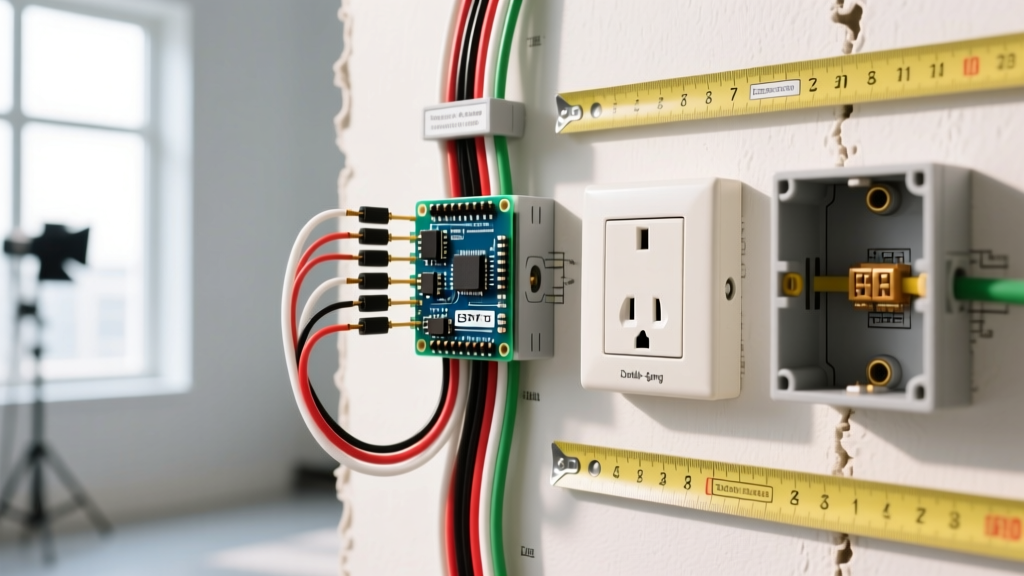
- Positioning: Nail the flange of the new-work box directly to the side of the wood or metal stud. Standard outlet height is 16 inches from the finished floor to the center of the box; standard switch height is 48 inches.
- Drywall Cutout: Once drywall is hung, use a rotary tool or an oscillating multi-tool. Trace the inside of the box flange. Do not cut outside the flange, or the outlet cover plate will not hide the gap.
Old Work Retrofit (Existing Drywall)
For retrofitting, you will use 'old work' boxes with flip-out clamps (e.g., Arlington Industries FA101, approx. $3.50). These boxes have a wider front lip to grip the drywall securely.
- Trace the Template: Place the back of the old-work box against the wall. Use a pencil to trace the exact outer perimeter.
- Cut and Clear: Cut along the line. Before inserting the box, use a flashlight to check inside the wall cavity for plumbing, HVAC ducts, or existing wiring that could be pierced by the box's mounting screws.
- Insert and Clamp: Push the wires through the knockout holes. Insert the box into the wall. Tighten the two mounting screws clockwise. The internal wings will flip 90 degrees and pull tight against the back of the drywall.
Tool Selection for Cutouts: When cutting drywall for your outlet box, avoid using a utility knife for the entire perimeter. The paper face of the drywall will tear, resulting in a jagged edge that the outlet cover plate cannot hide. Instead, use an oscillating multi-tool with a 2-inch straight wood/drywall blade. Plunge cut into the corners, then trace the perimeter. This yields a factory-crisp edge that perfectly matches the 2.75' x 4.5' single-gang dimension.
Common Beginner Mistakes and Edge Cases
- Over-tightening Old Work Screws: If you use a high-torque impact driver on the mounting screws of a PVC old-work box, you will strip the plastic threads or crack the drywall. Use a hand screwdriver or set your drill clutch to setting 3.
- Ignoring Plaster Rings: When working with metal boxes in commercial or high-end residential settings, the box itself might be 2.125 inches deep, but the mud ring (plaster ring) adds another 0.5 inches of depth. Factor this into your box fill math.
- Using Shallow Boxes for USB Receptacles: Modern USB-C/A combo receptacles (like the Leviton T5636) have deep internal transformers. A 1.5-inch box will physically prevent the device from seating flush against the wall, causing the faceplate to bow or crack under pressure.
Final Takeaway
Mastering electric outlet box dimensions is about more than just making sure the box fits in the wall; it is about ensuring thermal safety and code compliance. Always default to deeper boxes (2.125' or 3.0') when working with modern smart devices, GFCIs, or 12 AWG wiring. The marginal increase in material cost is vastly outweighed by the ease of installation and the guarantee of passing your local electrical inspection.