
Why Recessed Outlets Are a Hidden Fire Hazard
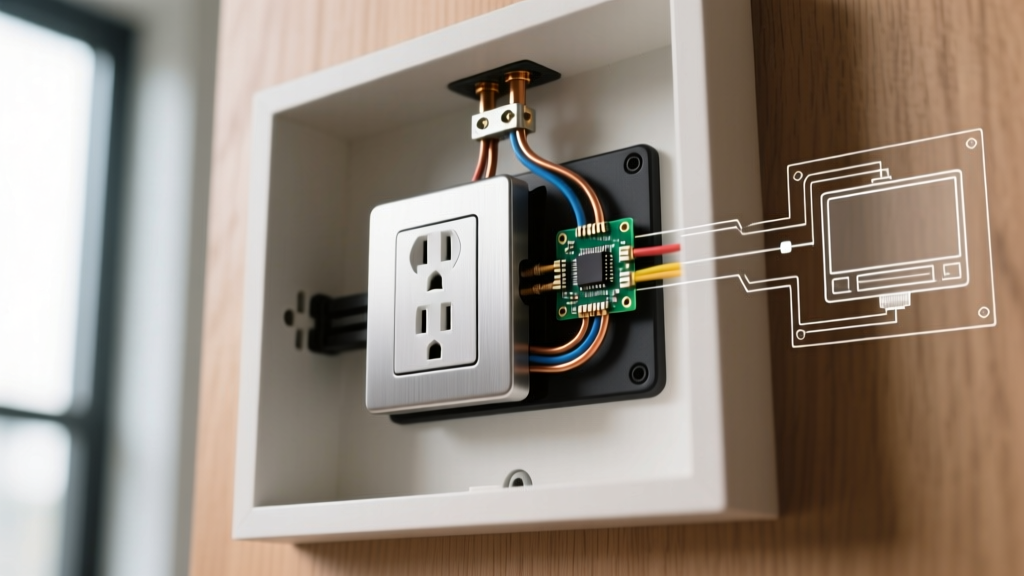
If you have recently installed a backsplash, added wood paneling, or upgraded to thicker drywall, you might notice your electrical receptacles are now sunken deep inside the wall. While this might look like a minor cosmetic flaw, a recessed outlet is a serious safety violation. When an outlet sits behind the wall surface, the heat generated by the electrical connections cannot dissipate properly, and exposed wiring inside the gap creates a direct fire risk.
According to the National Fire Protection Association (NFPA 70), specifically NEC Article 314.20, electrical boxes must be flush with or project from the wall surface. In non-combustible walls, any gap larger than 1/8" (3mm) is a strict code violation. The most reliable, code-compliant fix is to install an adjustable electrical outlet extender. This beginner-friendly tutorial will walk you through the exact steps, tools, and edge cases required to bring your recessed outlets flush with the wall safely.
Understanding Adjustable Outlet Extenders
An adjustable electrical outlet extender bridges the physical gap between the recessed electrical box and the face of the receptacle. Unlike rigid metal box extenders that require exact depth measurements, adjustable models feature telescoping sleeves or break-away segments that allow you to customize the depth on the fly. As of 2026, these extenders typically cost between $4.00 and $8.50 per unit at major hardware retailers.
NEC Code Alert: Never use stacked metal washers or loose wooden shims to bridge a gap. The Electrical Safety Foundation International (ESFI) warns that improper spacing can cause the receptacle yoke to bend, leading to poor internal contact, arcing, and melted plastic faces. Always use UL-listed box extenders or manufactured spacer shims.
Extender Types: Which One Do You Need?
| Extender Type | Best For Gap Size | Material | Pros & Cons |
|---|---|---|---|
| Telescoping PVC Extender | 1/2" to 1-1/2" | Non-Metallic (Plastic) | Pros: Slides perfectly over the box; highly adjustable. Cons: Requires longer 6-32 mounting screws. |
| Stackable Horseshoe Shims | 1/16" to 1/4" | Polycarbonate / Plastic | Pros: No screw replacement needed; cheap. Cons: Useless for deep gaps over 3/8". |
| Adjustable Metal Ring | 1/4" to 3/4" | Galvanized Steel | Pros: Maintains metal box grounding path. Cons: Harder to cut; sharp edges. |
Tools and Materials Checklist
Before starting, gather the following specific tools. Do not substitute the screw sizes, as using the wrong threading will strip the electrical box ears.
- Non-Contact Voltage Tester (NCVT): Essential for verifying dead circuits.
- Phillips #2 and Flathead Screwdrivers: For removing faceplates and terminal screws.
- Tape Measure or Digital Calipers: To measure the exact depth of the recess.
- Adjustable Electrical Outlet Extender: e.g., Arlington Industries BE1 or equivalent telescoping PVC model.
- Replacement Machine Screws (Crucial): 1-1/2" or 2" length, 6-32 thread (Standard receptacle screws are only 3/4" and will not reach the box through a thick extender).
- 12 AWG or 14 AWG Copper Ground Wire: For creating a grounding pigtail if working with metal boxes.
Step-by-Step Installation Tutorial
Step 1: Kill the Power and Verify
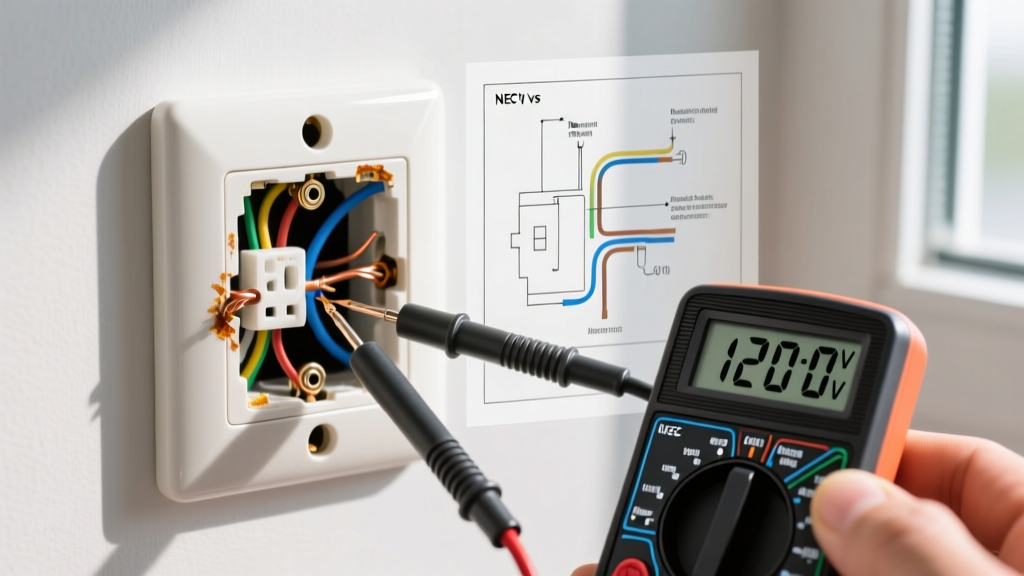
Navigate to your main electrical panel and switch off the breaker controlling the outlet. Insert a plug-in circuit tester or use your NCVT on the receptacle slots. Never skip this step. Even if the outlet appears dead, backstabbed wires or multi-wire branch circuits (MWBC) can leave hidden voltage on the neutral or adjacent terminals.
Step 2: Remove the Receptacle and Measure the Gap
Remove the faceplate and unscrew the top and bottom 6-32 mounting screws holding the receptacle to the box. Gently pull the receptacle out. Using your tape measure, measure from the front edge of the electrical box to the surface of the wall. If the gap is 3/4", you will need an extender that supports at least a 1" depth to ensure a snug fit against the drywall.
Step 3: Prep and Insert the Adjustable Extender
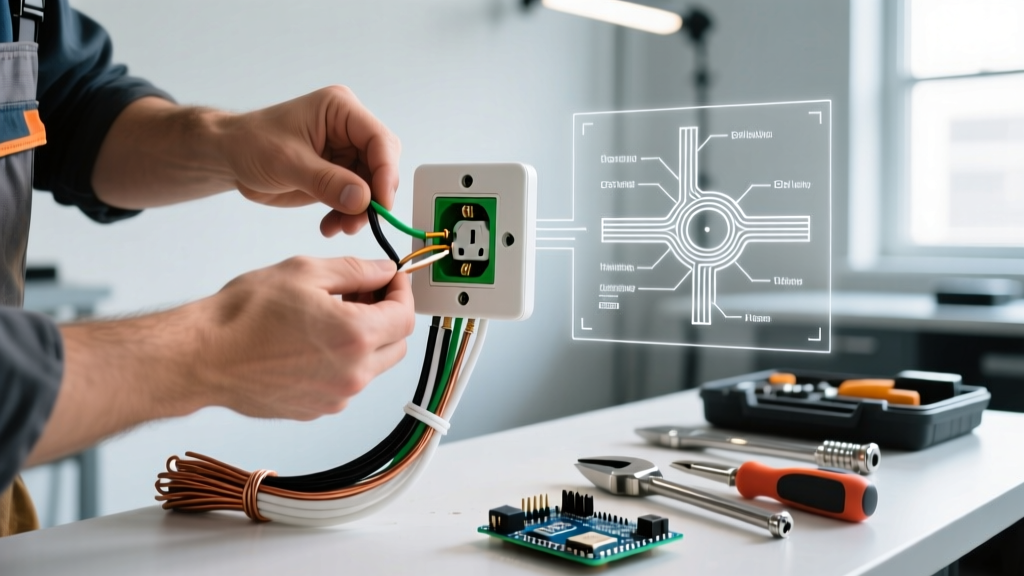
Take your telescoping adjustable electrical outlet extender and slide the inner sleeve to match your measured depth. Most PVC extenders have scored lines on the plastic; snap off the excess segments using lineman's pliers so the extender sits perfectly flush with your wall surface. Carefully slide the extender over the existing wires and push it into the electrical box until it bottoms out.
Step 4: Address the Grounding Path (Metal Boxes Only)
If your home has metal electrical boxes, the metal yoke of the receptacle usually grounds itself by touching the metal box. A thick plastic extender breaks this physical connection. You must install a grounding pigtail. Connect one end of a 14 AWG bare copper wire to the green ground screw inside the metal box, and route the other end to the green ground screw on your receptacle. If you have a plastic (PVC) box, you can skip this step, as the ground is handled entirely by the bare copper wire attached directly to the receptacle.
Step 5: Secure with Upgraded Hardware
Push the receptacle back into the adjustable extender. Do not use the original 3/4" screws. Insert your new 1-1/2" or 2" 6-32 machine screws through the receptacle yoke, through the extender, and into the threaded ears of the electrical box. Tighten until snug, then add exactly one-quarter turn. Overtightening can bow the plastic extender and crack your drywall or tile.
Step 6: Final Testing
Reattach the faceplate (you may need longer faceplate screws if the standard ones don't reach). Turn the breaker back on and test the outlet with a standard plug-in tester to confirm correct wiring and a solid ground connection.
Common Beginner Failure Modes & Troubleshooting
Even with a straightforward installation, beginners often encounter specific mechanical and electrical hurdles. Here is how to solve them:
- Stripped Box Ears: If the original installer cross-threaded the 6-32 holes in the metal box, your new long screws will just spin. Fix: Use a 10-24 tap to re-thread the hole, or use a 'box ear saver' clip that clamps onto the damaged ear to provide new threads.
- Pinched Wires: Telescoping extenders take up physical volume inside the box. If the box is already overfilled (violating NEC box fill calculations), forcing the extender in can pinch the insulation off the hot wire. Fix: Trim back excessive wire looping and fold the wires neatly in a Z-pattern at the back of the box before inserting the extender.
- Wobbly Receptacles: If the wall surface is uneven (common with stone or uneven tile), the extender might sit flush on one side but leave a gap on the other. Fix: Use a bead of clear silicone caulk behind the extender flange to fill the void and stabilize the unit before tightening the receptacle.
Frequently Asked Questions
Can I use an adjustable extender on a GFCI outlet?
Yes. GFCI receptacles are physically larger and deeper than standard duplex receptacles, but the mounting yoke and screw spacing remain identical. Ensure your electrical box has adequate depth (at least 2-1/4" deep) to accommodate both the bulky GFCI body and the extender sleeve without crushing the line and load wires.
Is it safe to use an adjustable extender in a bathroom or kitchen?
Absolutely, provided the circuit is protected by a GFCI breaker or GFCI receptacle, as required by modern NEC codes for wet locations. Ensure the extender flange sits tightly against the wall to prevent moisture from entering the electrical box behind the wall surface.
What if my gap is larger than 1-1/2 inches?
Standard adjustable extenders max out around 1-1/2". If your outlet is recessed deeper than this (common in thick masonry or log cabin walls), you cannot use a simple extender. You must install a dedicated deep-extension plaster ring or replace the electrical box entirely with an adjustable-depth remodeling box.