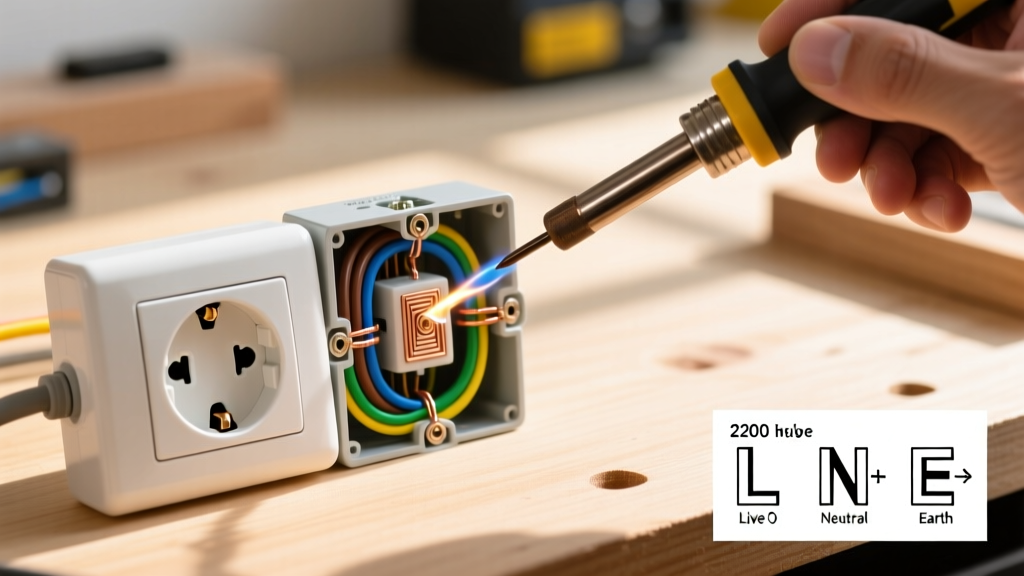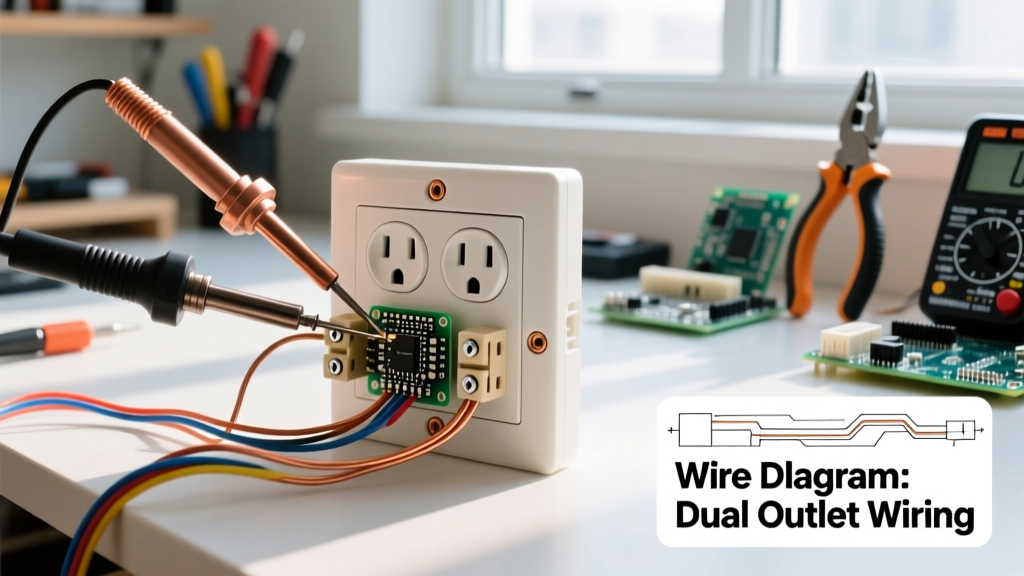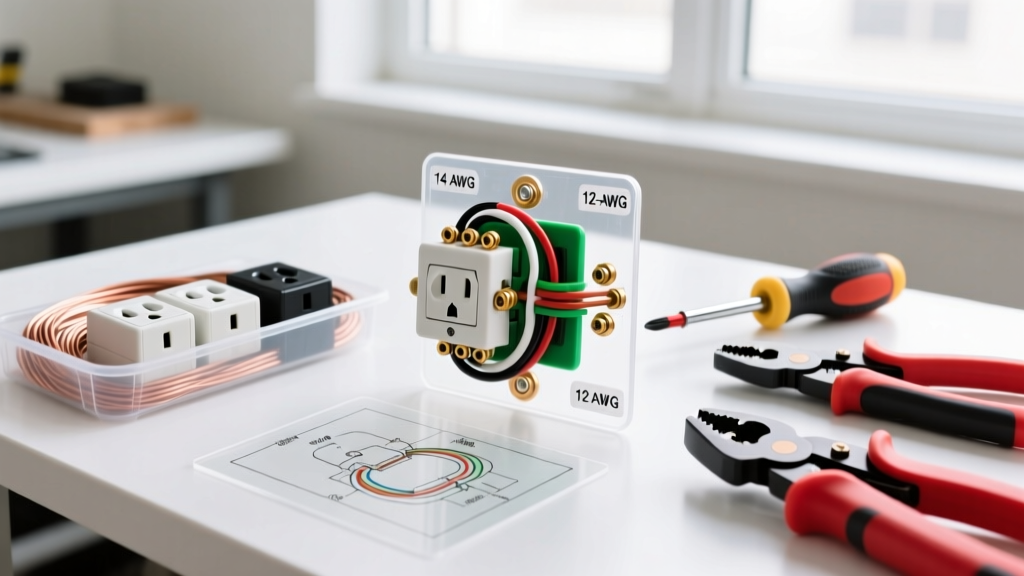

The Right Gear for Adding an Electric Outlet
Adding an electric outlet is one of the most rewarding DIY electrical projects, instantly improving the functionality of a room. However, the difference between a safe, code-compliant installation and a potential fire hazard often comes down to the quality of your materials and the precision of your tools. In 2026, the National Electrical Code (NEC) continues to enforce strict standards for torque, arc-fault protection, and tamper resistance, meaning you cannot rely on outdated methods or cheap hardware store bins.
This comprehensive tool and material guide breaks down exactly what you need for adding an electric outlet, from the correct wire gauge and receptacle models to the professional-grade hand tools that ensure a flawless, safe connection.
Safety & Code Warning: According to the Consumer Product Safety Commission (CPSC), electrical fires cause hundreds of fatalities annually, often stemming from loose connections and improper wire gauging. Always turn off the breaker and verify zero voltage before beginning work.
Core Materials: Wire, Receptacles, and Boxes
Before cutting into drywall, you must match your materials to the existing circuit. The most critical mistake DIYers make is mixing 15-amp and 20-amp components.
Material Selection Matrix
| Circuit Breaker Size | Required Wire Gauge (NM-B) | Receptacle Amperage | Recommended Receptacle Model | Avg. Cost (2026) |
|---|---|---|---|---|
| 15 Amp | 14 AWG (White Jacket) | 15A (or 20A feed-through) | Leviton T5320-W (TR, Duplex) | $3.50 - $4.25 |
| 20 Amp | 12 AWG (Yellow Jacket) | 20 Amp (T-Slot Face) | Eaton TR20W-SP (TR, Duplex) | $4.50 - $5.50 |
| AFCI/GFCI Required | 12 or 14 AWG (Match Circuit) | 15A or 20A GFCI | Eaton GFTA20-W (Self-Test GFCI) | $22.00 - $28.00 |
Pro-Tip on Receptacles: Never buy non-Tamper Resistant (TR) outlets. The NEC mandates TR shutters in almost all living spaces to prevent childhood shock hazards. The Leviton T5320-W features internal shutters that only open when two prongs are inserted simultaneously, a vital safety feature that costs pennies more than standard models.
Old Work vs. New Work Boxes
If you are adding an electric outlet to an existing finished wall, you need an Old Work (Retrofit) Box. The Carlon B618R (single gang) or B634R (deep single gang) are industry standards. They feature flip-out 'ear' clamps that secure the box directly to the back of the 1/2-inch drywall. For deep boxes, ensure you have at least 3.5 inches of depth to accommodate the wire bends and modern, bulkier smart receptacles or GFCIs.
Essential Hand Tools for the Job
Skimping on electrical tools leads to nicked copper wire, compromised insulation, and loose connections. Here is the exact toolkit required for a professional-grade installation.
1. Voltage Testing & Verification
- Non-Contact Voltage Tester (NCVT): The Milwaukee 48-22-0012 or Klein Tools NCVT-3 ($25-$35). These detect live voltage through the wire jacket. Always test a known live source before and after testing your target wire to verify the tool's battery and functionality.
- Receptacle Tester: The Gardner Bender GRT-3000 ($15). Essential for verifying hot/neutral polarity and ground continuity after the outlet is installed.
2. Wire Stripping & Cutting
Dull strippers nick the copper conductor, creating a weak point that can snap inside the terminal or cause localized heating. The Klein Tools 11055 ($28) is the undisputed king of 10-18 AWG solid wire stripping. It features precision-machined holes that shear the insulation cleanly without scoring the copper. For stripping the outer NM-B jacket, a dedicated cable ripper like the Klein Tools 1412 prevents accidental slicing of the inner ground or neutral wires.
3. Fastening & Torque Control
Modern electrical codes heavily emphasize proper termination torque. Under-tightened screws cause arcing; over-tightened screws strip the brass threads or snap the screw head.
- Insulated Screwdrivers: Wiha 32090 1000V rated set. The #2 Phillips and 1/4" slotted are your primary drivers.
- Torque Screwdriver: While often overlooked by DIYers, the Klein Tools 7055 ($95) or a calibrated Wiha 60090 ensures you hit the exact inch-pound rating stamped on the back of the receptacle (usually between 9 and 14 in-lbs). This aligns with NFPA 70 (NEC) Section 110.14(D), which requires connections to be tightened to the manufacturer's specified torque.
Consumables: Connectors and Tape
The days of relying solely on twisted wire nuts are fading in professional circles, though they remain code-compliant when installed correctly.
Wago 221 Series vs. Traditional Wire Nuts
When pigtailing ground wires or extending a circuit to add a new outlet, push-in lever connectors like the Wago 221 series (specifically the 221-413 for three wires) are vastly superior to twist-on wire nuts. They provide a gas-tight, vibration-proof connection, require no twisting force (saving your wrists), and feature a built-in test port for your multimeter. At roughly $0.65 per connector, they are worth the premium over a $0.10 Ideal 341 Blue wire nut.
Electrical Tape
Use 3M Temflex 1700 or Super 33+ vinyl electrical tape. However, tape should never be used as a substitute for a proper wire connector or to repair damaged wire insulation inside a box. It is only meant to wrap the sides of a receptacle to cover exposed terminal screws if the box is metal and shallow.
Step-by-Step Tool Application Workflow
- Kill & Verify: Switch off the breaker. Use the Milwaukee NCVT to verify the existing outlet you are tapping from is dead. Test the NCVT on a known live circuit to confirm it works.
- Cut & Fish: Use a Stanley 12-150 Drywall Saw to cut the opening for the old-work box. Use a Greenlee 502 Fish Tape to pull the new NM-B cable from the source box to the new opening.
- Prep the Wires: Strip exactly 3/4" of insulation from the individual conductors using the Klein 11055. If you expose too much bare copper, it can short against the metal box; too little, and the insulation gets caught under the terminal screw.
- Make Connections: Form a shepherd's hook on the bare copper using needle-nose pliers. Hook the wire around the terminal screw clockwise so tightening the screw pulls the loop closed, rather than pushing it out.
- Torque & Seat: Tighten the terminal screws using your torque screwdriver to the receptacle's specified rating. Push the wires neatly into the back of the box, folding them in a 'Z' pattern to avoid pinching.
Common Failure Modes & Edge Cases
Even with the right tools, technique errors can lead to catastrophic failures. Avoid these common pitfalls when adding an electric outlet:
The "Backstab" Trap
Many cheap receptacles feature push-in holes on the back. Never use these. They rely on a small internal spring clip that bites into the wire. Over time, thermal expansion and contraction cause the spring to lose tension, leading to high-resistance connections, melting, and arc faults. Always use the side-screw terminals or, if permitted by the manufacturer, the screw-to-clamp plate mechanism.
Neutral and Ground Bonding
In a standard sub-panel or at the receptacle itself, the neutral (white) and ground (bare/green) wires must remain strictly separated. The only place they are bonded together is at the main service disconnect. Tying a neutral to a ground screw at an outlet will cause current to flow on the grounding path, creating a severe shock hazard and tripping modern AFCI/GFCI breakers immediately. For deeper insights into grounding hazards, refer to the Occupational Safety and Health Administration (OSHA) electrical safety guidelines.
Box Fill Violations
NEC Article 314 dictates how many wires can safely fit inside an electrical box to prevent overheating. A standard 14 AWG wire counts as 2.0 cubic inches; 12 AWG counts as 2.25 cubic inches. The receptacle itself counts as two wires. If you are splicing into an existing box to feed your new outlet, ensure the existing box has the physical volume to handle the added conductors. If not, you must upgrade to a deep retrofit box.
Final Thoughts on Quality
Adding an electric outlet is a permanent modification to your home's infrastructure. By investing in TR-rated receptacles, Wago lever connectors, and precision tools like the Klein 11055 and a calibrated torque driver, you ensure the new outlet will operate safely for decades. Always respect the limitations of your existing circuit, and when in doubt, consult a licensed electrician to verify your load calculations.