
Troubleshooting Dead Receptacles: DIY vs. Professional Intervention
A dead or malfunctioning electrical outlet is one of the most common residential electrical issues. While swapping a standard 15-amp duplex receptacle is a frequent DIY task, misdiagnosing the root cause of a failure can lead to catastrophic arcing, electrical fires, or severe shock hazards. According to the National Fire Protection Association (NFPA), electrical distribution and lighting equipment are consistently among the leading causes of home structure fires. Knowing exactly when to put down the screwdriver and call for professional electrical outlet replacement services is critical for home safety.
This diagnostic guide will walk you through the systematic troubleshooting of a faulty receptacle, the physics behind outlet degradation, and the specific red flags that mandate a licensed electrician.
Phase 1: The Homeowner Triage Protocol
Before assuming the receptacle itself is dead, you must rule out upstream protection devices and localized wiring faults. Follow this step-by-step diagnostic flow using a reliable non-contact voltage tester (like the Klein Tools NCVT-3) and a digital multimeter (such as the Fluke 117 True RMS).
Step 1: Verify Upstream Breakers and GFCIs
- Check the Main Panel: Look for a tripped breaker. In modern homes, Arc Fault Circuit Interrupter (AFCI) breakers (e.g., Eaton AFCH15) may trip due to a downstream arcing fault or a nuisance trip from large appliance motors.
- Trace GFCI Protection: Outlets in kitchens, bathrooms, and garages are often protected by a single upstream Ground Fault Circuit Interrupter. A tripped GFCI in the master bathroom can kill power to a guest bathroom outlet. Press the "RESET" button on all nearby GFCI devices.
Step 2: Perform a Three-Point Voltage Test
If the breaker is on and no GFCI is tripped, remove the faceplate and test the terminal screws with your multimeter:
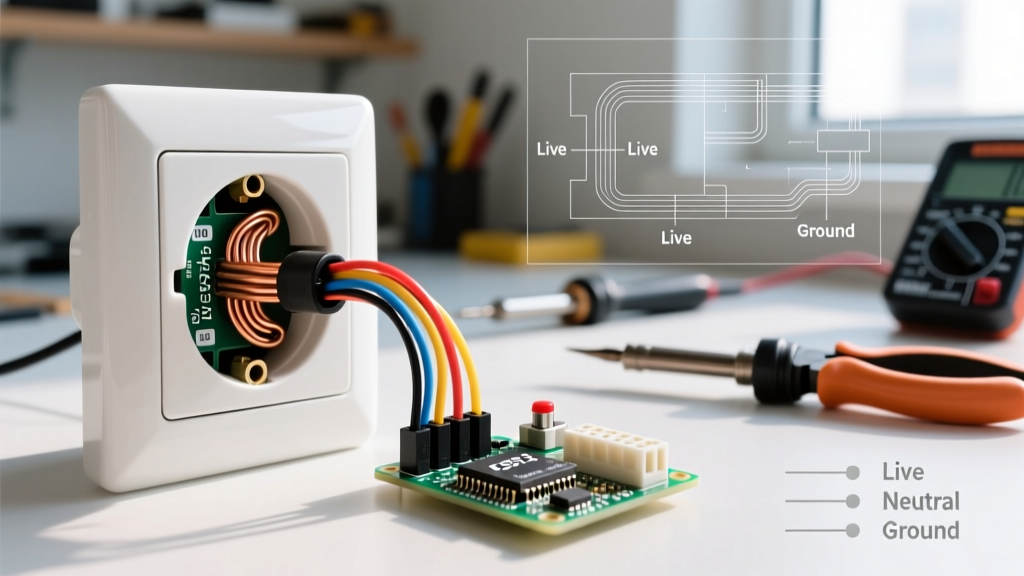
- Hot to Neutral (Brass to Silver): Should read 118V–122V.
- Hot to Ground (Brass to Green): Should read 118V–122V.
- Neutral to Ground (Silver to Green): Should read 0V–1.5V. If this reads above 2V, you have a high-resistance loose neutral connection somewhere upstream, which is a severe fire hazard.
The Physics of Outlet Degradation: Why Receptacles Fail
Understanding why an outlet fails helps you decide if a simple swap is enough, or if you need comprehensive electrical outlet replacement services to remediate systemic wiring damage.
The "Backstab" Push-In Connector Failure
The most common cause of a dead outlet in homes built between 1980 and 2010 is the failure of push-in (backstab) wire connections. These internal brass spring clips grip 14 AWG solid copper wire. Over years of thermal cycling—heating up under load and cooling down when devices are unplugged—the spring tension degrades. The wire loosens, creating micro-gaps. Electricity arcs across these gaps, generating extreme heat (often exceeding 1,000°F) that melts the nylon housing of the receptacle and carbonizes the wire insulation.
Safety Warning: If you pull an outlet from the wall and see melted plastic, black scorch marks on the yoke, or a distinct "fishy" odor, do not attempt a DIY replacement. The heat damage has likely compromised the branch circuit wiring, requiring professional remediation. The Electrical Safety Foundation International (ESFI) explicitly identifies burning odors and discolored outlets as critical warning signs requiring immediate professional evaluation.
When to Call Electrical Outlet Replacement Services
If your troubleshooting reveals any of the following conditions, stop your DIY efforts immediately. These scenarios require the specialized tools, code knowledge, and liability insurance of a licensed electrical contractor.
1. Aluminum Branch Circuit Wiring
Homes built in the late 1960s and 1970s often utilized aluminum branch wiring. Aluminum expands and contracts at a different rate than copper and creeps under screw terminals, leading to loose connections and fires. Standard copper-rated receptacles (marked CU/AL) are no longer considered safe for direct aluminum connections. Professional services will use specialized COPALUM crimps or purple AlumiConn 3-Port connectors to safely pigtail the aluminum wire to copper before installing a CO/ALR rated receptacle.
2. Open Ground or Bootleg Grounds
If your multimeter shows 120V Hot-to-Neutral, but 0V Hot-to-Ground, you have an open ground. Worse, a three-light receptacle tester might show "Correct" if a previous DIYer installed a "bootleg ground" (a jumper wire between the neutral and ground screws). This is highly dangerous, as a neutral fault will energize the metal chassis of any plugged-in appliance. Professional services will trace the open ground back to the panel or install a GFCI receptacle with a "No Equipment Ground" label, as permitted by NEC Article 406.4(D)(2).
3. Knob-and-Tube or Degraded Cloth Insulation
If you open the outlet box and see fabric-braided cloth insulation crumbling off the wires, or ungrounded knob-and-tube wiring, the entire circuit is compromised. Disturbing these wires can cause the insulation to flake off completely, exposing bare copper inside the wall cavity.
2026 Cost Guide for Professional Outlet Services
When budgeting for electrical outlet replacement services, pricing varies based on the complexity of the fault, regional labor rates, and the materials required. Below is a realistic breakdown of what homeowners can expect to pay in 2026.
| Service Type | Average Cost Range (2026) | Details & Material Specs |
|---|---|---|
| Diagnostic / Service Call Fee | $125 – $185 | Covers the first hour of troubleshooting, thermal imaging, and circuit tracing. Usually credited toward the repair. |
| Standard 15A/20A TR Receptacle Swap | $95 – $150 per outlet | Includes commercial-grade Tamper-Resistant (TR) receptacles (e.g., Hubbell 5362-I) and side-wire termination. |
| GFCI / AFCI Upgrade | $185 – $275 per location | Required for kitchens, bathrooms, and outdoors per NEC 2023/2026 Article 210.8. Includes weather-resistant (WR) enclosures for exterior locations. |
| Aluminum Wiring Pigtail Remediation | $130 – $190 per device | Requires AlumiConn lug connectors, CO/ALR devices, and anti-oxidant paste (Noalox). Highly labor-intensive. |
| Rewiring / Open Neutral Trace | $250 – $600+ | Time-and-materials rate for using tone generators and wire tracers to locate a severed or disconnected wire inside a wall cavity. |
Pre-Service Checklist: What to Document Before the Electrician Arrives
To minimize diagnostic time and reduce your final bill, gather the following data before the professionals arrive:
- Map the Circuit: Plug a lamp or radio into adjacent outlets and turn off the breaker to determine exactly which rooms are on the same circuit.
- Document the Load: Note what devices were plugged into the outlet when it failed. High-draw appliances (space heaters, window AC units, microwaves) draw 12 to 15 amps, which accelerates thermal degradation on standard 15A builder-grade receptacles.
- Take Photos: If you have safely removed the faceplate and observed scorch marks or melted plastic, take clear, well-lit photos before turning the breaker back off. This allows the electrician to bring the correct replacement materials and fire-retardant putty pads on the first trip.
Vetting Your Electrical Service Provider
Not all handymen are qualified to handle complex electrical faults. When hiring electrical outlet replacement services, verify that the contractor holds a current state electrical license and carries general liability insurance. Furthermore, ask them specifically about their adherence to the latest National Electrical Code (NEC) standards regarding Tamper-Resistant (TR) receptacles in all dwelling unit areas (NEC 406.12) and GFCI protection zones. A reputable professional will always use side-wiring or screw-clamp terminations rather than reusing push-in backstab connections.
Final Thoughts on Electrical Safety
While replacing a simple worn-out receptacle is a manageable DIY task, chasing down an open neutral, remediating aluminum wiring, or addressing thermal damage requires advanced diagnostic tools and code expertise. By utilizing this triage protocol, you can accurately identify when a simple swap is sufficient and when it is time to call in professional electrical outlet replacement services to ensure your home's electrical infrastructure remains safe, reliable, and fully compliant with modern safety standards. For more information on residential electrical hazards, consult the U.S. Consumer Product Safety Commission (CPSC) guidelines on home electrical safety.