
The Critical Safety Realities of Adding Electrical Outlet Outside
Adding electrical outlet outside your home is one of the most practical upgrades you can make, enabling everything from landscaping tools to holiday lighting and outdoor entertainment setups. However, exterior environments subject electrical components to UV radiation, extreme temperature fluctuations, and, most critically, moisture. According to the U.S. Consumer Product Safety Commission (CPSC), ground faults in wet environments remain a leading cause of outdoor electrical fatalities. Consequently, the National Electrical Code (NEC) enforces strict, uncompromising standards for exterior receptacles.
This guide provides a comprehensive, code-compliant roadmap for adding an outdoor outlet. We will cover specific NEC articles, exact material specifications, and professional installation techniques to ensure your project is safe, durable, and inspection-ready.
NEC Code Requirements for Exterior Receptacles
Before purchasing materials or drilling through your rim joist, you must understand the governing codes. The National Fire Protection Association (NFPA) updates the NEC on a three-year cycle, and local jurisdictions enforce these rules to prevent fire and electrocution.
1. Mandatory GFCI Protection (NEC 210.8(F))
Every 15-amp and 20-amp, 125-volt to 250-volt receptacle installed outdoors must be protected by a Ground-Fault Circuit-Interrupter (GFCI). You can achieve this via a GFCI breaker in the main panel or, more commonly, by installing a GFCI receptacle as the first device on the circuit. The CPSC strongly advocates for GFCI use in all wet locations, noting they prevent over 300 electrocutions annually.
2. Weatherproof Enclosures & Covers (NEC 406.9)
The NEC draws a strict distinction between "damp" and "wet" locations. A wet location is exposed to the elements (e.g., an open deck), while a damp location is protected from direct rain but still subject to moisture (e.g., under a covered porch roof).
- Wet Locations: Must use an "extra-duty" (in-use) weatherproof cover that accommodates a plugged-in cord without compromising the seal.
- Damp Locations: Require a weatherproof cover when the outlet is not in use. Standard flat covers are permissible here, provided they are listed for damp locations.
3. Placement and Accessibility (NEC 210.52(E))
The code requires at least one outdoor receptacle at the front and back of a single-family dwelling, accessible at grade level. If you have a balcony, deck, or porch accessible from inside the home, it must also have a receptacle, and it cannot be located more than 6.5 feet above the deck surface.
Essential Materials & Product Specifications
Cheap materials fail rapidly outdoors. Use only UL-listed, exterior-rated components. Below is a breakdown of the specific hardware required for a standard 20-amp exterior circuit.
| Component | Recommended Specification | Example Model / Brand | Estimated Cost |
|---|---|---|---|
| Receptacle | 20A Self-Testing GFCI, TR (Tamper Resistant) | Leviton GFNT2-W | $22 - $28 |
| Weatherproof Box | 1-Gang Non-Metallic or Die-Cast Metal | Carlon E989R (PVC) or TayMac MM410 | $8 - $14 |
| In-Use Cover | Extra-Duty, 2.75" deep minimum | TayMac WX2000S | $15 - $22 |
| Wiring (Conduit) | 12 AWG THWN-2 (Stranded or Solid) | Southwire (Sold by the foot) | $0.40 / ft |
| Wiring (Direct Burial) | 12/2 UF-B Cable | Southwire | $0.85 / ft |
| Conduit | 1/2" Schedule 40 PVC & Fittings | Oatey / JM Eagle | $25 (bundle) |
| Sealant | Advanced Polymer Exterior Sealant | OSI QUAD Max | $9 - $12 |
Expert Tip: Never use standard indoor silicone caulk on exterior siding or masonry. OSI QUAD Max adheres to vinyl, brick, and wood, and it expands/contracts with thermal cycling without losing its waterproof seal.
Step-by-Step Installation Workflow
Adding electrical outlet outside requires meticulous attention to moisture management. Follow this workflow to ensure a watertight, code-compliant installation.
Step 1: Circuit Sizing and Power Verification
Determine if you are extending an existing indoor circuit or running a new dedicated line from the panel. For outdoor tools and holiday lighting, a dedicated 20-amp circuit is highly recommended. Turn off the breaker and verify zero voltage using a non-contact tester like the Klein Tools NCVT-2. Always test the tester on a known live source first.
Step 2: Routing and Drilling the Penetration
When drilling through your home's rim joist or exterior wall, use a 1-1/4" spade bit or hole saw. Critical Safety Detail: Angle the drill bit slightly downward (about a 5-degree slope) from the inside out. This ensures that any condensation or wind-driven rain that enters the hole drains outward, rather than pooling inside your wall cavity.
Step 3: Conduit Assembly and Drip Loops
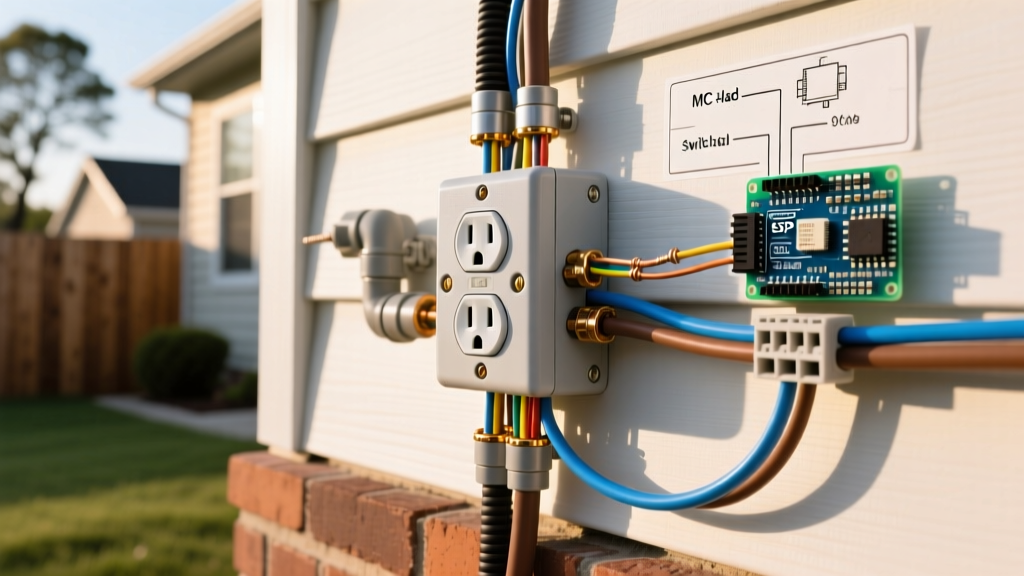
Mount the exterior weatherproof box (e.g., Carlon E989R) using stainless steel screws. If running conduit down to the ground, use Schedule 40 PVC. Glue all fittings using Oatey Clear All-Weather PVC cement. When feeding wire into the box, you must create a drip loop—a U-shaped bend in the wire or conduit that forces water to drip off the lowest point before it reaches the box or wall penetration.
Step 4: GFCI Wiring and Terminal Isolation
Strip the THWN-2 wires. Connect the black (hot) wire to the brass LINE terminal and the white (neutral) wire to the silver LINE terminal on the GFCI. Connect the bare copper ground to the green grounding screw. If you are not feeding power to a downstream device, wrap the LOAD terminals with electrical tape to prevent accidental contact and meet NEC 110.12 mechanical execution standards.
Step 5: Sealing the Penetration
Once the cover plate is secured, pack the interior wall penetration with duct seal putty (not spray foam, which can trap moisture and degrade wire insulation). On the exterior, apply a generous, continuous bead of OSI QUAD Max sealant around the top and sides of the weatherproof box. Leave the bottom edge unsealed to allow any trapped moisture to weep out.
Common Code Violations and Failure Modes
Inspectors and seasoned electricians frequently encounter the same dangerous mistakes when homeowners attempt adding electrical outlet outside. Avoid these critical errors:
- Using Indoor Receptacles: Standard duplex receptacles are not rated for UV or moisture. Even inside a weatherproof box, condensation will corrode standard brass contacts within a year.
- Backstabbing Connections: Push-in (backstab) terminals are highly prone to failure under thermal expansion. Always use the screw terminals or, preferably, screw-down back-wire clamps.
- Missing Grounding Pigtails: Metal weatherproof boxes must be grounded. Use a green 12 AWG grounding pigtail to bond the box to the circuit ground wire.
- Over-tightening PVC Fittings: Cracking the hub on a PVC weatherproof box during assembly compromises the NEMA 3R rating. Hand-tighten plus a quarter-turn with channel locks.
Frequently Asked Questions (FAQ)
Can I extend an existing indoor living room circuit to the outside?
Yes, provided the indoor circuit is not a dedicated appliance line (like a refrigerator or bathroom circuit) and has the capacity to handle the additional load. However, the outdoor GFCI must be installed at the point where the wire exits the building, or the entire indoor circuit must be upgraded to GFCI protection, which can cause nuisance tripping indoors.
What is the required height for an outside outlet?
While NEC 210.52(E) dictates that required outdoor receptacles cannot be mounted higher than 6.5 feet above the grade or deck surface, there is no strict minimum height in the NEC. However, local building codes and best practices generally dictate a minimum of 12 to 18 inches above grade to prevent snow accumulation and splash-back from heavy rain.
Do I need a permit for adding an outdoor outlet?
In almost all municipalities, extending an electrical circuit or adding a new receptacle requires an electrical permit and a subsequent inspection. The electrical industry experts at EC&M consistently emphasize that unpermitted electrical work can void home insurance policies in the event of an electrical fire.