
Why Your Electrical Outlet Is Not Getting Power
A dead receptacle is one of the most common residential electrical issues, but the root cause is rarely the outlet itself. When an electrical outlet is not getting power, the failure point usually lies upstream: a tripped GFCI, a loose neutral at the panel, a failed backstabbed connection, or a nuisance-tripped AFCI breaker. Diagnosing the exact failure mode requires moving beyond simple plug-in testers and utilizing a digital multimeter (DMM) to measure voltage drops and continuity.
This guide provides a systematic, 7-step diagnostic protocol to isolate the fault safely. According to the Occupational Safety and Health Administration (OSHA), electrical troubleshooting requires strict adherence to de-energization protocols before physical contact with conductors. Always verify your tester on a known live source before and after testing the dead circuit.
Phase 1: Upstream Power Verification
Before removing the receptacle faceplate, rule out upstream protective devices. Modern electrical systems utilize cascading protection that can kill power to multiple downstream outlets simultaneously.
Step 1: The GFCI Cascade Check
Under the current NEC guidelines enforced by the National Fire Protection Association (NFPA), Ground Fault Circuit Interrupter (GFCI) protection is required in all wet and damp locations, including kitchens, bathrooms, garages, and outdoor patios. A single GFCI receptacle (such as the Leviton SmartlockPro 2091) often protects standard downstream outlets via its LOAD terminals.
- Action: Identify all GFCI outlets in the home. Press the 'TEST' button, then firmly press 'RESET'.
- Edge Case: If the GFCI reset button will not stay engaged, you either have a ground fault downstream or a failed internal solenoid in the GFCI unit itself. Replace the GFCI if no downstream faults are found.
Step 2: Breaker Panel and AFCI Diagnostics
Do not just look for a breaker in the 'OFF' position. A tripped thermal-magnetic breaker rests in the middle position. Furthermore, Combination Arc-Fault Circuit Interrupter (CAFCI) breakers (like the Eaton BRD120CAF) will trip if they detect parallel or series arcing anywhere on the circuit.
- Action: Turn the suspect breaker fully OFF, then snap it ON.
- CAFCI Diagnosis: If the CAFCI breaker immediately trips upon reset, unplug all devices on that circuit. A damaged cord on a plugged-in vacuum or lamp is the most common cause of series arc-fault tripping, not the wall outlet itself.
Phase 2: Multimeter Receptacle Testing
Plug-in circuit analyzers (the $10 devices with three LED lights) are insufficient for advanced troubleshooting. They cannot detect high-resistance connections or phantom voltages. You need a Category III (CAT III) rated digital multimeter, such as the Klein Tools MM400 ($45-$55) or the Fluke 117 ($220+).
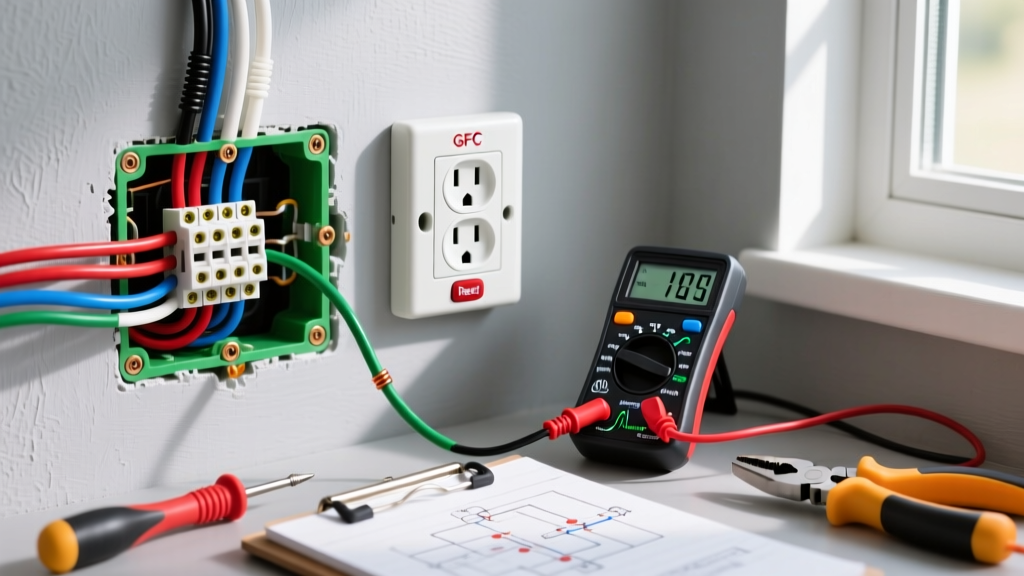
Step 3: Measuring Hot-to-Neutral (H-N)
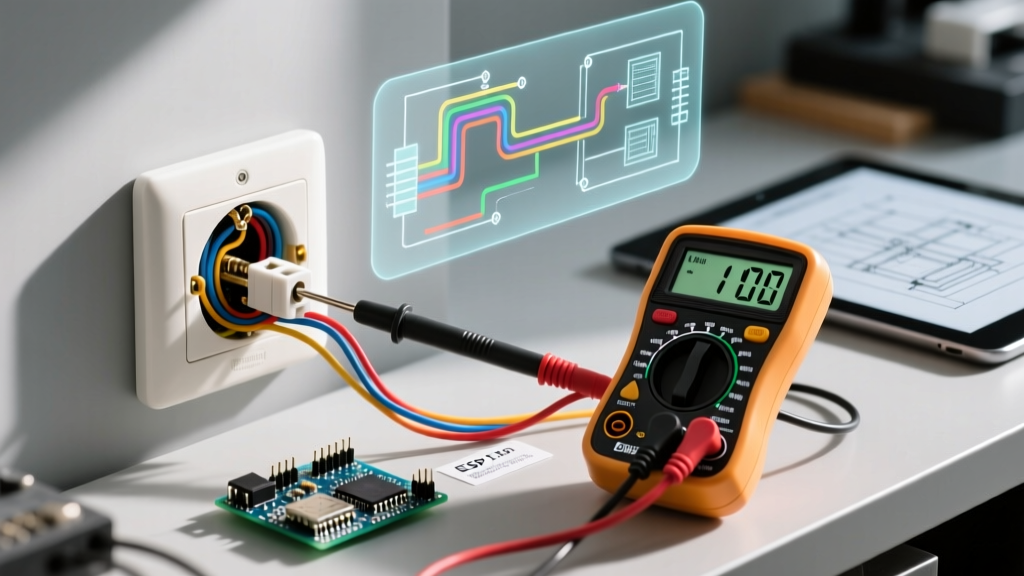
Insert your multimeter probes into the hot (shorter slot) and neutral (longer slot). A healthy 120V residential circuit should read between 114V and 126V. If you read 0V, proceed to Step 4. If you read a low voltage (e.g., 40V-80V), you are likely reading 'phantom voltage' induced by adjacent live wires. Switch your DMM to Low Impedance (LoZ) mode, or use a solenoid voltage tester (Wiggy) to bleed off the phantom charge.
Step 4: Measuring Hot-to-Ground (H-G) and Neutral-to-Ground (N-G)
This is the most critical diagnostic step for an electrical outlet not getting power. Measure the voltage between Hot and Ground, then Neutral and Ground.
| H-N Reading | H-G Reading | N-G Reading | Diagnostic Conclusion |
|---|---|---|---|
| 120V | 120V | < 2V | Circuit is healthy. Issue is with the plugged-in device. |
| 0V | 120V | 120V | Open Neutral. The hot wire is intact, but the neutral path is broken upstream. |
| 0V | 0V | 0V | Open Hot. The breaker is off, or the hot conductor is severed/disconnected. |
| 120V | 0V | 0V | Open Ground / Reversed Polarity. Severe shock hazard; wiring is misconfigured. |
Expert Insight: If your N-G reading is 120V, your neutral wire has disconnected upstream. The connected load on the circuit is causing the floating neutral wire to rise to the same 120V potential as the hot wire. Do not touch the neutral conductor; it is currently energized.
Phase 3: Physical Inspection and Tear-Down
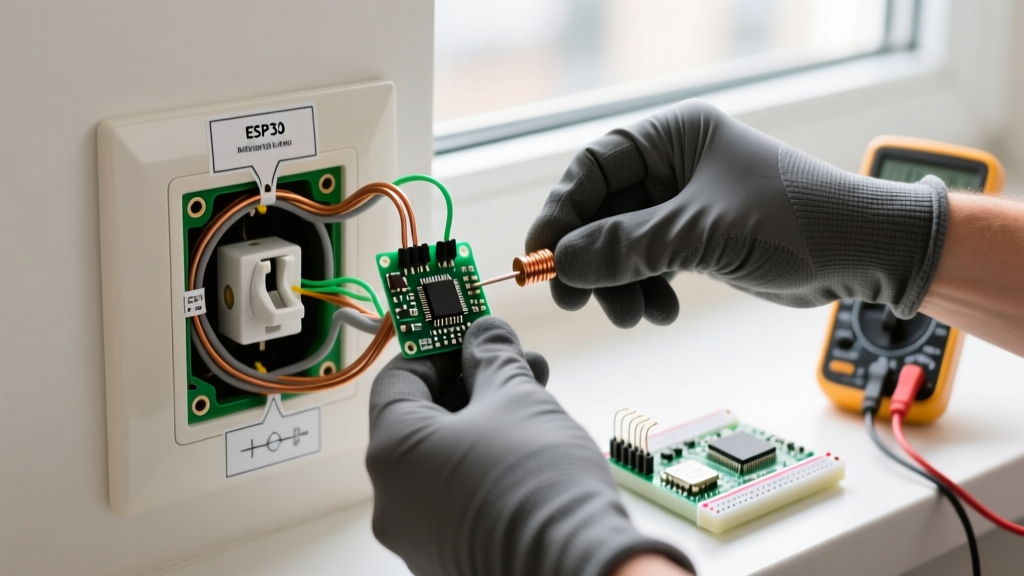
Once you have identified the missing conductor (Open Hot or Open Neutral), turn off the breaker, verify the absence of voltage with a non-contact voltage tester (NCVT), and remove the receptacle from the junction box.
Step 5: Inspecting for Backstabbed Connection Failures
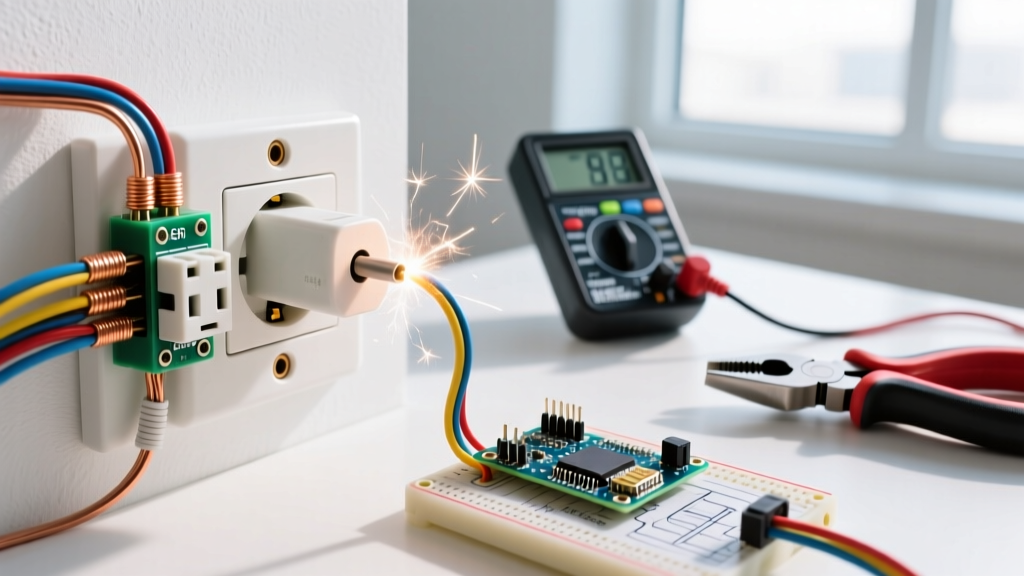
The most frequent cause of a localized dead outlet (where upstream outlets still work) is a failed 'backstabbed' connection. Standard 15A builder-grade receptacles use internal brass spring clips to grip 14 AWG solid wire pushed into the rear holes. Over years of thermal cycling (heating under load and cooling at night), these springs lose tension, resulting in a high-resistance connection that eventually arcs and melts, breaking the circuit.
- The Fix: Never reuse backstabbed receptacles. Cut the damaged wire ends back to clean copper. Upgrade to a commercial-specification receptacle like the Leviton 5362 (approx. $4.50), which features deep side-wiring screws and back-wiring clamps that physically crush the wire for a gas-tight connection.
Step 6: Checking the Line vs. LOAD Terminals
If the dead outlet is a GFCI or AFCI receptacle, verify the incoming power wires are connected to the LINE terminals (usually marked with black tape or a 'LINE' stamp), and the downstream wires are on the LOAD terminals. Reversing these will result in a GFCI that has power but cannot protect downstream devices, or a GFCI that appears completely dead and will not reset.
Step 7: Evaluating Wire Nuts and Pigtailing
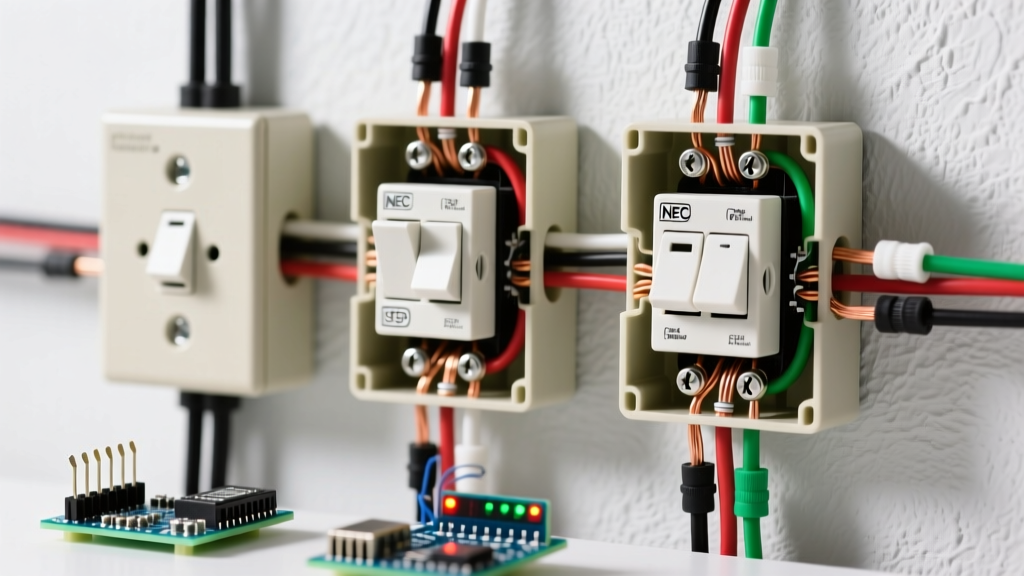
Check the wire nuts inside the junction box. A loose neutral wire nut will kill all downstream outlets on that daisy chain. The U.S. Consumer Product Safety Commission (CPSC) notes that loose neutral connections are a primary cause of residential electrical fires due to localized arcing and heat buildup.
- The Fix: Remove the wire nut, strip the wires evenly, and reconnect using WAGO 221 lever nuts (approx. $0.75 each). Lever nuts provide a verifiable, tool-tight connection that eliminates the guesswork of twisting wire nuts and ensures a solid neutral path.
Cost Expectations and When to Call a Professional
If you have traced the fault to the main panel (e.g., a loose neutral bus bar connection or a failed breaker buss stab), it is time to call a licensed electrician. Working inside a live panel with exposed bus bars carries a severe arc-flash risk.
2026 Pricing Benchmarks
- DIY Receptacle Replacement: $5 - $15 (Cost of commercial-grade TR receptacle and Wago connectors).
- Electrician Diagnostic Fee: $85 - $150 for the first hour of troubleshooting.
- Panel Neutral Bar Repair: $250 - $450, depending on panel accessibility and local labor rates.
- AFCI Breaker Replacement: $60 - $90 for the breaker, plus $150+ for labor if you do not install it yourself.
Summary Checklist for Dead Outlets
- Reset all upstream GFCI receptacles.
- Firmly reset the main panel breaker; unplug devices if CAFCI trips.
- Test H-N, H-G, and N-G with a CAT III multimeter.
- Identify Open Hot vs. Open Neutral based on N-G voltage.
- De-energize, remove the faceplate, and inspect for melted backstab connections.
- Replace builder-grade receptacles with commercial-grade, side-wired models.
- Upgrade wire nuts to lever connectors for reliable splices.
By following this systematic diagnostic matrix, you can accurately isolate why your electrical outlet is not getting power, replacing guesswork with verified voltage data and ensuring a safe, code-compliant repair.