
Why Your Fridge Needs a Dedicated Circuit
A modern refrigerator is one of the most critical appliances in your home, yet it is frequently subjected to poor electrical planning. When a refrigerator shares a circuit with high-draw appliances like a microwave, toaster, or coffee maker, the cumulative load can easily trip a standard 15-amp breaker. The result? A silent, unpowered fridge and hundreds of dollars in spoiled groceries.
Furthermore, refrigerator compressors experience a massive startup surge known as Locked Rotor Amps (LRA). While a fridge might only draw 2 to 4 amps during normal operation, the initial compressor startup can spike to 10–15 amps for a fraction of a second. If the circuit is already nearing its capacity, this inductive spike will trip the breaker instantly. Installing a dedicated refrigerator electrical outlet on its own 20-amp circuit eliminates this vulnerability, ensuring continuous, reliable power.
Navigating NEC Code Requirements
Before cutting into drywall, it is vital to understand the National Electrical Code (NEC) parameters governing kitchen wiring. According to the National Fire Protection Association (NFPA), kitchens require at least two 20-amp Small Appliance Branch Circuits (SABCs) to serve countertop receptacles.
However, NEC Article 210.52(B)(1), Exception 2 provides a specific carve-out: you are permitted to run an individual (dedicated) branch circuit specifically for the refrigerating equipment. While a 15-amp dedicated circuit is technically legal under this exception, the 2026 industry gold standard—and the requirement in many local jurisdictions for high-capacity smart fridges with dual-ice makers—is a 20-amp circuit using 12 AWG copper wire.
Code Alert: Under NEC 210.12(A), all 120V kitchen branch circuits require Arc-Fault Circuit Interrupter (AFCI) protection. You will need to install an AFCI breaker in your panel. Ground-Fault Circuit Interrupter (GFCI) protection is only required at the receptacle if it is located within 6 feet of the sink edge, which is rarely the case for refrigerators.
Materials and Tool Checklist
To execute this beginner installation tutorial safely and to code, gather the following specific materials. Expect to spend between $65 and $95 depending on your existing panel brand.
- Breaker: 20A Single-Pole AFCI Breaker (e.g., Square D HOM120CAFC for Homeline panels or Eaton BR120AF) — $35–$45
- Wire: 12/2 NM-B (Romex) Copper Cable with Ground (Yellow jacket) — $0.75/ft
- Receptacle: 20A Duplex Receptacle (e.g., Leviton 5352-W or Hubbell 5262-W) — $4–$6
- Box: 22-cu-in. PVC Old Work Box (e.g., Carlon B618R-UPC) — $3
- Wall Plate: 1-Gang Nylon Mid-Size Plate — $1
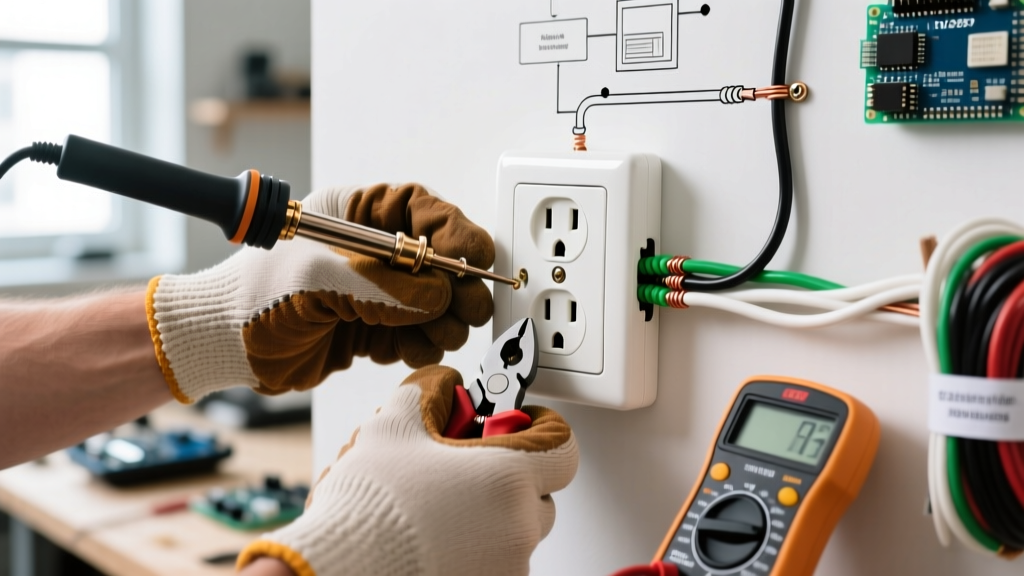
- Tools: Klein Tools 11055 wire strippers, non-contact voltage tester, 3/4-inch spade bit, drywall saw, Phillips screwdriver, and a torque screwdriver (highly recommended for terminal screws).
Step-by-Step Installation Guide
Step 1: Panel Preparation and Breaker Installation
Warning: Working inside an electrical panel is lethal if mishandled. Turn off the main breaker to cut power to the entire panel bus bars. Verify the bus bars are dead using a non-contact voltage tester.
- Remove the panel cover and locate an empty knockout slot.
- Route the 12/2 NM-B cable into the panel through a 3/4-inch cable clamp, leaving about 8 inches of working length inside the box.
- Strip the outer yellow sheathing, leaving 1/4 inch of sheath inside the clamp.
- Snap the new 20A AFCI breaker into the bus bar stabs.
- Connect the bare copper ground wire to the ground bus bar and the white neutral wire directly to the AFCI breaker's coiled neutral pigtail or designated neutral terminal (follow the breaker manufacturer's diagram exactly).
- Connect the black hot wire to the breaker's hot terminal. Torque to the manufacturer's specification (usually 12-15 in-lbs).
Step 2: Routing the Cable and Mounting the Box
Run the 12/2 cable from the panel to the refrigerator location. If drilling through wooden wall studs, you must adhere to the 1.25-inch setback rule (NEC 300.4). Drill your holes at least 1.25 inches away from the front edge of the stud to prevent drywall screws from piercing the wire later. If you cannot maintain this distance, you must install steel nail plates over the studs.
At the outlet location, cut a rectangular hole in the drywall using your drywall saw. Feed the cable through the PVC old-work box, pull it into the wall cavity, and tighten the mounting ears until the box is pulled flush and secure against the back of the drywall.
Step 3: Terminating the Receptacle
Strip 3/4 inch of insulation from the black and white wires. Never use the push-in 'backstab' connectors on the back of the receptacle. Backstabs rely on a small spring-metal grip that can loosen over time due to the thermal expansion and contraction caused by the fridge's compressor cycles, leading to dangerous arcing.
- Form a J-hook in the bare copper ground wire and loop it clockwise around the green grounding screw. Tighten firmly.
- Form a J-hook in the white neutral wire and loop it clockwise around the silver terminal screw.
- Form a J-hook in the black hot wire and loop it clockwise around the brass terminal screw.
- Use a torque screwdriver to tighten the terminal screws to the receptacle manufacturer's listed torque value (typically 14 in-lbs for 12 AWG wire). This prevents loose connections and voltage drop.
Wrap the sides of the receptacle with electrical tape to cover the exposed terminal screws before pushing it into the box. This prevents accidental contact with the bare ground wire or metal box edges. Secure with the provided 6-32 mounting screws and attach the wall plate.
Wire Gauge and Breaker Sizing Matrix
Choosing the wrong wire-to-breaker combination is a leading cause of electrical fires. Use this matrix to ensure your refrigerator electrical outlet matches the correct parameters:
| Breaker Size | Wire Gauge (Copper) | Receptacle Rating | Application / Code Note |
|---|---|---|---|
| 15 Amp | 14 AWG (White) | 15A Duplex | Legal for dedicated fridge (NEC Exception 2), but not recommended for modern smart fridges. |
| 20 Amp | 12 AWG (Yellow) | 20A Duplex | Industry Standard. Handles compressor LRA spikes easily. Required if sharing a SABC circuit. |
| 20 Amp | 12 AWG (Yellow) | 15A Duplex | Legal (NEC 210.21(B)(3) allows 15A receptacles on 20A circuits for multiple outlets), but 20A receptacle is preferred for single dedicated runs. |
| 30 Amp | 10 AWG (Orange) | N/A | Illegal. Standard 15A/20A receptacles cannot be installed on 30A circuits. Do not use for standard fridges. |
Troubleshooting: Nuisance AFCI Tripping
One of the most common edge cases DIYers face after installing a new AFCI-protected refrigerator outlet is nuisance tripping. According to Energy Star, modern inverter-driven compressors are highly efficient and electrically 'quiet.' However, if you are plugging an older (pre-2018) refrigerator with a traditional single-speed relay compressor into your new AFCI circuit, the electromagnetic interference (EMI) generated by the relay clicking on can mimic an arc fault, causing the breaker to trip.
The Fix: First, ensure there are no actual loose connections or damaged wire sheathing. If the wiring is flawless and the breaker still trips upon compressor startup, the EMI is the culprit. You cannot legally bypass AFCI protection in a kitchen. The ultimate solution is upgrading to a modern ENERGY STAR certified refrigerator with a variable-speed inverter compressor, which operates without the harsh electrical spikes of legacy relays.
Final Safety and Inspection
Before restoring power, double-check every termination. Ensure no bare copper (other than the ground wire) is exposed outside the terminal screws. Turn the main breaker back on, followed by the new 20A AFCI breaker. Plug in a receptacle tester to verify correct wiring (two amber lights indicate correct ground and polarity). Finally, plug in the refrigerator.
For comprehensive safety guidelines on home electrical installations and preventing arc faults, always refer to the Consumer Product Safety Commission (CPSC) electrical safety resources. If your local municipality requires a permit for new branch circuits, schedule your rough-in and final inspections before closing the drywall or energizing the panel.