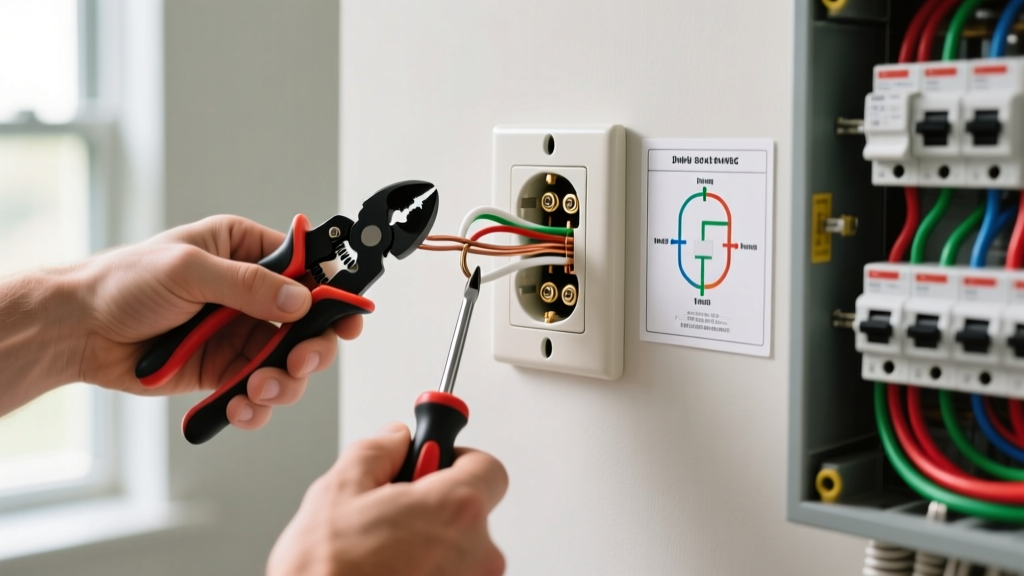

Beyond the Basics: Wiring Outlets to NEC Standards
When DIYers and apprentice electricians search for instructions on how to connect an electrical outlet, they are often met with superficial tutorials that focus solely on making the device function. However, a functioning outlet is not necessarily a safe or legal one. As of 2026, the vast majority of U.S. jurisdictions enforce the National Electrical Code (NEC), which dictates rigorous standards for box fill, termination torque, and grounding continuity.
This guide transcends basic wire-matching. We will break down the exact NEC code requirements you must follow when installing a standard 15-amp or 20-amp duplex receptacle, ensuring your installation passes inspection and operates safely for decades.
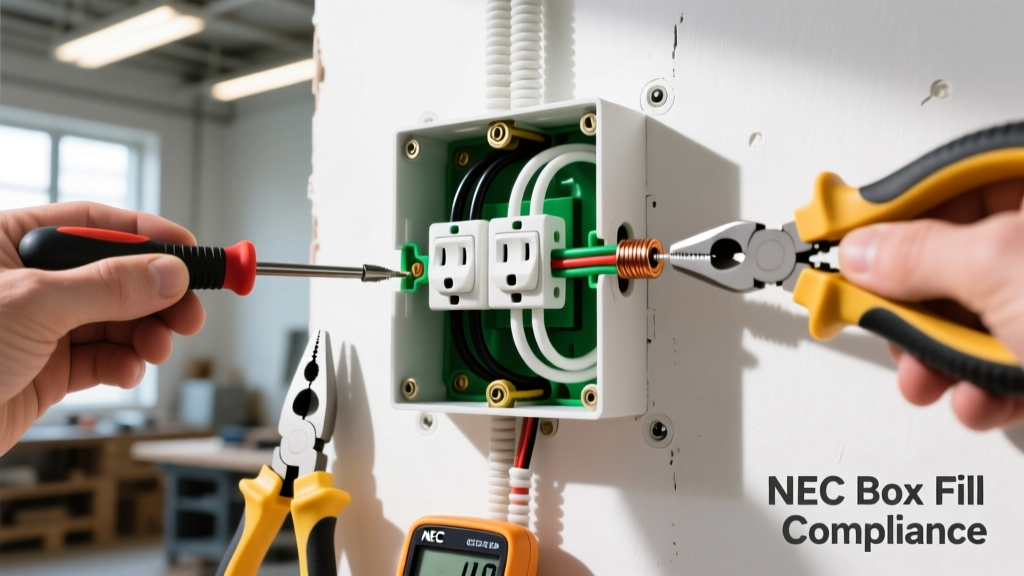
1. Box Fill Capacity: The Pre-Wiring Calculation (NEC Article 314)
Before you even strip a wire, you must verify that the electrical box has adequate cubic inch capacity. Overcrowding a box causes heat buildup and damages wire insulation, a leading cause of residential electrical fires.
Under NEC Article 314.16, box fill is calculated based on the largest wire entering the box. Here is the exact volume allowance required per conductor:
- 14 AWG Wire: 2.0 cubic inches per conductor
- 12 AWG Wire: 2.25 cubic inches per conductor
- 10 AWG Wire: 2.5 cubic inches per conductor
Real-World Calculation Example
Imagine you are installing a standard 15-amp receptacle using 14/2 NM-B (Romex) cable in a single-gang box. You have one cable entering (1 black, 1 white, 1 bare ground) and one cable exiting to the next device (1 black, 1 white, 1 bare ground).
- Hot Wires (2): 2 x 2.0 = 4.0 cu in
- Neutral Wires (2): 2 x 2.0 = 4.0 cu in
- Ground Wires (All combined count as 1): 1 x 2.0 = 2.0 cu in
- Device Yoke (Receptacle counts as 2x largest wire): 2 x 2.0 = 4.0 cu in
- Internal Clamps (Count as 1x largest wire): 1 x 2.0 = 2.0 cu in
Total Required Volume: 16.0 cubic inches. A standard 'old work' single-gang box is typically 18 cubic inches, meaning this configuration is code-compliant. If you were using 12 AWG wire, the requirement jumps to 18 cubic inches, leaving zero margin for error in a standard 18 cu in box.
2. Device Selection: The Tamper-Resistant Mandate (NEC 406.12)
If you are learning how to connect an electrical outlet in any living space, you cannot use standard receptacles. NEC 406.12 mandates the use of Tamper-Resistant (TR) receptacles in all areas specified in 210.52 (kitchens, living rooms, bedrooms, hallways, etc.).
TR receptacles feature internal spring-loaded shutters that only open when equal pressure is applied to both slots simultaneously, preventing children from inserting foreign objects.
Expert Tip: Do not attempt to force a stiff plug into a new TR receptacle. Ensure the plug prongs are straight. High-quality TR models like the Leviton T5262 (approx. $2.50 per unit) feature smoother shutter mechanisms than budget builder-grade alternatives.
3. Wire Preparation and Termination (NEC 110.14)
The physical connection of the wire to the receptacle is where most code violations occur. NEC 110.14 requires electrical connections to be tight and made without damaging the conductors.
The Stripping Rule
Never use the cutting holes of your wire strippers to strip solid copper, as this can nick the wire and create a microscopic fracture point that will eventually snap under thermal expansion. Use the dedicated stripping holes on a tool like the Klein Tools 11057. Strip exactly to the gauge marker on the back of the receptacle—usually 5/8 inch for 14 and 12 AWG solid wire. Exposed copper (a 'shiner') outside the terminal is an immediate inspection failure.
The J-Hook Technique
When using side-wire terminal screws, bend the stripped wire into a 'J-hook'. The hook must wrap around the screw in a clockwise direction. This ensures that as you tighten the screw, the loop pulls tighter around the shaft rather than splaying outward. The insulation should rest flush against the terminal washer, but not be pinched underneath it.
4. The Torque Requirement: The Most Ignored Code (NEC 110.14(D))
In recent code cycles, the NEC introduced a massive shift in termination standards: NEC 110.14(D) requires that terminations be torqued to the manufacturer's specifications using a calibrated torque tool. 'Hand tight' is no longer a legal defense.
Under-torqued screws lead to high-resistance connections, arcing, and fires. Over-torqued screws strip the brass threads or crush the copper wire, reducing its ampacity.
| Receptacle Rating | Wire Type | Typical Torque Spec (in-lbs) | Recommended Tool |
|---|---|---|---|
| 15A / 20A Duplex | 14-12 AWG Solid | 12 to 16 in-lbs | CDI 401SM Torque Screwdriver |
| 30A / 50A Range/Dryer | 10-6 AWG Stranded | 35 to 50 in-lbs | Ideal Industries 61-085 |
Investing in a dedicated electrical torque screwdriver (typically $120-$150) is non-negotiable for professional work and highly recommended for serious DIYers. According to the Electrical Safety Foundation International (ESFI), loose connections are a primary catalyst for residential arc faults.
5. Push-In (Backstab) Connectors vs. Side-Wire
Many modern receptacles feature push-in (back-wire) connectors. While UL-listed and technically legal, veteran electricians and inspectors heavily discourage their use for 14 AWG wire. The internal spring-metal grips can weaken over decades of thermal cycling. Furthermore, push-in terminals are strictly limited to 14 AWG solid copper only under NEC 110.14. If you are using 12 AWG wire, you must use the side-wire terminal screws or the back-wire clamp plates (if the device is rated for back-wiring with clamps, like the Hubbell HBL5262).
6. Grounding Continuity and Pigtailing (NEC 250.148)
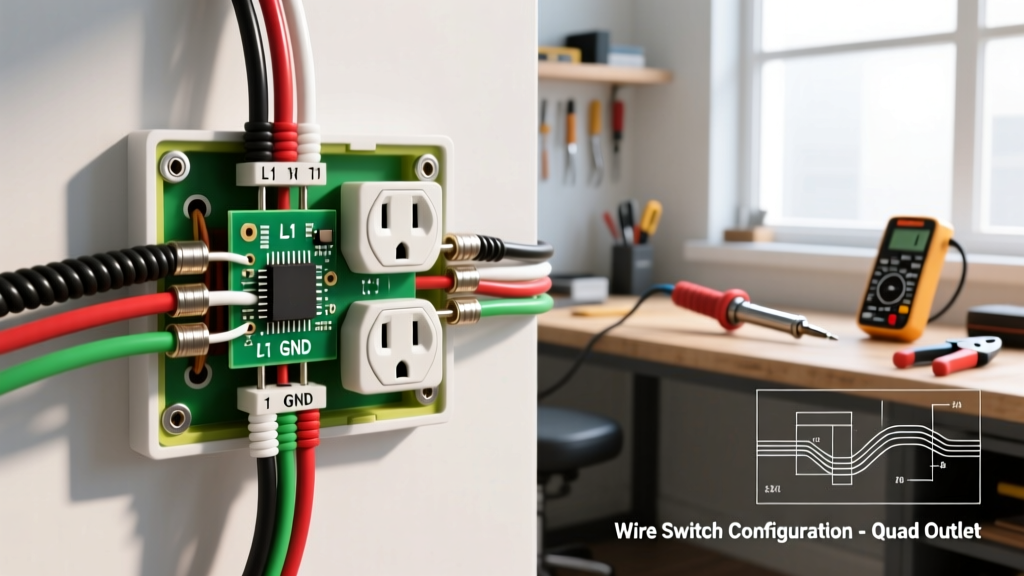
A critical mistake when wiring multiple outlets in a series (daisy-chaining) is routing the incoming ground wire to the receptacle's green screw, and then running a second ground wire from the green screw to the next box.
NEC 250.148 dictates that the grounding path must not be interrupted by the removal of a device. If you remove the receptacle to paint the wall, you break the ground path for all downstream outlets.
The Code-Compliant Pigtail Method
- Strip the incoming and outgoing bare ground wires.
- Join them together with a 6-inch green grounding pigtail using a twist-on wire connector (e.g., Ideal 72B Twister).
- Connect the single pigtail to the receptacle's green grounding screw.
This ensures the downstream ground path remains intact regardless of the receptacle's physical presence. While some 'self-grounding' receptacles feature a grounding clip on the mounting yoke, relying on the box and drywall screws for grounding continuity is a violation in most modern jurisdictions unless specific metal-to-metal contact conditions are met.
7. GFCI and AFCI Protection Mandates
Knowing how to connect an electrical outlet also requires knowing where specific protections are mandated.
- GFCI (NEC 210.8): Required in all damp or wet locations. This includes kitchens (within 6 feet of a sink), bathrooms, garages, unfinished basements, and outdoor receptacles. You must use a GFCI receptacle (like the Leviton GFNT1) or a GFCI breaker.
- AFCI (NEC 210.12): Required in almost all living spaces (bedrooms, living rooms, hallways, closets) to detect parallel and series arcing. This is typically handled at the panel via an AFCI circuit breaker, meaning the outlet itself remains a standard TR duplex.
Summary: The Inspector's Checklist
Before calling for a rough-in or final inspection, verify your work against this Mike Holt Enterprises inspired checklist:
- [ ] Box fill calculations do not exceed cubic inch capacity.
- [ ] Receptacle is Tamper-Resistant (TR) marked.
- [ ] Wire insulation is stripped exactly to the gauge marker (no exposed copper).
- [ ] J-hooks are wrapped clockwise and pulled tight.
- [ ] Terminal screws are torqued to manufacturer specs (12-16 in-lbs).
- [ ] Ground wires are pigtailed to maintain downstream continuity.
- [ ] Device is properly grounded to a metal box (if applicable) via a green grounding screw or clip.
Mastering how to connect an electrical outlet to NEC standards bridges the gap between a dangerous hack and a professional, fire-resistant installation. Always consult your local Authority Having Jurisdiction (AHJ), as local amendments may supersede baseline national codes.