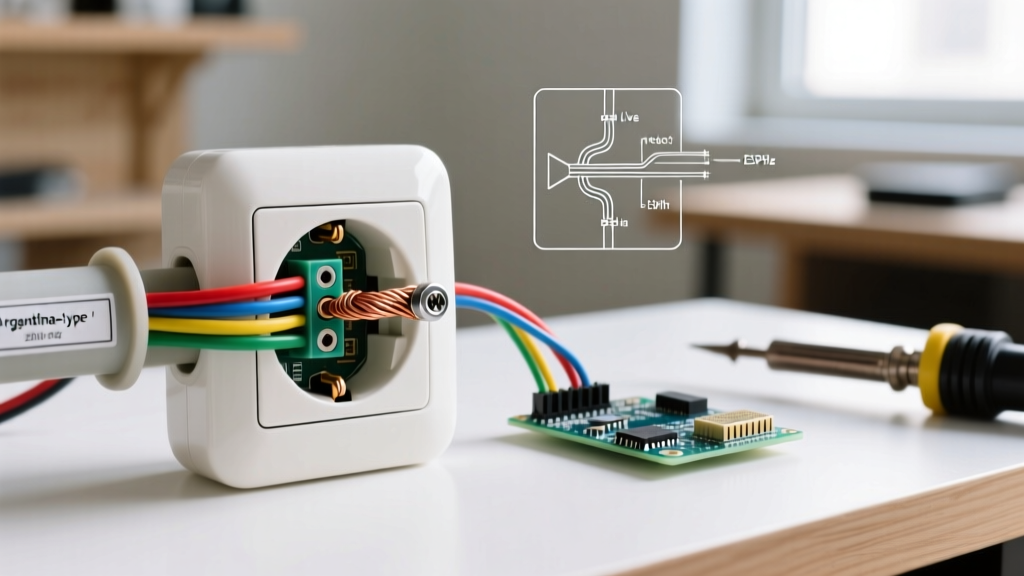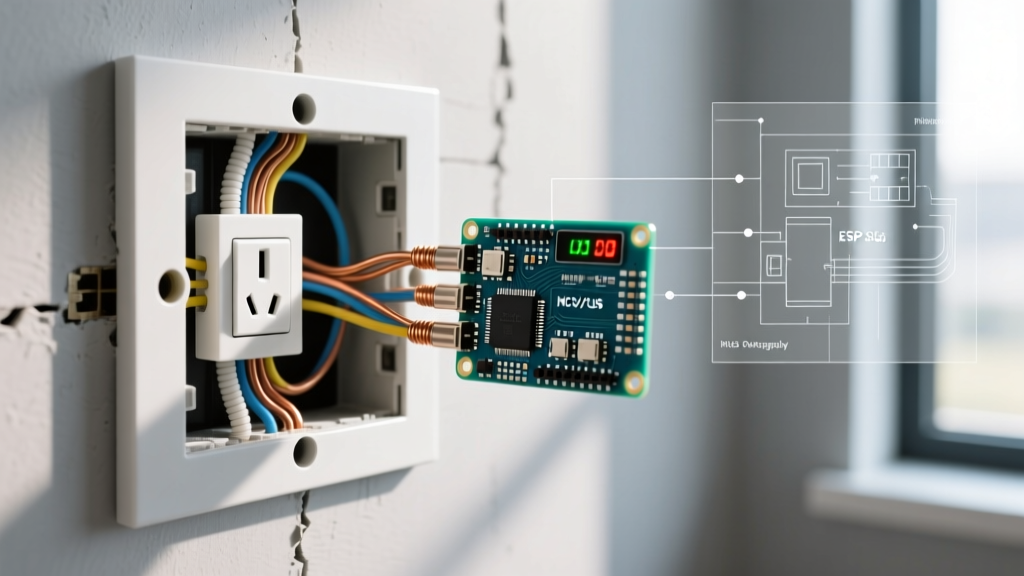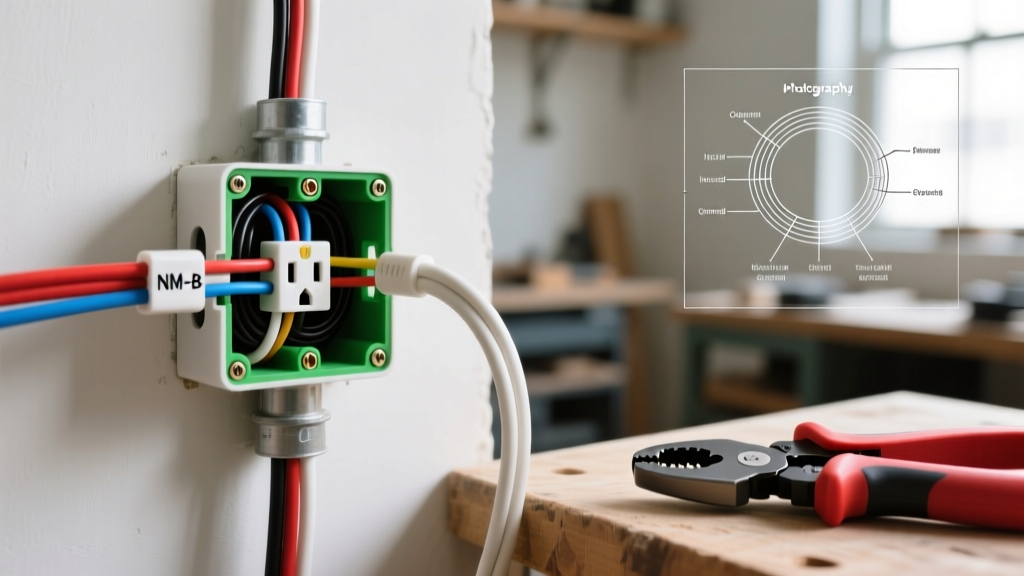

Why Extend an Existing Electrical Outlet?
Whether you are mounting a 75-inch OLED TV and need to hide the power cord, reconfiguring a kitchen backsplash, or moving a home office desk, learning how to extend an electrical outlet is a high-value DIY skill. However, extending a circuit is not just about pulling wire; it requires strict adherence to the National Electrical Code (NEC) to prevent arc faults, overheating, and fire hazards. As municipalities continue to adopt stricter 2023 and 2026 NEC cycles, understanding box fill, proper pigtailing, and AFCI/GFCI requirements is more critical than ever.
⚠️ Critical Safety Warning
Never rely solely on a wall switch to de-energize a circuit. According to the Electrical Safety Foundation International (ESFI), improper wiring and failure to verify dead circuits are leading causes of residential electrical shocks. Always use a non-contact voltage tester and a multimeter before touching bare copper.
Materials & Tool Manifest
To execute this extension cleanly, you need professional-grade materials. Cheap receptacles and undersized wire nuts lead to loose connections and thermal expansion failures over time.
| Item | Recommended Model / Spec | Est. Cost |
|---|---|---|
| Non-Contact Voltage Tester | Klein Tools NCVT-3 (Dual Range) | $25.00 |
| Old Work Box (1-Gang) | Carlon B618R-UPC (18 cu. in.) | $2.50 |
| NM-B Cable (12 AWG) | Southwire Romex SIMpull 12/2 | $0.65/ft |
| Wire Connectors | Ideal 34 Yellow / 33 Red | $0.15/ea |
| Receptacle (20A) | Leviton TBR20-W (Tamper Resistant) | $4.50 |
NEC Cable and Breaker Sizing Matrix
Before you extend electrical outlet wiring, you must match the new cable to the existing circuit breaker. Mixing 14 AWG wire on a 20-amp breaker is a severe fire hazard and a direct violation of NEC Article 240.
| Breaker Size | Required NM-B Cable | Max Continuous Load | Typical Rooms |
|---|---|---|---|
| 15 Amp | 14/2 AWG (or 12/2) | 1,440 Watts | Bedrooms, Living Rooms, Hallways |
| 20 Amp | 12/2 AWG (Strictly) | 1,920 Watts | Kitchens, Bathrooms, Garages, Outdoors |
Phase 1: De-energize and Map the Circuit Topology
Locate the target breaker in your main service panel and switch it to the OFF position. Use your Klein NCVT-3 to verify the existing outlet is dead. Remove the faceplate and unscrew the receptacle from the box. Pull it out gently to inspect the wiring topology.
- End-of-Run: You will see only one NM-B cable entering the box (one black, one white, one bare ground). Extending from here is straightforward.
- Mid-Run (Daisy-Chained): You will see two cables entering the box. This means power flows through this outlet to feed downstream devices. You must use 'pigtailing' to extend the circuit without interrupting downstream power.
Phase 2: Drywall Surgery and Cable Routing
Measure the exact center-to-center distance between your existing stud bay and the new outlet location. Use a high-quality stud finder with AC wire detection (like the Bosch GMS120) to ensure you aren't drilling into existing plumbing, HVAC ducts, or perpendicular wiring.
- Cut the New Opening: Use a drywall saw or a rotary tool (e.g., Dremel 4300 with a drywall bit) to cut the opening for the new Carlon old work box. Trace the box outline first to ensure a snug fit.
- Drill the Studs: If the new location is several studs away, you will need to drill 3/4-inch holes through the center of each wooden stud. Use a flexible drill bit (like the Greenlee 7/16' x 72' Flex Bit) to bore through studs from the existing opening.
- Fish the Cable: Feed the Southwire 12/2 NM-B through the holes using a fiberglass fish tape. Leave at least 12 inches of slack at both the old and new box locations. Avoid sharp 90-degree bends that can damage the SIMpull jacket.
Phase 3: Box Mounting and Wire Preparation
Insert the Carlon B618R-UPC old work box into the new drywall hole. Ensure the internal 'flipper' tabs are flush against the outside of the drywall. Tighten the mounting screws evenly until the box is pulled tight and rigid against the wall. Do not overtighten, or you will crush the drywall paper and compromise the box's structural support.
Strip the outer NM-B jacket using a cable ripper, exposing 8 inches of individual wires. Strip exactly 3/4 inch of insulation from the black and white wires using Klein 11063W strippers. The bare ground wire should be left intact but bent into a J-hook.
Crucial Code Compliance: Box Fill Calculations
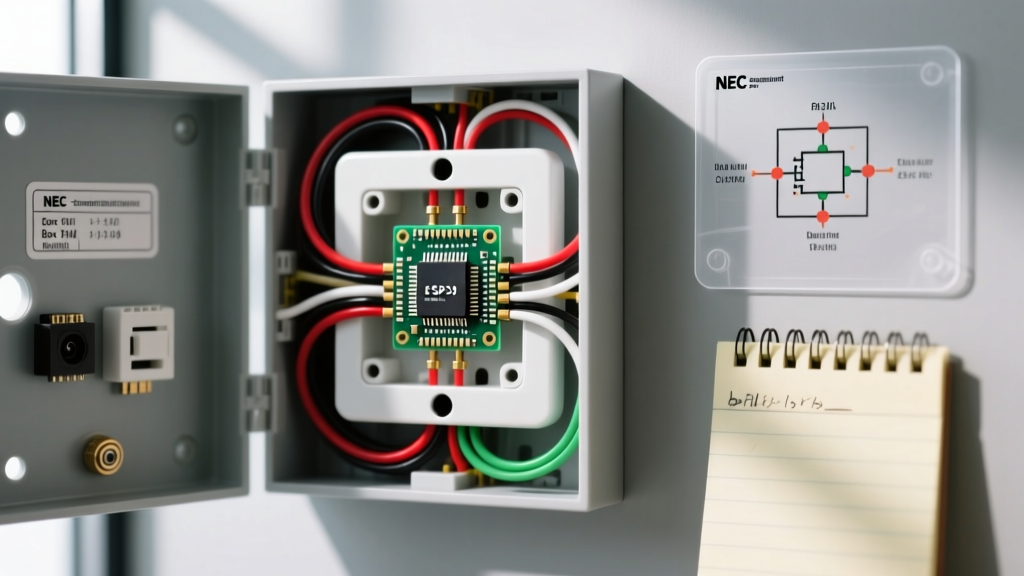
When extending an electrical outlet, you are adding wires to the existing junction box. NEC Article 314.16 dictates strict 'box fill' limits to prevent overheating and wire crushing. Every wire, clamp, and device counts toward the total volume.
- 14 AWG Wire: Requires 2.0 cubic inches per conductor.
- 12 AWG Wire: Requires 2.25 cubic inches per conductor.
- Device (Receptacle): Counts as 2 conductors of the largest wire size connected to it.
- Ground Wires: All equipment grounding conductors combined count as 1 conductor.
If you are extending a 12/2 mid-run circuit, your existing box will now contain: 2 incoming hots/neutrals, 2 outgoing hots/neutrals, 1 ground bundle, and 1 receptacle. This equates to roughly 11 'conductor equivalents'. Multiply 11 by 2.25 cubic inches, and you need a minimum 24.75 cubic inch box. If your existing box is a standard 18-cubic-inch old work box, you must upgrade the original box to a deeper 22 or 28 cubic inch box before extending the circuit. Ignoring box fill is a primary reason DIY extensions fail municipal electrical inspections.
Phase 4: Termination and Pigtailing
How you terminate depends on the topology identified in Phase 1. According to National Fire Protection Association (NFPA) NEC guidelines, all connections must be made inside an approved junction box or receptacle box, and no bare copper should be visible outside the wire nut.
Scenario A: Extending from an End-of-Run
Simply connect the new black wire to the brass terminal, the new white wire to the silver terminal, and the bare ground to the green grounding screw on the new Leviton receptacle. Form a clockwise 'J-hook' with the wire so that tightening the screw pulls the wire loop tighter, rather than pushing it out.
Scenario B: Extending from a Mid-Run (Pigtailing)
You cannot simply daisy-chain three wires onto a single receptacle screw. You must create pigtails:
- Strip three 6-inch pieces of solid copper wire (matching the gauge: black for hot, white for neutral).
- Align the existing incoming black wire, the outgoing downstream black wire, and your new black pigtail. Secure them tightly with an Ideal 33 Red wire nut.
- Repeat for the white neutral wires using an Ideal 34 Yellow wire nut.
- Connect the bare grounds together with a green ground wire nut, leaving a single pigtail to attach to the receptacle's green ground screw.
- Connect the free ends of your black and white pigtails to the new Leviton receptacle.
Common Edge Cases & Troubleshooting
- Fireblocks in the Wall: If your fish tape hits a horizontal wooden fireblock between studs, you will need to cut a small 4x4 inch access panel in the drywall, drill through the block, fish the wire, and then patch the drywall with a California patch or mud.
- Insulated Bays: Fiberglass batt insulation can snag fish tapes. Use a rigid fiberglass push-rod instead of a flexible steel tape to push through the insulation without tearing the vapor barrier.
- AFCI/GFCI Requirements: Under current NEC codes, extending a circuit in a bedroom, living room, or kitchen may require the circuit to be protected by an AFCI (Arc-Fault Circuit Interrupter) or GFCI breaker at the main panel. If your panel lacks this, the extension may fail inspection or pose a shock hazard in wet areas.
Final Testing and Cleanup
Before pushing the wires back into the box, give each wire nut a firm tug to ensure mechanical stability. Neatly fold the wires into the back of the Carlon box—grounds first, then neutrals, then hots. Screw the receptacle to the box, ensuring it sits perfectly plumb. Restore power at the breaker and test with a receptacle tester (e.g., Gardner Bender GRT-13) to confirm correct hot/neutral polarity and a solid ground connection. Once verified, install the faceplate and patch any secondary drywall access holes you created during the fishing process.