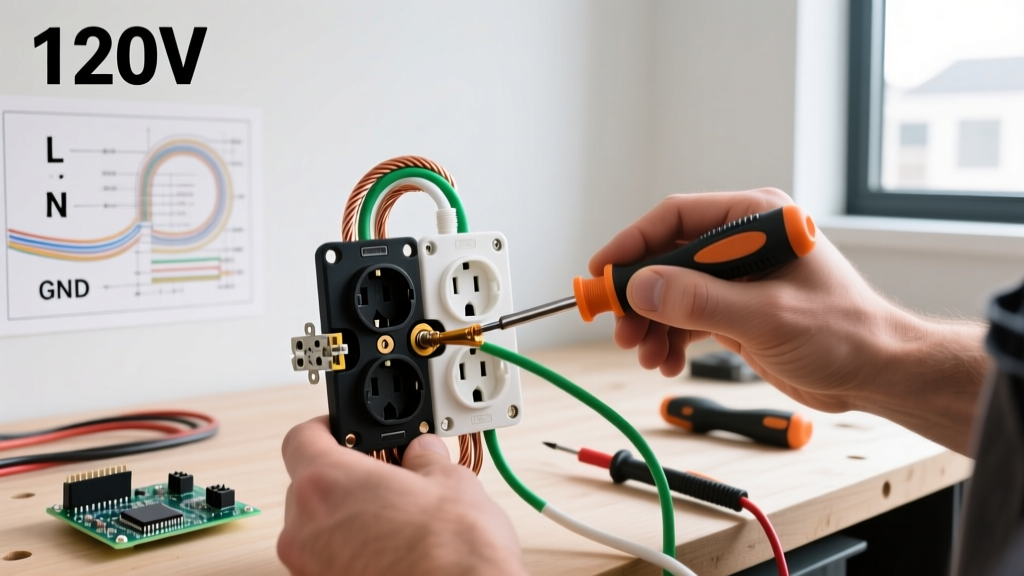

Why the Right Tools Matter When Changing Electrical Outlet
Replacing a worn, painted-over, or damaged receptacle is one of the most common residential electrical tasks. However, the difference between a safe, code-compliant installation and a latent fire hazard often comes down to the tools and materials used. According to the National Fire Protection Association (NFPA), electrical failures or malfunctions are involved in roughly 47,000 home fires annually in the United States. Many of these stem from loose terminal connections, improper wire stripping, or the use of degraded components.
When changing electrical outlet hardware, relying on dull utility knives for wire stripping or using non-insulated screwdrivers introduces severe risks. This comprehensive guide details the exact professional-grade tools, NEC-compliant receptacles, and consumables required to execute a flawless receptacle replacement in 2026.
Safety Directive: Never assume a circuit is dead based solely on a wall switch position or a tripped breaker label. The Occupational Safety and Health Administration (OSHA) mandates testing all conductors with a verified voltage detector before making physical contact. Always test your tester on a known live source before and after checking the target outlet.
The Core Toolkit: Precision Instruments for Safe Wiring
To properly remove an old receptacle and terminate new wires without damaging the copper conductor, you need specialized hand tools. Here is the exact loadout recommended for residential 15A and 20A branch circuits.
1. Non-Contact Voltage Testers (NCVT)
Forget cheap, single-function pens. You need a CAT IV rated dual-range tester capable of detecting both standard voltage (120V) and low-voltage doorbell or thermostat wiring. The Fluke 1AC-II VoltAlert (approx. $35) or the Klein Tools NCVT-3 (approx. $30) are industry standards. They feature automatic power-off, low-battery indicators, and a built-in flashlight, which is crucial when working in dark junction boxes after killing the main breaker.
2. Precision Wire Strippers
Using the wrong stripping hole can nick the copper wire, creating a micro-fracture that snaps under thermal expansion or increases resistance, leading to localized heating. The Klein Tools 11054E (approx. $28) is specifically calibrated for 14 AWG and 12 AWG solid copper wire. Crucially, it features a built-in stripping gauge that limits the insulation removal to exactly 5/8 of an inch—the precise length required by the National Electrical Code (NEC) to wrap fully around a terminal screw without exposing bare copper outside the connection point.
3. Lineman Pliers and Terminal Benders
When terminating wires via the side-screw method, the wire must form a perfect 'J-hook'. The Channellock 436 6.5-Inch Lineman Pliers (approx. $25) feature a specialized grip zone and a built-in bending curve that allows you to form a uniform, clockwise loop that matches the curvature of the receptacle's terminal screw. This ensures the screw pulls the loop tighter as it is driven clockwise, rather than pushing the wire out.
4. Insulated Screwdrivers and Torque Drivers
Standard hardware store screwdrivers lack the dielectric protection required for live-panel work (though the panel should always be dead during outlet swaps). Invest in a 1000V-rated set like the Wiha 32090 Insulated Screwdriver Set (approx. $45). Furthermore, while NEC 110.14(D) requires specific torque values for many connections, standard 15A/20A receptacles generally require firm hand-tightening. For professionals seeking absolute compliance and prevention of loose-neutral arcing, the Klein Tools 32500 Torque Screwdriver set to 14 inch-pounds guarantees perfect terminal compression every time.
Material Selection: Choosing the Right Receptacle
Not all outlets are created equal. The U.S. Consumer Product Safety Commission (CPSC) heavily emphasizes the use of modern safety receptacles to prevent shock and arc faults. When changing an electrical outlet, you must match the amperage of the circuit breaker and select the appropriate safety technology.
| Receptacle Type | Model Example | Amp/Volt Rating | Primary Use Case | Avg. Price (2026) |
|---|---|---|---|---|
| Standard 15A TR | Leviton 5320-W | 15A / 125V | Living rooms, bedrooms, hallways | $2.50 |
| Standard 20A TR | Leviton 5248-W | 20A / 125V | Kitchen countertops, dining areas | $3.50 |
| GFCI (Ground Fault) | Leviton GFNT1-W | 15A / 125V | Bathrooms, garages, outdoors, unfinished basements | $18.00 |
| Dual Function (AFCI/GFCI) | Leviton AGFTR1-W | 15A / 125V | Kitchens/Laundry where both arc and ground fault protection are mandated | $38.00 |
| USB-C / USB-A Combo | Leviton R02-T5636-0BW | 15A / 125V | Bedside tables, home offices (features 30W PD USB-C) | $22.00 |
Crucial Code Note: The 'TR' in the model numbers stands for Tamper-Resistant. Since the 2008 NEC update (and reinforced in all subsequent 2020 and 2023/2026 revisions), TR receptacles are mandatory in almost all residential living spaces. They feature internal spring-loaded shutters that only open when equal pressure is applied to both slots simultaneously, preventing children from inserting foreign objects. Expect to use slightly more insertion force when plugging in a new appliance for the first time.
Consumables and Hardware You Should Not Forget
Reusing old wire nuts or wrapping connections in cheap vinyl tape is a hallmark of amateur work. Secure your connections with the following materials:
- Wire Connectors: Use Ideal Industries Wire-Nuts. For joining two 12 AWG wires, use the Yellow #454. For joining two 14 AWG wires, use the Red #453 or Yellow #454. The internal steel coil grips the copper tightly and will not back out under vibration or thermal cycling.
- Electrical Tape: While not strictly required by code if wire nuts are properly applied, wrapping the sides of the receptacle with 3M Super 33+ Vinyl Electrical Tape (approx. $6) is a professional best practice. It covers the exposed terminal screws, preventing accidental shorts against a metal junction box or a grounded metal wallplate.
- Pigtail Wires: Keep a spool of 12 AWG and 14 AWG solid THHN copper wire on hand. If you are replacing an outlet that is in the middle of a run (daisy-chained), and the existing wires are too short to reach the new terminals safely, you must use a wire nut to pigtail a 6-inch extension. Never stretch wires taut inside the box.
- Box Extenders: If the junction box is recessed more than 1/4 inch behind the drywall (a common issue after a homeowner installs new backsplash tile or thick wood paneling), the NEC requires a non-combustible box extender (like the Arlington BE1) to bridge the gap and prevent sparks from entering the wall cavity.
Execution Best Practices: Avoiding the 'Backstab' Trap
When changing an electrical outlet, you will notice two methods for connecting wires on the back of standard receptacles: the screw terminals and the push-in 'backstab' holes.
- Avoid Push-In Backstabbing: The push-in holes rely on a small internal brass spring clip to grip the wire. Over years of thermal expansion and contraction (heating up when a vacuum or space heater is used, and cooling down when unplugged), these clips lose tension. This creates a high-resistance connection that generates immense heat, melting the plastic housing and causing fires. Never use the push-in holes.
- Use Side-Screw Terminals: Strip exactly 5/8 inch of insulation, form a clockwise J-hook with your lineman pliers, loop it around the brass (hot) and silver (neutral) screws, and tighten firmly.
- Back-Wiring Clamps (The Pro Alternative):strong> Some premium commercial-grade receptacles (like the Leviton 5362-W) feature 'back-wire' clamp plates. You insert the straight, stripped wire into a hole on the back, and tightening the screw lowers a heavy-duty metal clamp plate onto the wire. This provides maximum surface area contact and is highly recommended for 20A kitchen circuits.
Edge Cases: GFCI Line vs. Load and Aluminum Wiring
Two specific scenarios require heightened attention when swapping receptacles:
GFCI Wiring Configuration
When installing a GFCI receptacle, you will see two sets of terminals: LINE and LOAD. The LINE terminals must receive the incoming power from the breaker panel. The LOAD terminals are only used if you intend to protect downstream outlets on the same circuit. If you wire the incoming power to the LOAD terminals, the GFCI will function at the outlet itself, but the 'Test' button will not trip the downstream outlets, and the GFCI may fail to reset properly. Always use your NCVT to identify the live incoming wire before disconnecting the old GFCI.
Aluminum Branch Wiring
If your home was built between 1965 and 1973, you may encounter aluminum branch wiring. Aluminum oxidizes rapidly and expands at a different rate than copper, leading to loose connections and fires at standard brass/copper terminals. If you are changing an electrical outlet on an aluminum circuit, you must use receptacles specifically marked CO/ALR (Copper/Aluminum Revised), or use AlumiConn lug connectors to pigtail the aluminum wire to a short copper jumper before attaching it to a standard receptacle. Standard outlets are strictly prohibited for direct aluminum wire termination.
Frequently Asked Questions
Do I need to turn off the main breaker to change an outlet?
No, you only need to turn off the specific single-pole breaker controlling that circuit. However, you must verify the correct breaker was switched off using a CAT IV non-contact voltage tester. Panel labels in older homes are notoriously inaccurate.
Can I replace a 15A outlet with a 20A outlet?
You can only install a 20A receptacle if the circuit wiring is 12 AWG copper and the breaker is rated for 20 Amps. Installing a 20A receptacle on a 14 AWG wire / 15 Amp breaker circuit is a code violation, as it tricks users into plugging in high-draw appliances that could overheat the undersized wire without tripping the breaker.
Why is my new TR (Tamper-Resistant) outlet so hard to plug things into?
The internal shutters require simultaneous, equal pressure on both the hot and neutral prongs. If you are pushing the plug in at a slight angle, or if one prong is slightly bent, the shutter will bind. Ensure your plug prongs are straight and push firmly and squarely. The tension will ease slightly after a few dozen insertion cycles.