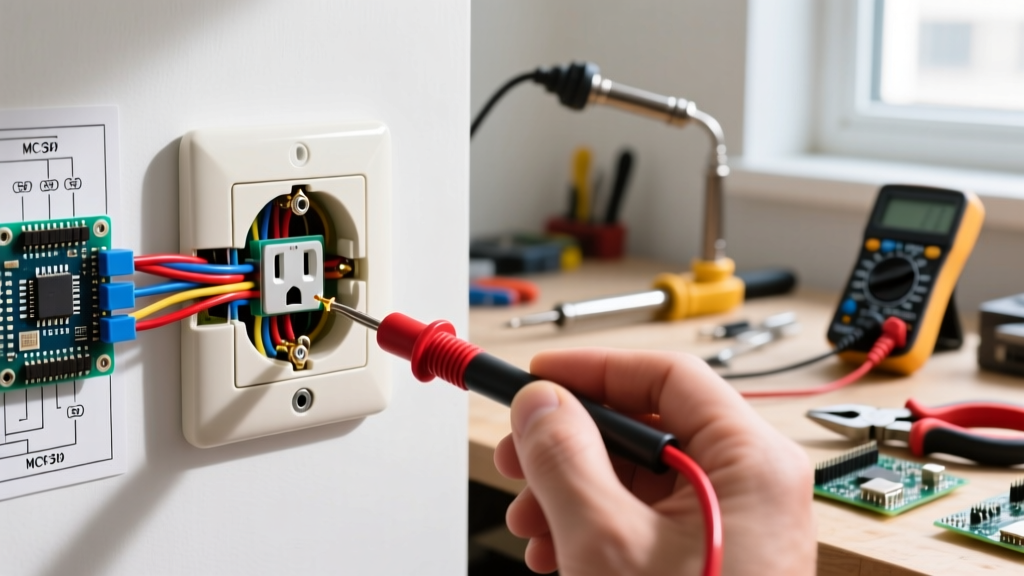

Why Outdoor Outlets Fail and When to Replace Them
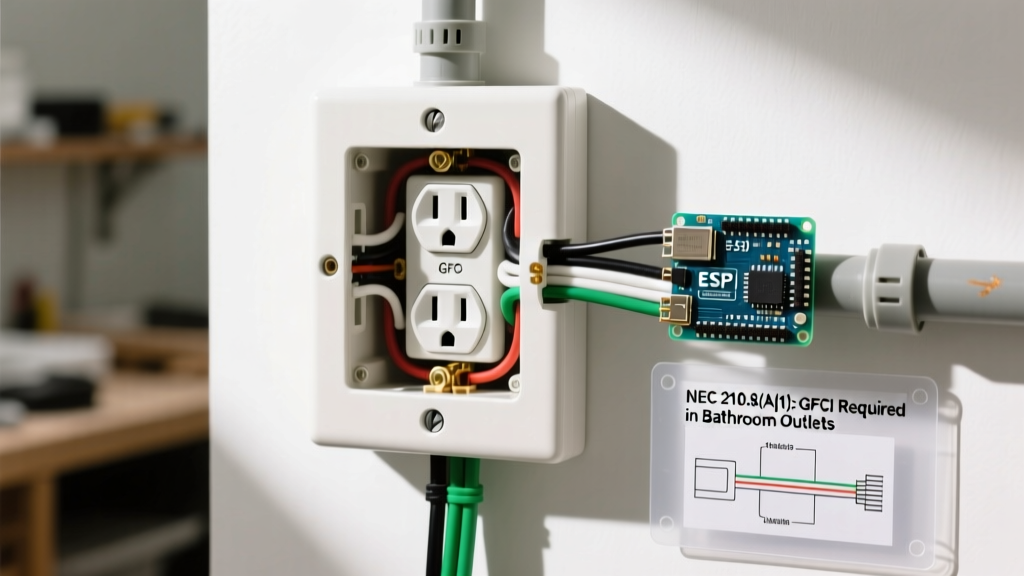
Outdoor receptacles endure extreme temperature fluctuations, UV radiation, and driving rain. Over time, the internal contacts corrode, the GFCI (Ground Fault Circuit Interrupter) sensor degrades, or the plastic faceplate becomes brittle and cracks. If your exterior receptacle is tripping constantly, shows visible rust, or lacks a 'WR' (Weather-Resistant) stamp, it is time for an upgrade.
Learning how to change an outdoor electrical outlet is a highly manageable DIY project for beginners, provided you follow strict safety protocols and use code-compliant materials. According to the National Fire Protection Association (NFPA), all 15-amp and 20-amp, 125-volt outdoor receptacles must be GFCI-protected and housed in an approved weatherproof enclosure. In this 2026 guide, we will walk you through replacing an old, failing outdoor outlet with a modern, code-compliant Weather-Resistant GFCI and an extra-duty in-use cover.
⚠️ CRITICAL SAFETY WARNING: Never work on a live circuit. Water and electricity are a fatal combination. Always shut off power at the main breaker panel and verify the absence of voltage before touching any bare wires.
Tools and Materials Required
To ensure your installation passes local electrical inspections and survives the elements, you must use specific outdoor-rated components. Standard indoor GFCIs will fail prematurely outside due to UV degradation and internal corrosion.
- Weather-Resistant (WR) GFCI Receptacle: Look for models like the Leviton 8999-W0W or Eaton GFWR20W. These cost between $25 and $35 and feature UV-stabilized faces and nickel-plated brass terminals.
- Extra-Duty 'In-Use' Weatherproof Cover: The TayMac MX5400 Extra-Duty Cover ($18–$22) is an industry standard. It allows you to plug in cords while keeping the lid closed.
- Non-Contact Voltage Tester: A reliable model like the Klein Tools NCVT-1 ($15).
- Wire Strippers & Phillips Screwdriver: Ensure your screwdriver has a #2 Phillips tip to avoid stripping the terminal screws.
- 100% Silicone Sealant: GE Advanced Silicone 2 ($8) for sealing the mounting flange against your siding.
Material Comparison: Standard GFCI vs. Weather-Resistant (WR) GFCI
Understanding the difference between indoor and outdoor-rated GFCIs is crucial for long-term safety and NEC compliance.
| Feature | Standard Indoor GFCI | Weather-Resistant (WR) GFCI |
|---|---|---|
| UV Resistance | No (plastic yellows and cracks in sunlight) | Yes (UV-stabilized polymer face) |
| Internal Terminals | Zinc-plated steel (prone to rust) | Nickel-plated brass or stainless steel |
| Yoke/Strap | Standard steel | Corrosion-resistant coated steel |
| NEC Code Compliance | Indoor dry/damp locations only | Required for all outdoor wet locations |
| Identification | None | Stamped with 'WR' on the metal yoke |
Step-by-Step Installation Guide
Step 1: Kill the Power and Verify
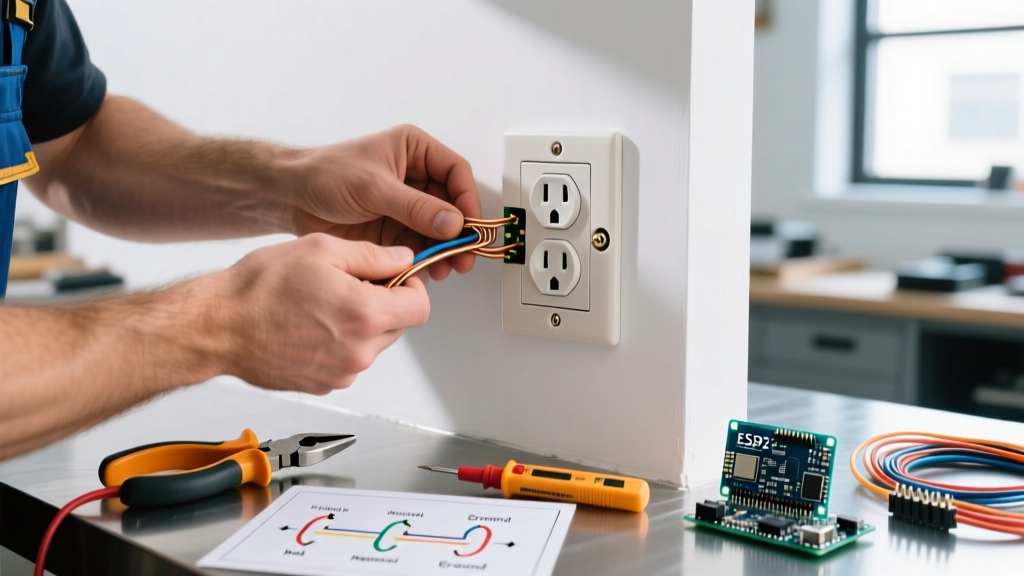
Locate your main electrical panel and turn off the breaker controlling the outdoor outlet. If the breaker is unlabeled, plug a lamp or radio into the outlet and turn off breakers until the device powers down. Once off, insert your non-contact voltage tester into both the top and bottom slots of the receptacle. The tester must remain completely dark and silent. For added safety, the Electrical Safety Foundation International (ESFI) recommends treating all wires as live until physically tested.
Step 2: Remove the Old Cover and Receptacle
Unscrew the existing weatherproof cover. Next, remove the two long machine screws securing the outlet to the electrical box. Gently pull the receptacle out of the box. Take a photo of the existing wiring with your smartphone before disconnecting anything. This provides a fallback reference if you get confused.
Step 3: Inspect the Electrical Box and Wires
Look inside the metal or PVC box. If you see heavy rust, standing water, or crumbling wire insulation, stop. You may need to replace the box or call a licensed electrician. If the box is clean, use your wire strippers to snip off the old, oxidized copper tips. Strip exactly 3/4 inch of fresh insulation from the black (hot), white (neutral), and bare copper (ground) wires.
Step 4: Wire the New WR GFCI
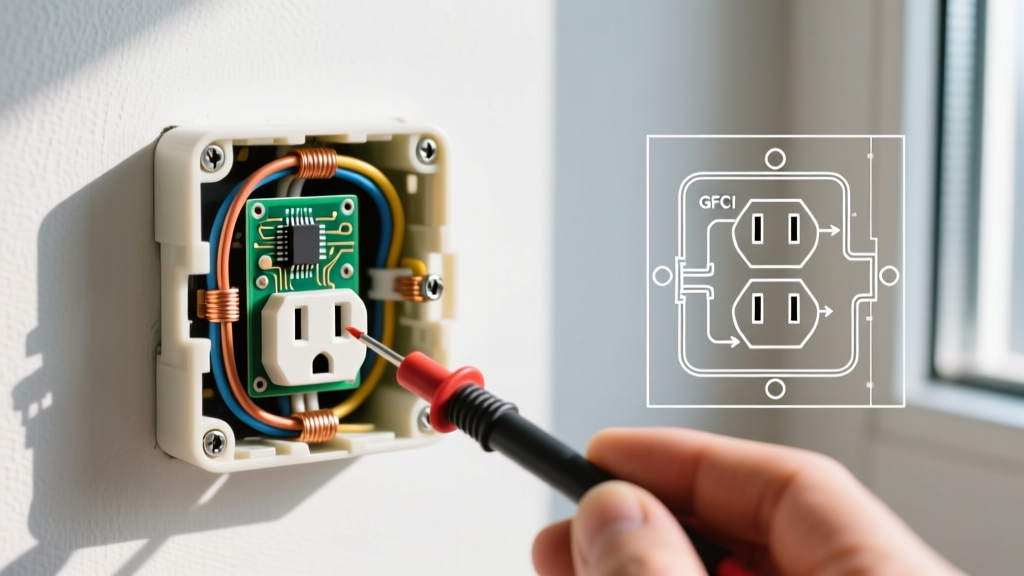
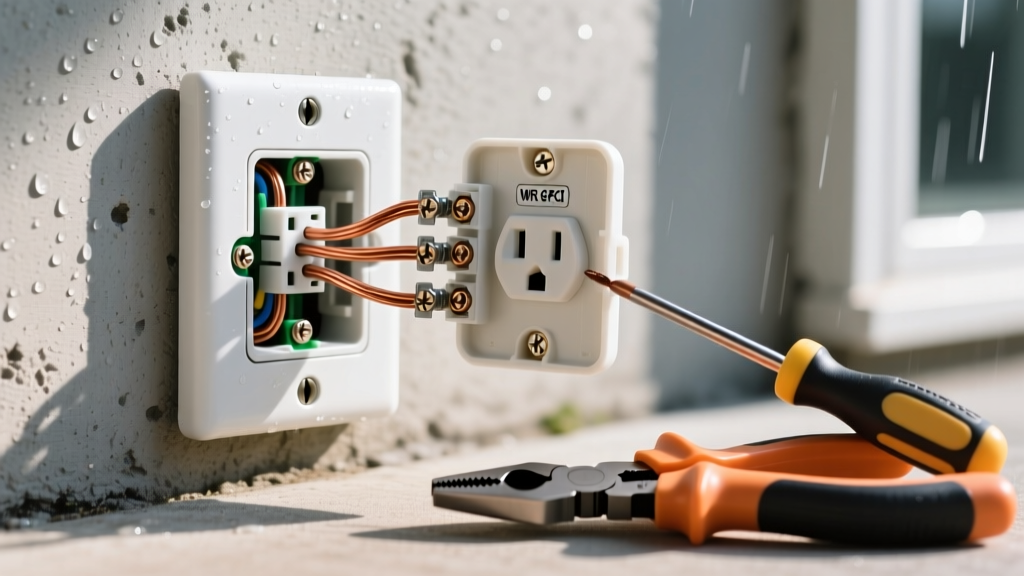
This is where most beginners make a critical error. A GFCI has two sets of terminals: LINE and LOAD.
- Identify the LINE wires: These bring power from the breaker panel. If you are only replacing this single outlet, you will only use the LINE terminals.
- Connect the Ground: Wrap the bare copper wire clockwise around the green ground screw and tighten firmly.
- Connect the Neutral: Attach the white wire to the silver LINE screw.
- Connect the Hot: Attach the black wire to the brass LINE screw.
Pro-Tip: Always wrap the wire clockwise around the screw so that tightening the screw pulls the wire loop tighter. Do not use the push-in 'back-stab' holes on the back of the GFCI; they are notorious for failing outdoors due to thermal expansion and contraction.
Step 5: Seal the Box and Mount the Receptacle
Before pushing the wires back into the box, apply a small bead of 100% silicone sealant around the outside edge of the electrical box flange where it meets your home's siding. This prevents water from tracking behind the box and rotting your exterior wall. Carefully fold the wires in a Z-pattern, push the WR GFCI into the box, and secure it with the provided stainless-steel screws.
Step 6: Install the Extra-Duty In-Use Cover
Attach the TayMac (or equivalent) extra-duty cover. These covers come with adjustable depth rings; trim the ring to match the depth of your outlet so the lid closes flush without pinching the cords. Secure the cover using the provided screws, and apply a final bead of silicone across the top and side seams of the cover flange. Leave the bottom unsealed to allow any trapped condensation to drain out.
Troubleshooting Common Edge Cases
The GFCI Won't Reset After Installation
If you press the 'RESET' button and it immediately pops out, or won't click in at all, you likely have a wiring fault. First, verify power is actually reaching the LINE terminals using a multimeter. Second, ensure you haven't accidentally swapped the LINE and LOAD wires. If power enters the LOAD terminals, the GFCI will not function or reset.
Nuisance Tripping During Rainstorms
If your newly installed outlet trips every time it rains, the issue is rarely the GFCI itself. Instead, inspect the downstream 'LOAD' wiring. If your outdoor GFCI is wired to protect a downstream receptacle (like a soffit outlet for holiday lights), and that downstream outlet has a compromised seal, moisture will trigger the main outdoor GFCI. Disconnect the LOAD wires temporarily to isolate the fault.
Frequently Asked Questions
Do I need a permit to change an outdoor outlet?
In most municipalities, replacing an existing receptacle with a like-for-like GFCI does not require a permit. However, if you are running a new circuit, upgrading the amperage, or moving the box location, a permit and inspection will be required. Always check with your local building department.
Can I use a standard indoor GFCI if I have a weatherproof cover?
No. The National Electrical Code (NEC) explicitly requires the receptacle itself to be listed as Weather-Resistant (WR). The 'in-use' cover protects against rain, but it cannot stop ambient humidity, condensation, and UV exposure from degrading a standard indoor GFCI's internal circuitry.
What if my electrical box is metal and heavily rusted?
If a metal box is structurally compromised by rust, you must replace it. You can carefully chisel away the siding, cut the old box out, and install a retrofit PVC exterior box (such as the Carlon B618R), which will not corrode and provides a safe, non-conductive housing for your WR GFCI.