
A buzzing electrical outlet is never a sound you should ignore. While a faint hum from heavy appliances or cheap dimmer switches can sometimes be attributed to harmless magnetostriction, a distinct buzzing, sizzling, or crackling noise emanating from a standard 120V wall receptacle is a primary indicator of electrical arcing, loose connections, or severe circuit overloads. According to the National Fire Protection Association (NFPA), electrical distribution and lighting equipment are consistently among the leading causes of residential fire hazards. Diagnosing the root cause requires more than just a visual inspection; it requires a specialized toolkit to measure voltage drop, thermal anomalies, and current draw.
In this comprehensive tool and material guide, we break down exactly why your outlet is buzzing, the professional-grade diagnostic instruments required to prove the failure mode, and the specific replacement materials needed to bring your wiring up to modern National Electrical Code (NEC) standards.
⚠️ SAFETY WARNING: Never open a receptacle box without first turning off the circuit breaker and verifying the absence of voltage. Arcing faults can generate temperatures exceeding 10,000°F, instantly causing severe burns or igniting surrounding drywall paper and wood framing.The 4 Main Reasons Your Outlet is Buzzing (And the Tools to Prove It)
1. Loose or Degraded Wire Connections (Micro-Arcing)
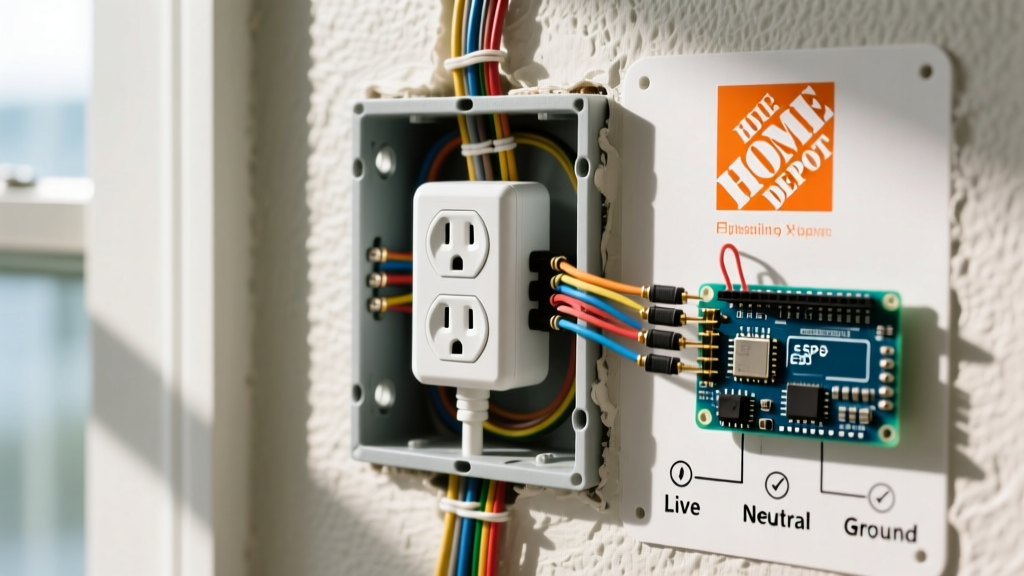
The most common cause of a buzzing outlet is a loose terminal connection. In older installations, electricians often used "backstab" (push-in) connectors rather than wrapping wires around the terminal screws. Over years of thermal cycling—heating up under load and cooling down—these internal brass springs lose their tension. This creates a microscopic gap where electricity jumps (arcs) between the wire and the contact, producing a distinct 60Hz or 120Hz buzz and a faint smell of ozone or burning plastic.
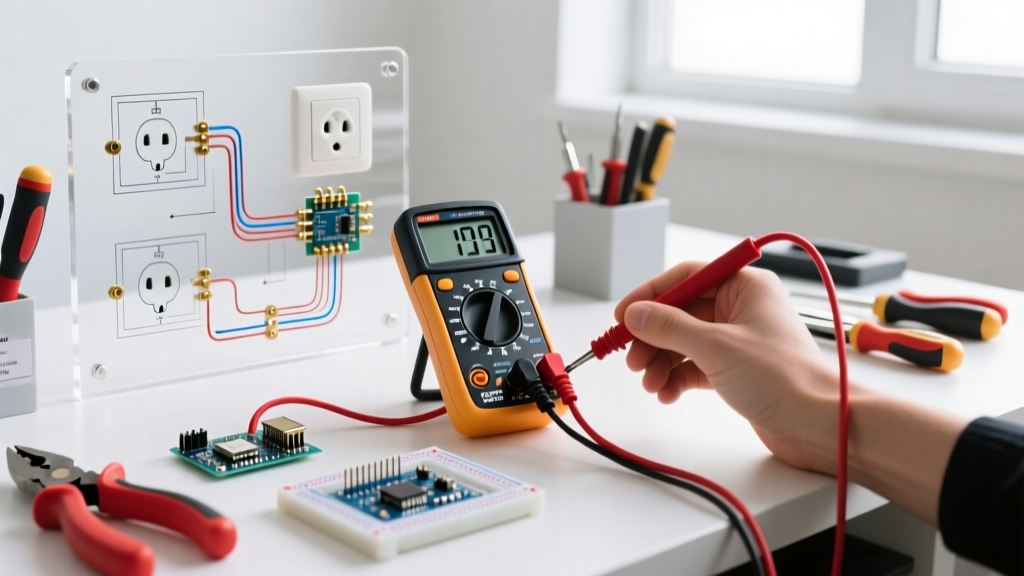
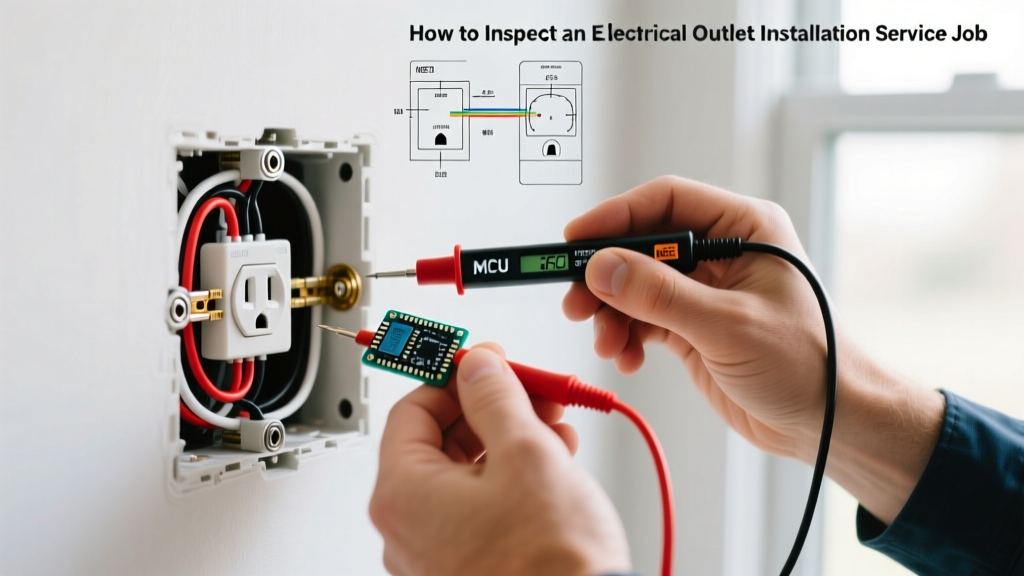
Diagnostic Tool: A high-sensitivity Non-Contact Voltage Tester (NCVT) and a digital multimeter to check for voltage drop. If the outlet reads 114V under load instead of a steady 120V, high resistance at a loose terminal is your culprit.
2. Overloaded Circuit or Failing Breaker
If the buzzing seems to come from the wall but is actually vibrating through the wiring from the panel, or if the outlet is warm to the touch, you may be exceeding the continuous load rating of the circuit. A 15-amp circuit should only carry 12 amps of continuous load (the 80% NEC rule). Pushing 14 amps through 14 AWG wire causes the conductors to heat and vibrate against the receptacle terminals.
Diagnostic Tool: An AC Clamp Meter. By clamping the meter around the hot (black) wire inside the box, you can measure the exact amperage draw without breaking the circuit.
3. Faulty Receptacle or Worn Internal Contacts
Standard residential-grade receptacles have thin brass contact wipers inside the slots. If you frequently plug and unplug high-draw devices (like space heaters or vacuum cleaners), these wipers can splay outward. When a plug is inserted, it doesn't make full surface contact, leading to localized resistance, heat, and a buzzing sound.
Diagnostic Tool: A Receptacle Tension Tester or a simple digital caliper to measure the physical degradation of the plug blades versus the receptacle slots.
4. Incompatible Dimmer or Smart Switch Interference
If the buzzing outlet is on the same circuit as a newly installed smart switch or LED dimmer, the issue might be harmonic distortion or Pulse Width Modulation (PWM) interference. Cheap TRIAC-based dimmers chop the AC sine wave, which can cause the transformers or capacitors in downstream electronics (or even the outlet's internal surge protection) to buzz audibly.
Essential Diagnostic Toolkit for Outlet Troubleshooting
To properly diagnose a buzzing receptacle, you need tools that provide empirical data, not just guesswork. Below is the recommended toolkit for homeowners and DIYers tackling electrical diagnostics in 2026.
| Tool / Material | Recommended Model | Avg. Cost (2026) | Primary Diagnostic Use |
|---|---|---|---|
| Non-Contact Voltage Tester | Klein Tools NCVT-3IR | $32.00 | Verifying zero-energy state before touching terminals. |
| Clamp Multimeter | Fluke 323 True-RMS | $165.00 | Measuring exact amp draw to identify overloads. |
| Receptacle Tester | Gardner Bender GRT-3500 | $14.00 | Checking for open neutrals or reversed polarity. |
| Torque Screwdriver | Wiha 645P (14 in-lbs) | $45.00 | Ensuring NEC-compliant terminal tightness. |
| Replacement Receptacle | Leviton 5362-T (Comm. Grade) | $6.50 | Upgrading from failed residential-grade backstab units. |
Step-by-Step Diagnostic Workflow
Follow this exact sequence to isolate the buzz safely and effectively.
- Isolate the Circuit: Turn off the breaker. Use the Klein NCVT-3IR to test the top and bottom slots of the receptacle. Wait 3 seconds between tests to ensure the tool's internal capacitor hasn't stored a phantom charge.
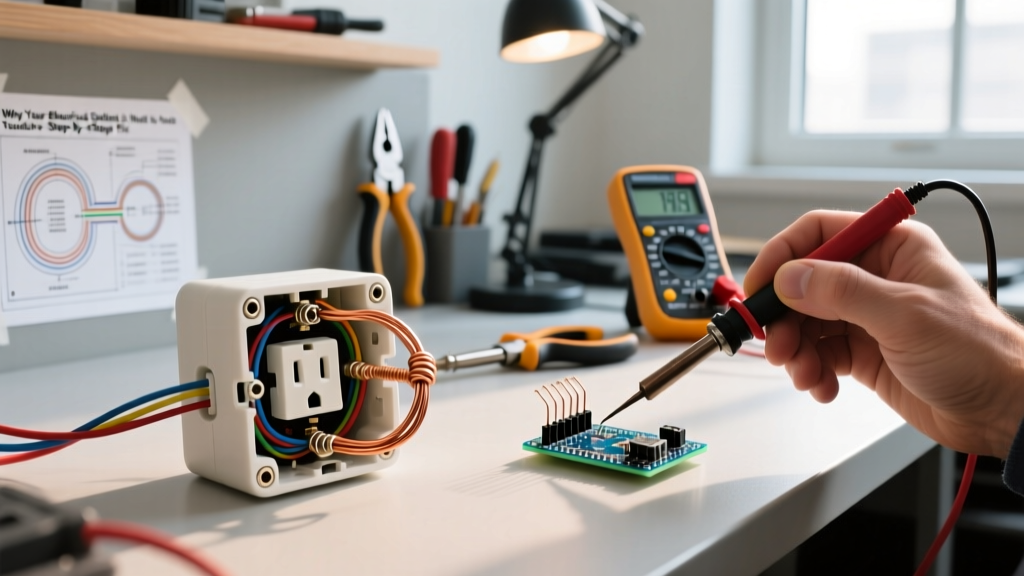
- Extract and Inspect: Remove the faceplate and unscrew the receptacle. Pull it gently out of the gang box. Look for blue/black scorch marks on the plastic housing or melted insulation on the black (hot) wire.
- Check for Backstabbing: Look at the back of the receptacle. If wires are pushed into small holes rather than looped under the side screws, you have found the likely cause of the arcing buzz. Action: Cut the wires back to bare, clean copper using wire strippers, and prepare to side-wire the new receptacle.
- Measure the Load: If the wiring looks perfect, the issue may be downstream. Re-energize the circuit, clamp your Fluke 323 around the hot wire, and plug in your appliances. If the amp draw exceeds 12A on a 15A breaker, you must redistribute the load to a different circuit.
- Verify Torque: When installing the replacement, use a torque screwdriver set to the manufacturer's specification (typically 14 lb-in for standard 15A/20A devices). The Consumer Product Safety Commission (CPSC) notes that improper terminal torque is a leading cause of residential electrical fires.
Material Replacement Guide: Upgrading the Receptacle
If your diagnostic tools confirm a failed receptacle, do not replace it with another cheap $1.50 residential-grade builder model. You need materials engineered for high-clamp force and thermal stability.
- Commercial Grade (Leviton 5362-T or Hubbell 5262-TR): Costing around $6 to $9, these feature thicker brass contact wipers, glass-filled nylon faces that resist cracking under heat, and heavy-gauge steel mounting straps. They are rated for 20,000 plug-insertion cycles.
- Tamper Resistant (TR) Mandate: Under modern NEC Article 406.12, all 15A and 20A, 125V and 250V non-locking receptacles in dwelling units must be TR type. These feature internal shutters that prevent children from inserting single objects into the slots.
- Aluminum Wiring Edge Case: If your home was built between 1965 and 1973, you may have solid aluminum branch wiring. Aluminum oxidizes rapidly and creeps under pressure, causing severe buzzing and arcing. Required Material: You must use CO/ALR rated receptacles (like the Leviton 1228-TRL) or pigtail the aluminum to copper using AlumiConn lug connectors. Never connect standard brass terminals directly to aluminum wire.
Expert Insight: If you smell a distinct "fishy" or "urine-like" odor near the buzzing outlet, stop immediately and shut off the main breaker. This odor is the off-gassing of melting PVC wire insulation and bakelite. It means the thermal runaway phase has already begun, and a fire is imminent.
Frequently Asked Questions (FAQ)
Can a bad breaker cause an outlet to buzz?
Yes. If the breaker's internal bus bar connection or thermal-magnetic trip mechanism is failing, the vibration can travel down the Romex cable and resonate inside the plastic outlet gang box. A clamp meter reading at the panel versus the outlet will reveal if voltage drop is occurring at the breaker terminal.
Why does my outlet only buzz when I plug in a vacuum?
Vacuums draw high startup surge currents (often 10 to 12 amps). If the receptacle's internal wipers are weak, this massive inrush current causes momentary micro-arcing and magnetic vibration. Replacing the receptacle with a Commercial Grade model will provide the necessary clamping force to eliminate the buzz.
Is it safe to just tighten the screws on a buzzing outlet?
No. If the outlet has been arcing, the brass terminal screws and the copper wire ends are likely pitted, oxidized, or annealed (softened by heat). Simply tightening them will not restore a clean, low-resistance electrical connection. The wire must be stripped back to fresh copper, and the receptacle should be replaced.