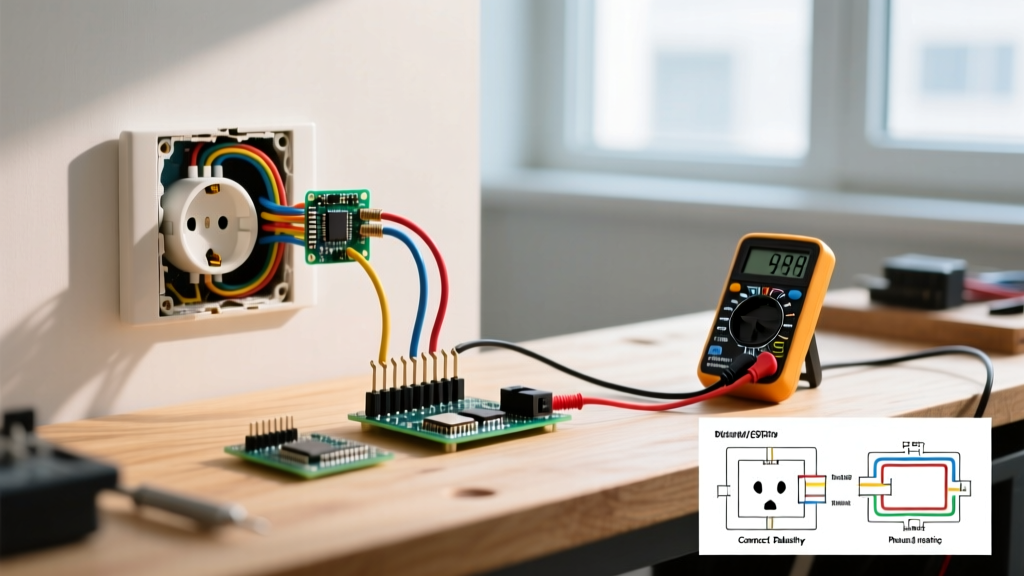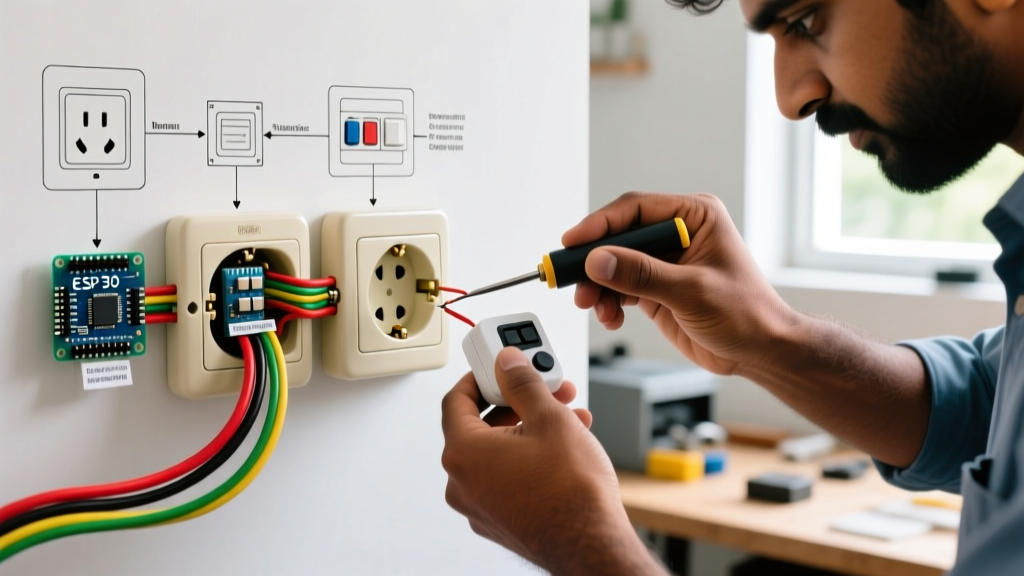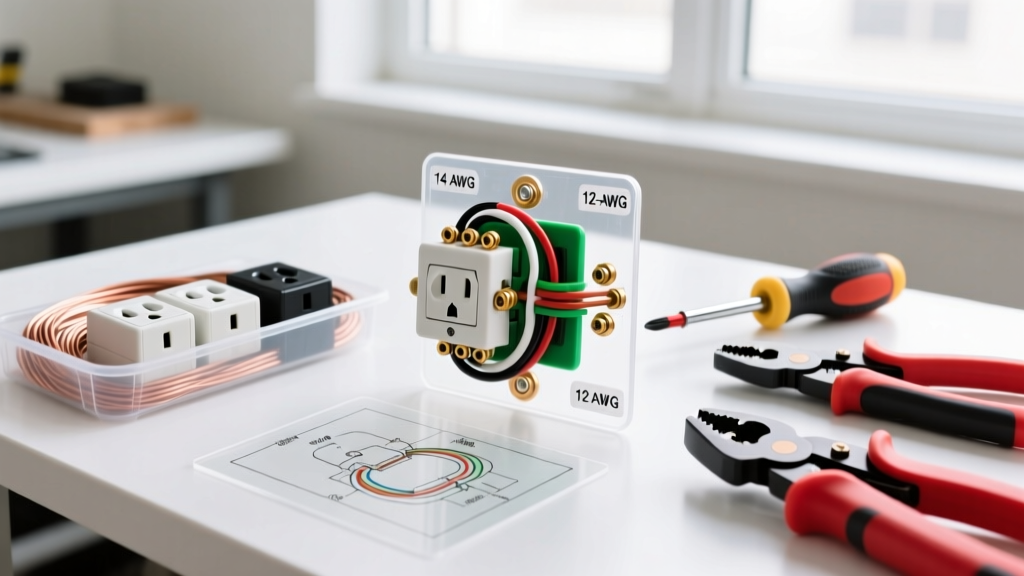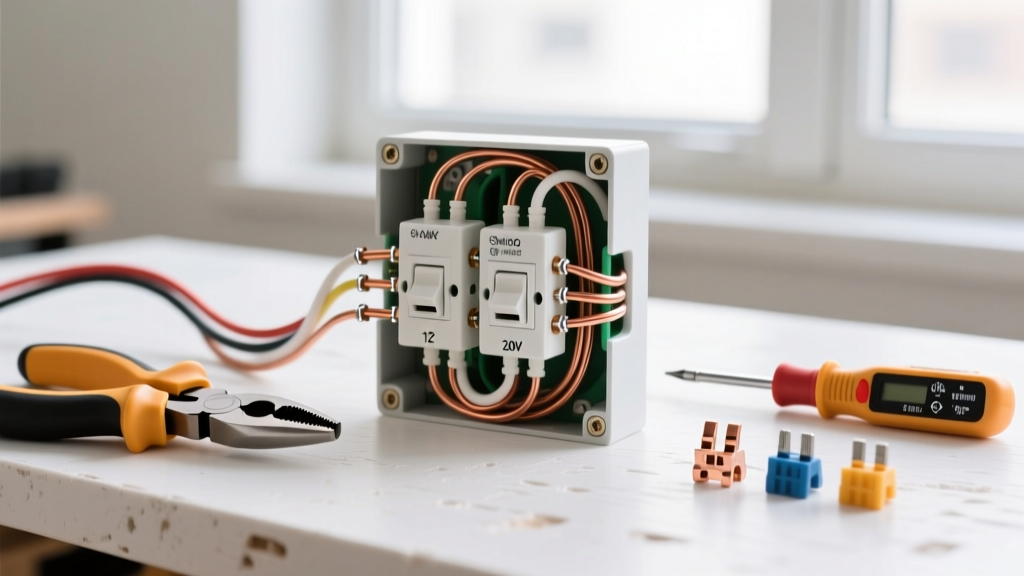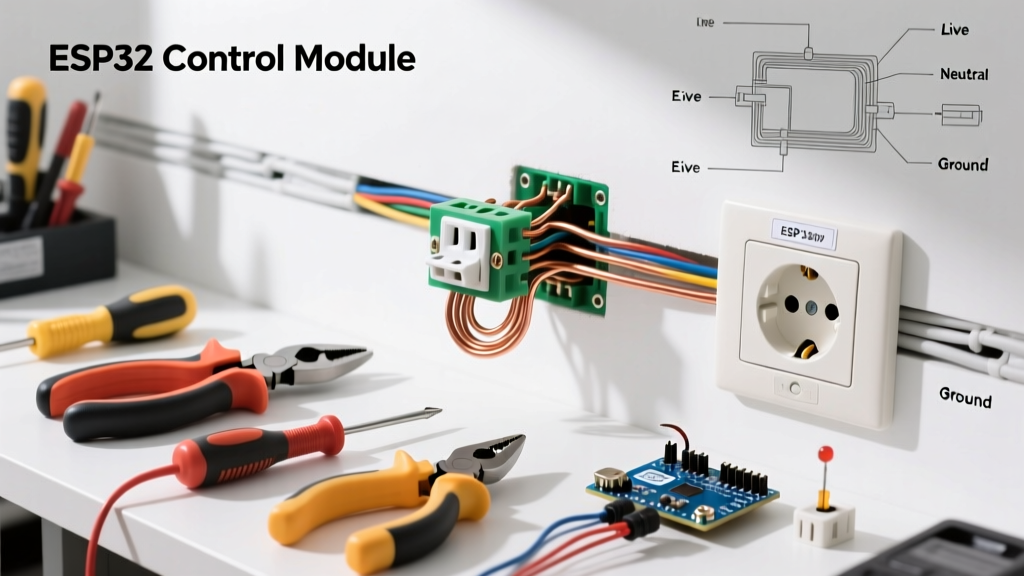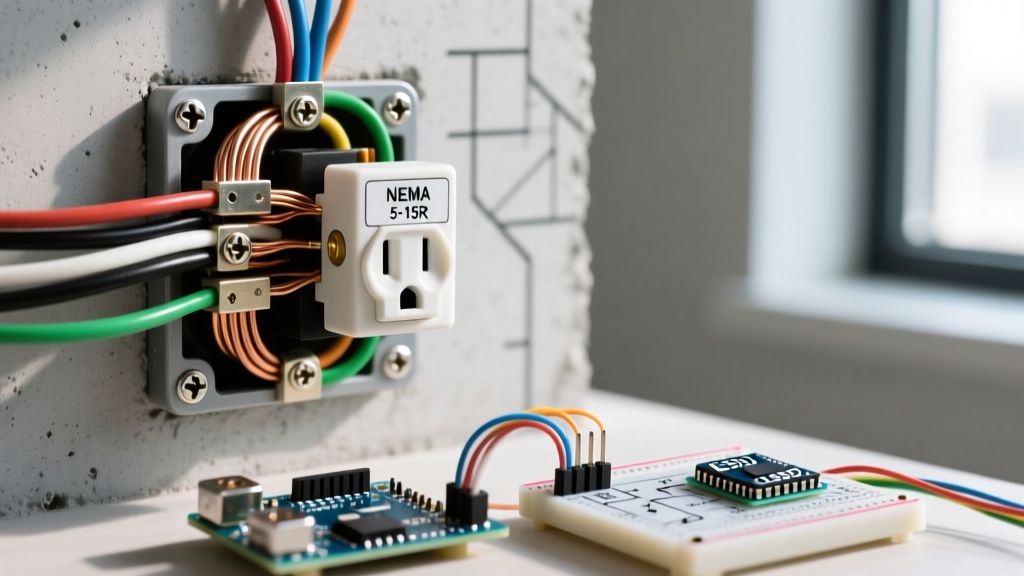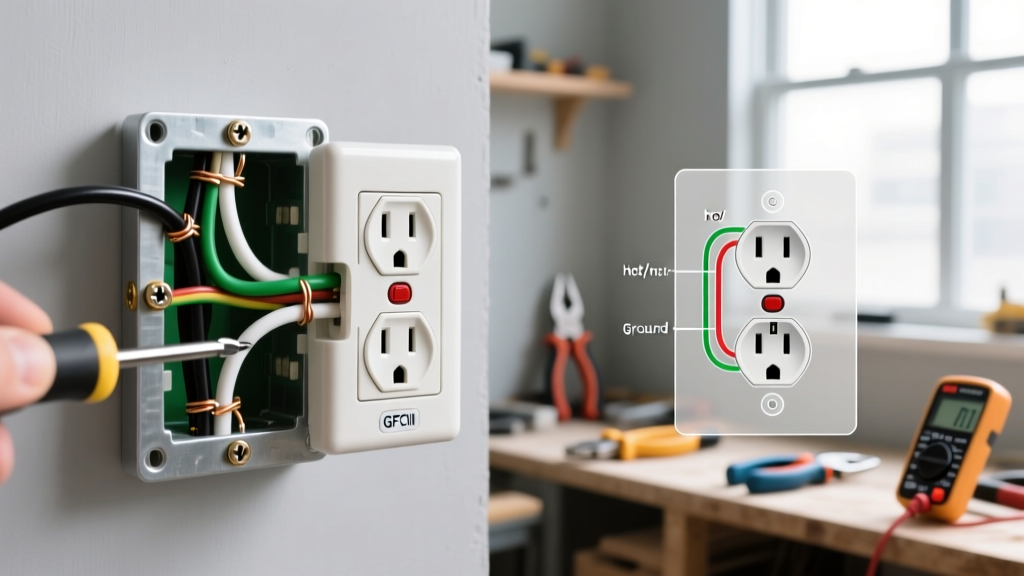

Installing your first electrical receptacle is a major milestone for any DIYer. However, electricity is unforgiving of shortcuts. According to the National Fire Protection Association (NFPA), electrical failures or malfunctions are a leading cause of home structure fires, resulting in billions of dollars in property damage annually. When you are learning how to wire a standard 15-amp or 20-amp duplex outlet, adhering to strict electrical outlet safety tips is not just about avoiding a shock—it is about preventing long-term thermal failures, arc faults, and catastrophic fires.
This beginner installation tutorial goes beyond the basic 'turn off the breaker' advice. We will dive deep into National Electrical Code (NEC) 2023/2026 requirements, precise torque specifications, box fill mathematics, and the specific tools you need to ensure your installation is safe, legal, and built to last.
The Non-Negotiable Pre-Installation Checklist
Before you even unscrew the faceplate of the old outlet, you must establish a safe working environment. Relying solely on the wall switch or assuming the breaker label is correct is a common beginner mistake that leads to severe injury.
1. Verify with the Right Voltage Tester
Do not rely on cheap, single-lead neon screwdrivers. Invest in a dual-range non-contact voltage tester (NCVT). The Klein Tools NCVT-2 (retailing around $25) is an industry staple for beginners and pros alike. It detects standard voltage (12 to 1000V) and low voltage (70 to 1000V), ensuring you don't get false negatives from low-voltage thermostat wires sharing the same gang box.
2. Implement Residential Lockout/Tagout (LOTO)
While OSHA's Lockout/Tagout standards are designed for industrial environments, the core principle saves lives in residential DIY. When you flip the breaker to the OFF position, place a physical lock or a brightly colored zip-tie and a 'DO NOT TOUCH' tag on the panel door. If you live in a multi-occupant home, this prevents a well-meaning family member from resetting the breaker while your hands are inside the junction box.
Crucial Electrical Outlet Safety Tips During Wiring
Once the power is verified dead, the physical wiring begins. This is where the majority of long-term fire hazards are introduced through improper termination techniques.
The 'Push-In' vs. 'Screw Terminal' Debate
Many modern receptacles feature 'backstab' or push-in wire holes on the rear. While the NEC permits them for 14 AWG solid copper wire, experienced electricians universally avoid them. These connections rely on a small internal spring clip to grip the wire. Over years of thermal expansion and contraction (as the outlet heats up under load and cools down), these springs weaken, leading to high-resistance connections, arcing, and melted plastic.
Expert Rule of Thumb: Always use the side-screw terminals. If your receptacle features 'back-wire' clamps (where the screw tightens a pressure plate over the wire, rather than a push-in spring), those are perfectly safe and provide excellent contact area.
Torque Specifications: The Hidden Code Requirement
Since the 2017 NEC cycle, and reinforced in the 2023/2026 updates under NEC 110.14(D), all electrical terminations must be tightened to the manufacturer's specified torque. Most standard 15A and 20A receptacles (like the popular Leviton T5252 or Eaton TR20W) require exactly 14 in-lbs of torque.
Beginners often overtighten screws, stripping the brass threads or snapping the screw head, or undertighten them, leaving a loose connection that will arc under a 1500W space heater load. To do this correctly, use a dedicated torque screwdriver, such as the Klein 708-14 (approx. $45) or a precision model like the Wiha 61100.
Understanding GFCI, AFCI, and TR Requirements
The Consumer Product Safety Commission (CPSC) heavily emphasizes the use of advanced protective devices to mitigate shock and fire risks. As a beginner, you must know which type of protection is required in specific rooms.
Tamper-Resistant (TR) Receptacles
Under NEC 406.12, all 15A and 20A, 125V and 250V non-locking receptacles in dwelling units must be Tamper-Resistant. These outlets feature internal shutters that only open when equal pressure is applied to both slots simultaneously (like a plug's prongs). Always look for the 'TR' stamp on the yoke of the receptacle when purchasing.
Protection Matrix: Where to Use GFCI vs. AFCI
| Room / Location | Required Protection | Implementation Method |
|---|---|---|
| Kitchens (Countertops) | GFCI & AFCI | GFCI receptacle at first outlet; AFCI breaker at panel. |
| Bathrooms | GFCI | GFCI receptacle or GFCI breaker. |
| Bedrooms & Living Rooms | AFCI | Combination-type AFCI breaker at the main panel. |
| Garages & Outdoors | GFCI | Weather-resistant (WR) GFCI receptacle with in-use cover. |
| Laundry Areas | GFCI & AFCI | GFCI receptacle; AFCI breaker at panel. |
Note: When installing a GFCI receptacle (such as the Leviton SmartlockPro GFNT1-W), ensure you connect the incoming power to the LINE terminals and downstream outlets to the LOAD terminals. Reversing these will leave the downstream outlets unprotected and cause the GFCI's internal microprocessor to flag a wiring fault.
Box Fill Calculations: Preventing Overcrowding
One of the most frequently violated electrical outlet safety tips by novices is cramming too many wires into a single gang box. NEC Article 314.16 dictates strict 'box fill' calculations to ensure wires have enough space to dissipate heat and to prevent insulation damage during installation.
How to Calculate Box Fill (Quick Guide)
Every conductor, device, and clamp inside the box counts toward the total volume. Here is the multiplier based on wire gauge:
- 14 AWG Wire: 2.0 cubic inches per conductor
- 12 AWG Wire: 2.25 cubic inches per conductor
- 10 AWG Wire: 2.5 cubic inches per conductor
Counting the Components
- Hot and Neutral Wires: Count each wire that originates or terminates in the box as '1'.
- Ground Wires: All bare/green ground wires combined count as '1'.
- Device (The Receptacle):strong> The outlet itself counts as '2' based on the largest wire gauge connected to it.
- Internal Clamps: Count as '1' based on the largest wire gauge.
Real-World Example: You are wiring a standard 15A outlet (14 AWG wire) in a plastic box with no internal clamps. You have 1 incoming hot, 1 outgoing hot, 1 incoming neutral, 1 outgoing neutral (4 wires = 8 cu in). You have 2 bare grounds (counts as 1 = 2 cu in). The receptacle counts as 2 (4 cu in). Total required volume: 14 cubic inches. A standard 'old work' single gang box is usually 14 to 16 cubic inches, making it perfectly legal. If you add a second cable, you must upgrade to a deeper 20 or 22 cubic inch box.
Post-Installation Verification and Testing
Once the outlet is wired, screwed into the box, and the faceplate is secured, your job is not finished. You must verify the integrity of the installation before plugging in expensive electronics.
Using a Receptacle Circuit Tester
Purchase a basic plug-in tester like the Gardner Bender GRT-501 (approx. $8). When you plug it in and restore power, the three neon lights will indicate the status of the wiring. Look for the 'Correct' light pattern. If the tester indicates 'Open Ground', 'Hot/Neutral Reversed', or 'Hot/Ground Reversed', turn the breaker back off immediately and re-inspect your terminal connections.
Thermal Imaging for Edge Cases
For an advanced safety check, plug a high-draw device (like a 1500W hair dryer or space heater) into the new outlet and let it run for 10 minutes. Use a smartphone-attached thermal camera (such as the FLIR ONE, approx. $250) to scan the faceplate. If you see a localized heat bloom exceeding 120°F (49°C) at the terminal screws, you have a high-resistance connection. Turn off the power, remove the outlet, and re-terminate the wires, ensuring proper torque and no exposed copper outside the terminal pad.
Final Thoughts on DIY Electrical Safety
Mastering these electrical outlet safety tips transforms you from a hobbyist into a competent, code-conscious DIYer. Always respect the power of the grid, invest in the right diagnostic and torque tools, and never hesitate to consult a licensed master electrician if a junction box's wiring exceeds your current understanding. Safety and code compliance are the ultimate measures of a successful electrical installation.