
The Truth About the Electric Outlet Height Code
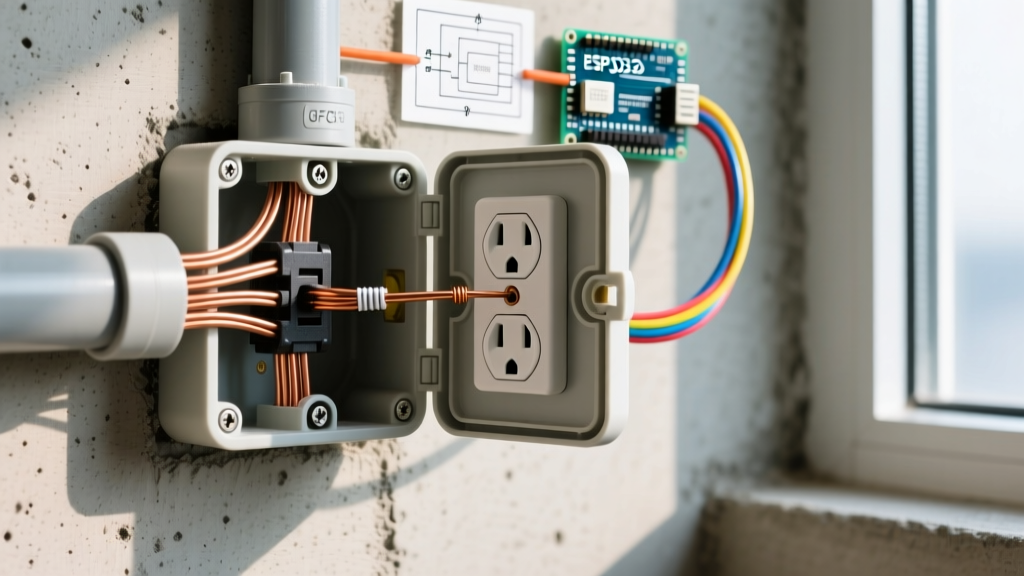
When beginners start wiring a room, one of the most common questions is: "What is the exact electric outlet height code?" The answer requires a crucial distinction between the National Electrical Code (NEC) and local building conventions. Many DIYers mistakenly believe the NEC mandates a strict 12-inch or 16-inch height from the floor for standard wall receptacles. In reality, the NFPA National Electrical Code focuses primarily on receptacle spacing and placement rather than standard floor heights.
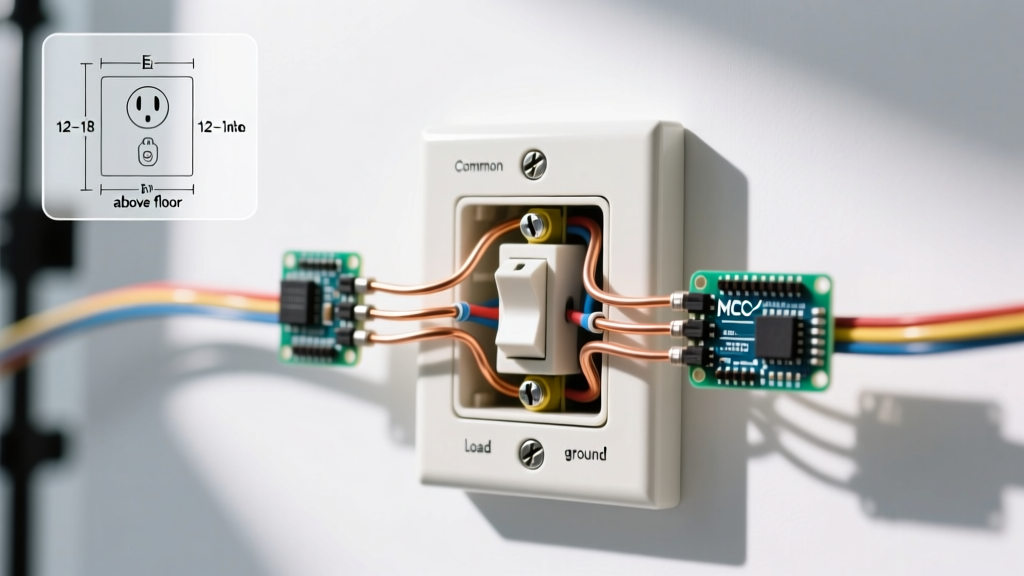
Under NEC Article 210.52(A)(1), the rule is that no point along the floor line in any wall space can be more than 6 feet from a receptacle. However, local municipal building codes, the Fair Housing Act (FHA), and standard framing practices have universally adopted the 12-inch to 16-inch standard (measured from the finished floor to the center of the electrical box). Where the NEC does strictly dictate height is in specific areas like kitchen countertops, bathrooms, and laundry zones. Understanding this nuance is the first step to passing your rough-in electrical inspection.
Standard Room-by-Room Outlet Height Chart
While standard wall outlets follow the 12-to-16-inch convention, specialized rooms have strict NEC-mandated height requirements. Use this reference chart during your layout phase to ensure compliance and functionality.
| Room / Location | Standard Height (Floor to Box Center) | NEC Code Reference & Rules |
|---|---|---|
| Living Room / Bedroom | 12" to 16" | NEC 210.52(A) - Spacing rule (6ft max from any point). Height is local convention. |
| Kitchen Countertops | 15" to 20" (Above Counter) | NEC 210.52(C)(1) - Max 20 inches above the countertop surface. GFCI required. |
| Bathroom Vanity | 15" to 44" (Above Floor) | NEC 210.52(D) - Must be within 36" of basin edge. Max 12" above counter edge. |
| Laundry Room | 42" to 48" (Above Floor) | NEC 210.50(C) - Within 6 feet of the washing machine location. 20A circuit required. |
| Garage (Standard Wall) | 18" to 48" | NEC 210.52(G) - At least one receptacle required. GFCI required. Height varies by workbench. |
ADA Compliance vs. Standard Residential Code
If you are wiring a commercial space, a multi-family dwelling, or planning a home for aging-in-place, you must consider the Americans with Disabilities Act (ADA). The ADA Design Standards dictate that operable parts of receptacles must be placed within specific reach ranges to accommodate wheelchair users.
- Standard Reach Range: Minimum 15 inches and maximum 48 inches above the finished floor (AFF).
- Over-Counter Receptacles: If a counter is 34 inches high, the outlet cannot be placed higher than 44 inches AFF.
- Furniture Clearance: If an outlet is located behind a bed or sofa, it must still meet the accessible reach range if it is intended to be the primary accessible receptacle in that space.
Pro-Tip for Beginners: If you are wiring a standard single-family home for personal use, ADA compliance is not legally mandated by the NEC. However, standardizing your main living floor outlets at 15 inches AFF and switches at 48 inches AFF future-proofs your home for accessibility and increases resale value.
Step-by-Step Beginner Installation Tutorial
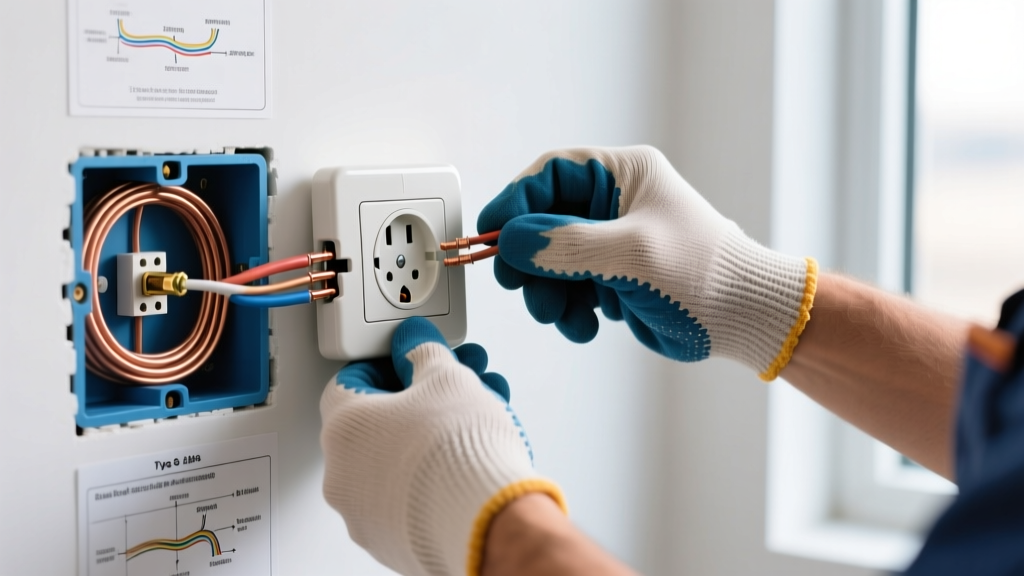
Knowing the code is only half the battle. Executing a clean, level, and secure rough-in requires the right technique. Follow this step-by-step guide to install your outlets at the perfect height.
Step 1: Locate Studs and Plan Box Placement
Never guess where your studs are. Use a high-quality stud finder like the Franklin Sensors 710 to map out the wall cavity. If you are using new-work nail-on boxes (like the Raco 8185 1-gang steel box), the box must be mounted directly to the side of the stud. If you are retrofitting into existing drywall, you will use old-work cut-in boxes (like the Carlon E989RR-UPC) which clamp directly to the drywall between studs.
Step 2: Mark the Height with a Laser Level
Do not rely on a tape measure and pencil for every single box; minor floor joist variations will make your outlets look crooked. Set up a rotary or cross-line laser level (such as the Johnson Level & Tool 40-6910) and project a level line exactly 16 inches above the highest point of your finished floor. Mark the center-point of your electrical boxes directly on the studs where the laser line intersects.
Step 3: Cut the Drywall (For Old-Work Boxes)
Trace the outline of your old-work box on the drywall. Use a drywall hole saw attached to a cordless drill. The Klein Tools 85078 Drywall Hole Saw is highly recommended for beginners because it features a center guide bit that prevents the saw from wandering and damaging hidden wires or pipes.
Step 4: Mount the Box and Pull Wire
Feed your 12/2 or 14/2 NM-B (Romex) cable into the box. Leave at least 8 inches of wire extending past the front edge of the box (NEC 300.14 requires 6 inches minimum from the front face, but 8 inches gives you room to work). Secure the cable with the internal clamps. For old-work boxes, tighten the mounting screws until the drywall clamps pull flush and tight against the back of the gypsum board.
Edge Cases: Countertops, Baseboards, and Floor Boxes
Beginners often run into trouble when standard wall rules collide with architectural features. Here is how to handle the most common edge cases:
The Baseboard Heater Conflict
NEC 210.52(A)(2) explicitly states that receptacles located behind furniture or radiators cannot be counted toward the required room spacing. Furthermore, placing a standard 15A or 20A receptacle directly above an electric baseboard heater is a severe fire hazard and violates manufacturer listings. Always offset your outlet boxes at least 12 inches horizontally from the ends of baseboard heaters.
Kitchen Backsplash Clearance
When wiring kitchen countertops, the height is measured from the countertop surface, not the floor. If your cabinets are 36 inches high and your countertop adds 1.5 inches, your outlet box center should be roughly 52 to 54 inches from the finished floor. Ensure the bottom edge of the outlet cover plate does not interfere with a standard 4-inch tile backsplash.
Large Rooms and Floor Boxes
In open-concept homes with floating furniture layouts, wall outlets may not satisfy the 6-foot NEC spacing rule. In these cases, you must install listed floor boxes (such as the Leviton 6224-IG series). Floor boxes must be installed in floors that are specifically designed to accommodate them, and they require specialized concrete-tight or tile-flush cover plates to meet UL safety listings.
Frequently Asked Questions
Does the NEC require outlets to be a specific height in bedrooms?
No. The NEC does not specify a floor-to-outlet height for standard bedrooms. It only requires that no point along the wall is more than 6 feet from an outlet. The 12-to-16-inch height is an industry standard adopted by local builders and electricians for consistency and to accommodate standard furniture heights.
How high should light switches be mounted compared to outlets?
While outlets are typically placed 12 to 16 inches from the floor, standard light switches are mounted with the center of the box at 48 inches above the finished floor. This aligns with standard ADA reach requirements and ergonomic best practices.
Can I install an outlet sideways to fit behind a TV?
The NEC does not prohibit mounting a standard receptacle horizontally (sideways) to accommodate low-profile TV wall mounts. However, the ground pin hole should ideally be oriented so that if a cord falls out, it does not rest on the hot/neutral prongs. Using a recessed media box (like the Leviton 6890-O) is a much cleaner, code-compliant solution for behind-TV wiring.