
The Hidden Danger Behind Your Wall Plates
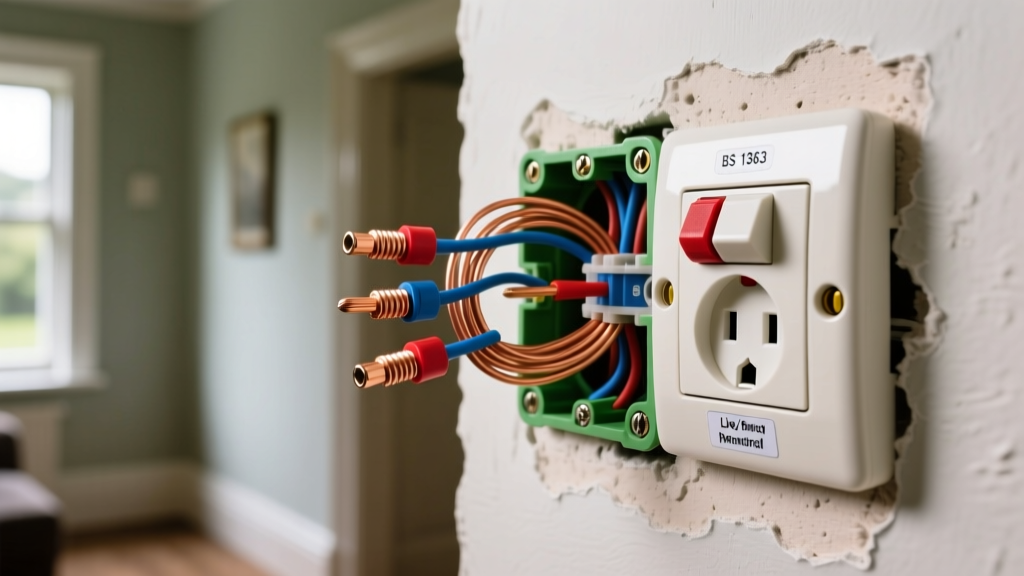
If you have ever removed a receptacle cover in a home built between the late 1970s and the early 2010s, you have likely encountered a backstab electrical outlet. Often referred to by electricians as "quick-wire" or "push-in" connections, this wiring method involves stripping the wire and shoving it directly into a small hole on the back of the device, rather than wrapping it around a side terminal screw. While the National Electrical Code (NEC) and Underwriters Laboratories (UL) have historically permitted these connections for 14 AWG solid copper wire on 15-ampere receptacles, the practical reality in the field is vastly different from the testing laboratory.
As of 2026, with the proliferation of high-draw smart home hubs, continuous-duty dehumidifiers, and portable Level 1 EV chargers being plugged into standard 15A bedroom or garage receptacles, the thermal stress on marginal connections has never been higher. Understanding why backstab connections fail—and knowing exactly how to remediate them—is a critical skill for any DIYer or homeowner looking to prevent electrical fires.
The Anatomy of a Push-In Terminal
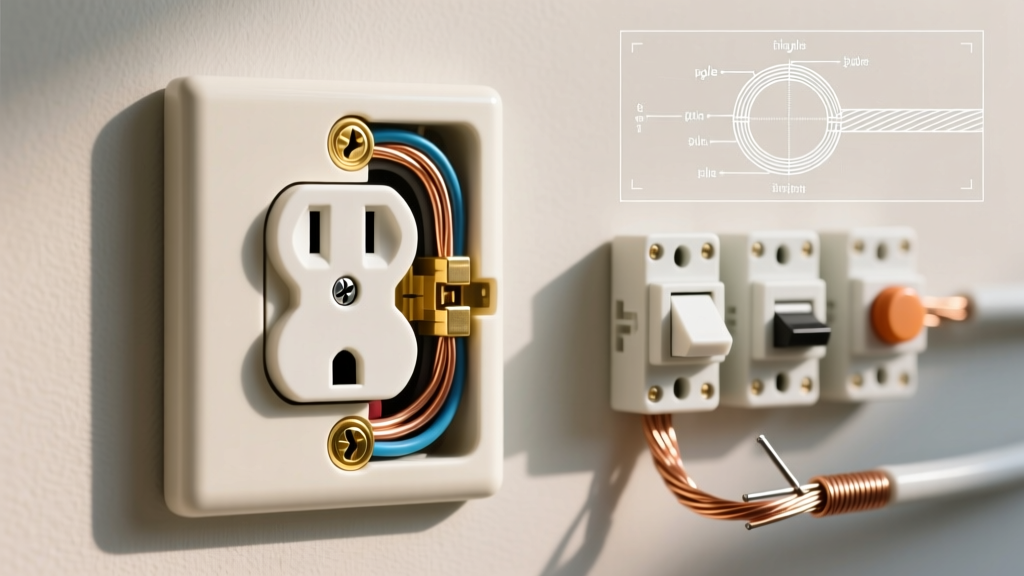
To understand the failure modes, you must first understand the internal mechanism. When you push a stripped wire into the backstab hole, it passes beneath a small, spring-loaded brass leaf tang. The sharp edge of this brass tang bites into the copper wire, holding it in place and completing the circuit.
While this saves an installer roughly 15 to 20 seconds per termination, it introduces severe mechanical compromises:
- Single-Point Contact: Unlike a screw terminal that wraps 270 degrees around the wire, a backstab connection relies on a single, narrow line of contact between the brass tang and the copper.
- Spring Fatigue: The holding force is entirely dependent on the tension of the brass spring. Over years of thermal cycling, this spring loses its temper and tension.
- No Visual Verification: Once the wire is inserted, you cannot see how far the stripped portion extends into the cavity, making it impossible to verify if the wire insulation is caught under the tang or if bare wire is exposed.
Why Backstab Connections Fail: The Physics
The primary enemy of the backstab electrical outlet is differential thermal expansion. When a load is applied (e.g., a 1200W space heater drawing 10 amps), the copper wire and the internal brass tang heat up. Copper and brass expand at different rates. Over hundreds of heating and cooling cycles, this microscopic movement causes the brass tang to slowly walk away from the copper wire, a phenomenon known as "copper creep" or "thermal ratcheting."
Expert Insight: A degraded backstab connection increases electrical resistance. According to Joule's first law ($P = I^2R$), as resistance ($R$) increases at the connection point, the heat generated ($P$) increases exponentially. A loose backstab carrying 15 amps can easily exceed 200°C (392°F), melting the polycarbonate nylon face of the receptacle long before the 15A circuit breaker trips.
According to the National Fire Protection Association (NFPA), electrical distribution or lighting equipment is consistently one of the leading causes of home structure fires, with loose or degraded connections playing a massive role in arc-fault and thermal ignitions.
Comparison Matrix: Termination Methods
Not all rear-entry connections are created equal. It is vital to distinguish between a cheap residential backstab and a commercial-grade back-wire clamp.
| Feature | Backstab (Push-In) | Side-Wire (Screw) | Back-Wire (Clamp) |
|---|---|---|---|
| Common Device Tier | Residential / Builder Grade (e.g., Leviton T5262) | All Tiers | Commercial / Spec Grade (e.g., Hubbell HBL5262) |
| Wire Acceptance | 14 AWG Solid ONLY (rarely 12 AWG) | 14 or 12 AWG, Solid or Stranded | 14 or 12 AWG, Solid or Stranded |
| Connection Mechanism | Spring-loaded brass tang | Brass screw head and terminal plate | Steel pressure plate driven by a screw |
| Reliability / Lifespan | Poor (Prone to thermal failure) | Excellent (When torqued properly) | Exceptional (Uniform clamping force) |
| Installation Speed | Very Fast | Moderate | Fast |
Step-by-Step Conversion Guide: Side-Wiring Your Receptacles
If you discover a backstab electrical outlet in your home, the Electrical Safety Foundation International (ESFI) and seasoned master electricians universally recommend converting the termination to the side-wire screw terminals. Here is the precise methodology to do it safely.
Step 1: De-energize and Verify
Turn off the circuit breaker. Do not rely on a simple switch. Use a non-contact voltage tester, such as the Klein Tools NCVT-41, to verify the absence of voltage at the receptacle face. Test the tester on a known live source before and after to ensure the battery is functioning.
Step 2: Extract the Backstabbed Wires
You cannot simply pull the wires out; doing so will tear the copper or break the internal brass tang, ruining the device. Look closely at the back of the receptacle. Next to each wire entry hole, there is a tiny rectangular release slot.
- Take a small, stiff tool—a precision flathead screwdriver (1.5mm or 3/32-inch tip) or a heavy-duty paperclip.
- Insert the tool into the release slot to depress the brass tang.
- Gently pull the wire out while maintaining pressure on the release slot.
Step 3: Re-strip and Condition the Wire
The brass tang leaves deep gouges in the copper wire, creating a weak point that can snap when bent. Use wire strippers to cut off the damaged section. Re-strip the wire to exactly 5/8-inch (approx. 16mm). Most modern receptacles feature a physical "strip gauge" molded into the back of the plastic housing; use it to ensure your bare wire length is perfect. If the wire is too long, bare copper will be exposed outside the terminal, creating a shock and short-circuit hazard.
Step 4: Form the Hook and Terminate
Using the needle-nose pliers on your wire strippers, form a tight "J-hook" at the end of the wire. The hook must be perfectly round to match the radius of the terminal screw.
- Direction Matters: Place the hook around the screw so that it loops clockwise. When you tighten the screw (clockwise), the rotation will pull the hook tighter around the shaft. If looped counter-clockwise, the screw will push the wire out from under the head.
- Seating: Ensure the wire is seated under the screw head and resting on the brass terminal plate, not pinched against the plastic housing.
Step 5: Torque to Specification
While most DIYers tighten screws "until they feel snug," the 2017 NEC introduced stricter torque requirements (Section 110.14(D)), which remain heavily enforced in 2026. For standard 15A and 20A residential receptacles, the manufacturer's specified torque is typically between 12 and 14 inch-pounds. Using a calibrated torque screwdriver (like a Wiha VDE TorqueVario-S) ensures the connection is tight enough to resist thermal cycling, but not so tight that it strips the brass threads or crushes the copper wire.
Troubleshooting Edge Cases and Upgrades
Dealing with 12 AWG Wire on 15A Receptacles
A common code violation found in older homes is 12 AWG wire shoved into a backstab hole designed only for 14 AWG. This creates an immediate high-resistance fault. If you find 12 AWG wire on a 15A receptacle, you must either pigtail the 12 AWG wire down to a 14 AWG jumper using a Wago 221 lever-nut, or upgrade the receptacle to a 20A model (provided the breaker and entire circuit are also rated for 20A).
When to Replace the Entire Device
If the plastic face of the receptacle shows any brown scorch marks, or if the plug feels loose when inserted into the front slots (indicating worn internal brass contacts), do not attempt to rewire it. The Consumer Product Safety Commission (CPSC) warns that compromised internal contacts can cause arcing that bypasses standard breakers. Replace the device entirely. For high-use areas like kitchens, garages, and living rooms, upgrade to a Commercial Specification Grade receptacle (e.g., Hubbell HBL5262 or Leviton 5362). These cost roughly $4 to $7 each (compared to $1 for builder-grade) and feature heavy-duty steel back-wire clamps and robust side-screws that will easily outlast the building itself.
Final Thoughts on Electrical Safety
The convenience of a backstab electrical outlet is vastly outweighed by the long-term risks of thermal degradation and arc faults. By taking the extra three minutes per device to properly strip, hook, and torque side-wire connections, you eliminate one of the most common hidden fire hazards in modern residential wiring. Always prioritize mechanical integrity over installation speed, and when in doubt, consult a licensed electrical contractor to evaluate your home's termination health.