
Understanding the Argentina Electrical Outlet Standard
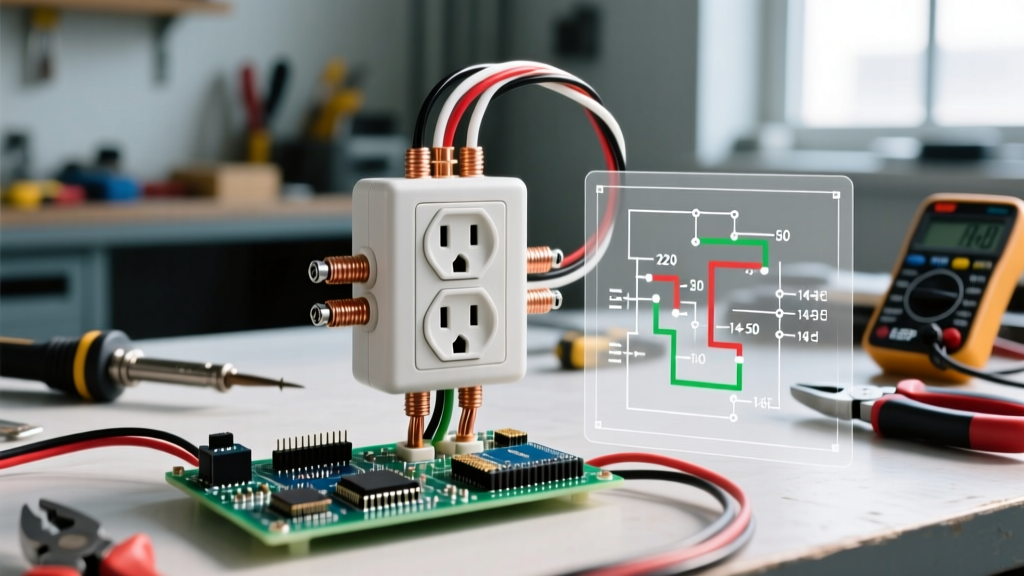
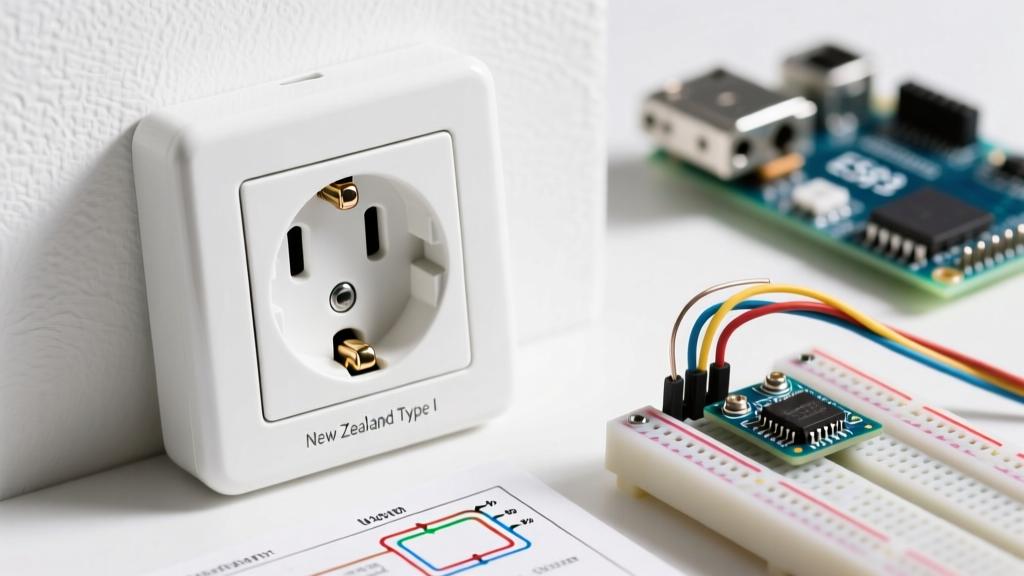
Installing an argentina electrical outlet requires a precise understanding of the local Type I standard, officially governed by the IRAM 2073 specification. While visually similar to the Australian/New Zealand AS/NZS 3112 standard, the Argentine variant features specific dimensional tolerances, particularly regarding the earth pin length to ensure a 'first-make, last-break' grounding sequence. As of 2026, Argentina operates on a 220V/50Hz single-phase AC supply, meaning any receptacle you install must be rated for this voltage and properly integrated with the local overcurrent protection devices—commonly referred to as a Térmica (MCB) and Disyuntor Diferencial (RCD).
According to the IEC World Plugs database, Type I plugs and sockets are characterized by three flat pins arranged in a triangular pattern. For DIYers and expats retrofitting homes or setting up specialized 220V equipment in Argentina, adhering to local wiring codes is not just a matter of compliance; it is critical for fire prevention and shock mitigation.
Argentina Type I vs. Global Equivalents
| Feature | Argentina (IRAM 2073) | Australia (AS/NZS 3112) | USA (NEMA 5-15) |
|---|---|---|---|
| Voltage / Frequency | 220V / 50Hz | 230V / 50Hz | 120V / 60Hz |
| Standard Amperage | 10A or 20A | 10A, 15A, or 20A | 15A or 20A |
| Pin Shape | Flat, angled at 30° | Flat, angled at 30° | Parallel flat blades |
| Earth Pin | Vertical, longer | Vertical | Round / U-shaped |
Tools and Materials Required
Before beginning the installation of your argentina electrical outlet, gather the following IRAM-compliant materials and professional-grade tools. Prices reflect average 2026 retail costs in USD for high-quality components from suppliers like Schneider Electric Argentina or Legrand.
- Type I Receptacle (10A or 20A): IRAM-certified (e.g., Schneider Vizela or Modena series). Cost: $4.00 - $9.00 USD.
- Wire (2.5 mm² Copper): Required for standard 10A/16A socket circuits. Must feature IRAM 2183 harmonized insulation colors. Cost: ~$0.60 USD per meter.
- Non-Contact Voltage Tester (NCVT): Essential for verifying 220V circuit de-energization.
- Wire Strippers & Cutters: Calibrated for 2.5 mm² and 4.0 mm² solid copper wire.
- Phillips and Flathead Screwdrivers: Insulated to 1000V for terminal work.
- Phase Tester (Buscapolos): A neon screwdriver for identifying the live phase wire if colors are ambiguous in older installations.
Safety First: Lockout and Verification
Critical Warning: Argentina's 220V residential supply carries a significantly higher lethal shock risk compared to 120V North American systems. Never assume a circuit is dead based solely on the wall switch or breaker position. Always verify with a calibrated NCVT or multimeter before touching bare conductors.
Navigate to your main electrical panel (tablero eléctrico). Identify the specific Llave Térmica (thermal-magnetic breaker) controlling the room you are working in. Switch it to the OFF position. If your panel lacks clear labeling, use a lamp or NCVT on a known live outlet in the room, then systematically trip breakers until the power is confirmed dead. For maximum safety, apply a lockout/tagout (LOTO) device to the breaker to prevent accidental re-energization by another household member.
Step-by-Step Wiring Guide for Argentine Outlets
Step 1: Preparing the Wall Box and Cable
Ensure the embedded wall box (caja de luz) is clean of debris and plaster. If you are pulling new wire, feed the 2.5 mm² cable through the conduit, leaving at least 15 cm (6 inches) of slack protruding from the box. Using your wire strippers, carefully remove exactly 15 mm of insulation from the tips of the three conductors. Do not nick the copper; damaged conductors create high-resistance hot spots that can melt the receptacle terminals under heavy load.
Step 2: Identifying Argentine Wire Colors
As of 2026, modern Argentine installations strictly follow the IEC 60446 / IRAM 2183 harmonized color codes. If you are working in a home built before 2010, you may encounter legacy colors (Black for Phase, White for Neutral). Always verify with a buscapolos if the wiring is old.
- Brown (Marrón): Phase / Live (Active)
- Light Blue (Celeste): Neutral
- Yellow/Green (Verde-Amarillo): Protective Earth (Tierra)
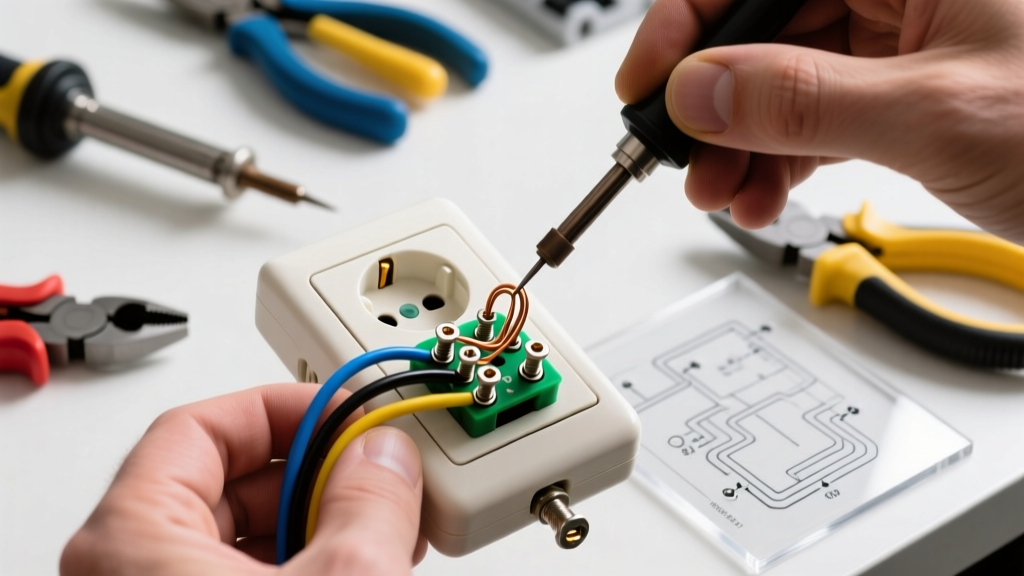
Step 3: Terminating the Connections
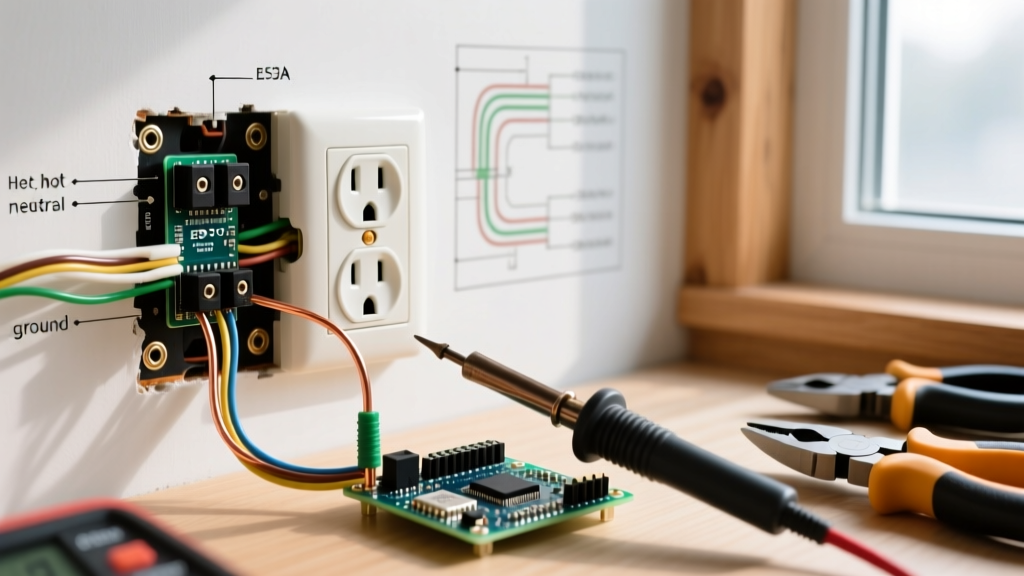
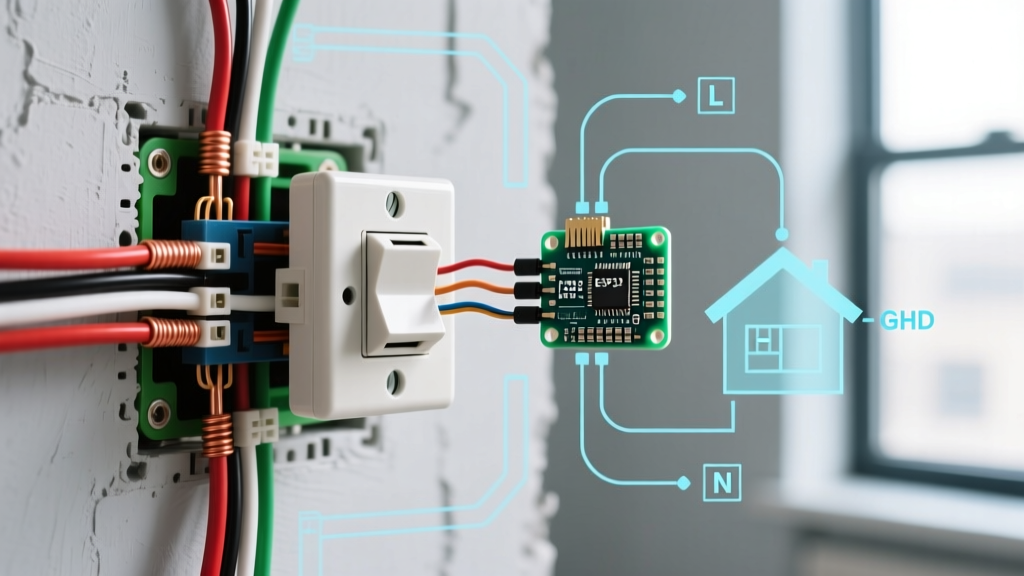
Examine the back of your Type I receptacle. The terminals are clearly marked. The standard orientation for an argentina electrical outlet places the Earth pin at the top.
- Connect the Earth (Tierra): Insert the Yellow/Green wire into the top terminal marked with the earth symbol (⏚) or 'E'. Tighten the screw firmly. This pin must be the longest to ensure the appliance grounds before the live pins make contact.
- Connect the Phase (Fase): Insert the Brown wire into the bottom-right terminal, typically marked 'L' or 'F' (Fase).
- Connect the Neutral (Neutro): Insert the Light Blue wire into the bottom-left terminal, marked 'N'.
Pro-Tip: Give each wire a gentle tug after tightening to ensure a secure mechanical connection. Loose neutral connections on 220V circuits are a primary cause of residential electrical fires in South America.
Step 4: Securing the Receptacle
Carefully fold the wires into the back of the wall box using a zigzag pattern to avoid pinching the insulation. Align the receptacle faceplate with the box and drive the mounting screws into the lateral lugs. Use a spirit level to ensure the faceplate is perfectly horizontal. Finally, snap on the decorative cover plate.
Step 5: Energizing and Testing
Return to the electrical panel and switch the Llave Térmica back to the ON position. Use a multimeter set to AC Voltage (V~) to test the outlet. Insert the probes into the Phase and Neutral slots; you should read between 210V and 230V. Next, test Phase to Earth (should also read ~220V) and Neutral to Earth (should read 0V to 2V). Finally, press the 'Test' button on your panel's Disyuntor Diferencial (RCD) to ensure it trips instantly, confirming your earth path is functional.
Common Installation Mistakes and Troubleshooting
| Symptom | Probable Cause | Solution |
|---|---|---|
| RCD (Disyuntor) trips immediately upon plugging in a device. | Reversed Phase and Neutral, or Neutral bonded to Earth at the socket. | De-energize and verify Brown is on the right (Phase) and Blue is on the left (Neutral). Ensure no bare copper strands are touching. |
| Outlet cover plate feels warm to the touch under load. | Undersized wire (1.5 mm² used instead of 2.5 mm²) or loose terminal screws. | Upgrade circuit wiring to 2.5 mm² minimum. Retighten all terminal screws to 1.2 Nm torque. |
| Australian appliance plug fits loosely or falls out. | Worn internal brass contacts or using a non-IRAM certified knock-off receptacle. | Replace with a premium brand (Schneider, Legrand, Ticino) that meets IRAM 2073 tension specifications. |
Frequently Asked Questions
Can I use an Australian or Chinese Type I plug in an Argentina electrical outlet?
Generally, yes. The World Standards Type I guide notes that Australian, Chinese, and Argentine plugs are physically cross-compatible in most cases. However, Australian plugs feature insulated active and neutral pins, whereas some older Argentine plugs do not. Furthermore, Chinese 10A plugs have slightly different pin dimensions that may feel loose in high-quality Argentine sockets designed strictly for IRAM tolerances. Always ensure your appliance is rated for 220V/50Hz before plugging it in.
Do I need a GFCI for an Argentina electrical outlet?
In Argentina, the equivalent of a North American GFCI is not built into the receptacle itself. Instead, personal shock protection is handled at the main electrical panel via a Disyuntor Diferencial (Residual Current Device). By law and modern safety standards, all residential socket circuits must be protected by a 30mA RCD. If your panel lacks this device, installing a GFCI outlet is impossible due to the lack of local 220V GFCI Type I receptacles; you must hire a certified electrician to install a 30mA RCD module in your breaker panel.