
The Limitations of Factory Tacoma Power Receptacles
Whether you are outfitting a 3rd generation (2016-2023) or the newest 4th generation (2024-2026) model, the factory Toyota Tacoma electrical outlet setup is rarely sufficient for serious overlanding or mobile workstations. The standard dash and bed 12V cigarette-lighter style sockets are typically wired with thin 16 AWG or 18 AWG wire and protected by a 10A or 15A fuse. This limits your continuous draw to roughly 120W to 180W. Attempting to run a portable air compressor, a high-draw 12V fridge, or a heavy-duty water pump through these factory receptacles will inevitably lead to voltage drop, melted plastic housings, or blown fuses.
Furthermore, the internal contacts in OEM sockets are often made of low-grade stamped steel rather than solid brass, leading to poor conductivity and arcing under heavy loads. Upgrading your Toyota Tacoma electrical outlet infrastructure requires bypassing the factory wiring entirely and running dedicated, properly fused circuits directly from the battery or the auxiliary power distribution block.
Critical Warning: 2024-2026 i-FORCE MAX 48V Architecture
If you are working on a 4th generation Tacoma equipped with the i-FORCE MAX hybrid powertrain, you must exercise extreme caution. These vehicles utilize a 48V mild-hybrid system alongside the standard 12V system. Tapping into the wrong harness or attempting to step down 48V DC to 12V DC using cheap, unregulated buck converters can fry your truck's ECU and void your warranty. Always isolate your aftermarket 12V and 120V upgrades to the dedicated 12V auxiliary battery under the hood or use the factory-provided upfitter switch pass-throughs. Consult the SAE International automotive wiring standards to ensure your auxiliary taps meet OEM isolation requirements.
Upgrading the Cab 12V Socket to Marine-Grade
The most reliable way to upgrade your interior or bed 12V receptacle is to replace the OEM plastic socket with a marine-grade heavy-duty socket, such as the Blue Sea Systems 9004K. This receptacle features solid brass contacts, a waterproof cap, and is rated for 20A continuous draw at 12V/24V.
Required Components for the 12V Upgrade
- Receptacle: Blue Sea Systems 9004K Heavy Duty 12V Socket
- Wire: 10 AWG Marine-Grade Tinned Copper (Ancor or equivalent)
- Circuit Protection: Blue Sea Systems ST Blade Fuse Block with a 20A ATO fuse
- Terminals: 10 AWG Heat-Shrink Ring Terminals and Butt Connectors
- Tools: Ratcheting crimper (e.g., IWISS IWS-10), heat gun, wire strippers
Wiring a 120V AC Inverter Outlet in the Truck Bed
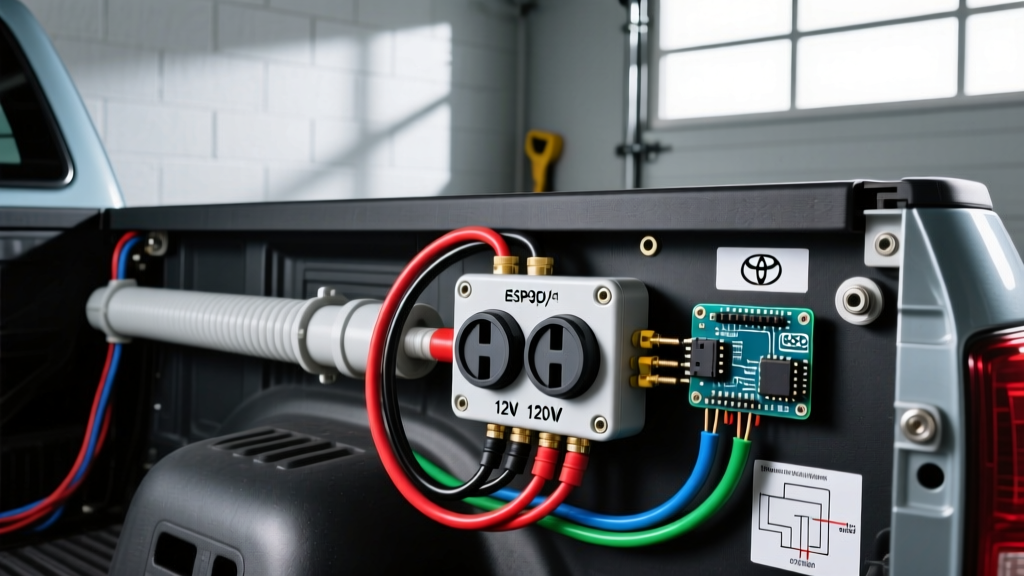
For powering laptops, power tools, or camp kitchen appliances, adding a 120V AC outlet in the truck bed is a game-changer. This requires mounting a Pure Sine Wave inverter (such as the Victron Phoenix 1200VA or Renogy 1000W) securely in a dry, ventilated area—typically under the rear seat or in a custom bed-side storage box—and routing AC wiring to a weatherproof exterior receptacle.
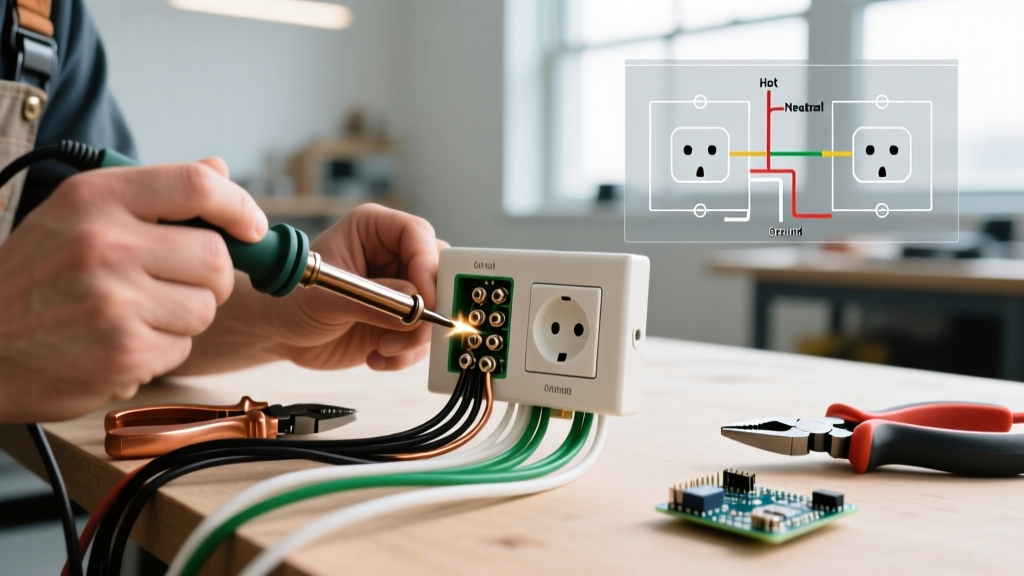
When wiring the AC side of the inverter to a bed-mounted outlet, you must adhere to standard grounding protocols. Even though this is a mobile application, treating the inverter's chassis ground and the outlet's ground pin with the same rigor as a residential setup prevents shock hazards. The NFPA 70 (National Electrical Code) provides the foundational safety standards for inverter grounding and AC receptacle wiring that should be mirrored in high-end mobile builds.
Wire Gauge, Amperage, and Fuse Sizing Matrix
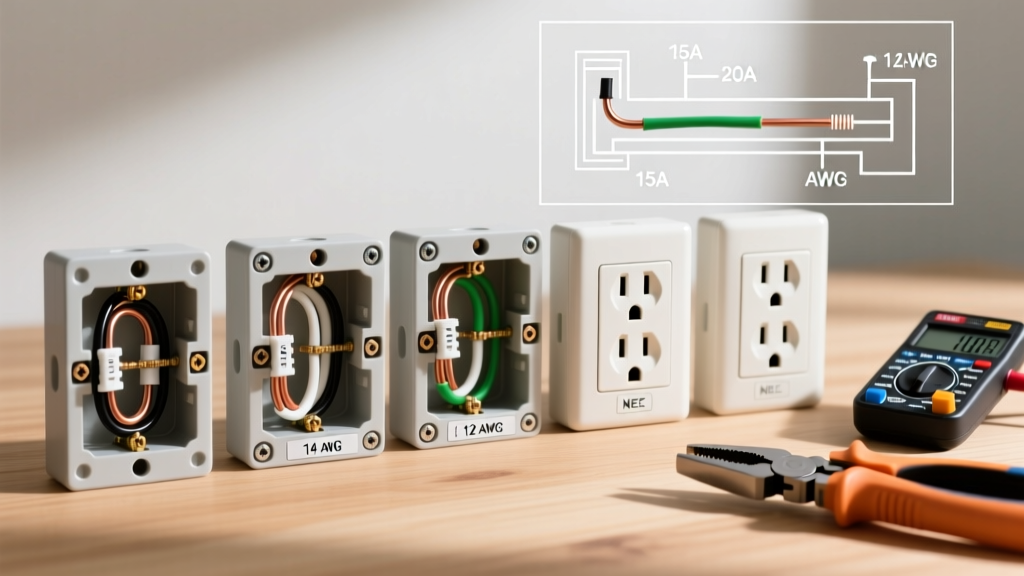
Selecting the correct wire gauge is critical to preventing voltage drop and fire hazards. The table below outlines the exact specifications for common Tacoma outlet upgrades, assuming a maximum 3% voltage drop over a 15-foot round-trip wire run.
| Circuit Type | Max Continuous Load | Wire Gauge (AWG) | Inline Fuse Size | Recommended Fuse Type |
|---|---|---|---|---|
| 12V Marine Socket (Dash/Console) | 15A (180W) | 12 AWG | 20A | ATO / ATC Blade |
| 12V Heavy Duty (Bed Compressor) | 30A (360W) | 8 AWG | 40A | MAXI Blade |
| 120V Inverter (400W Portable) | 35A DC Draw | 8 AWG | 50A | ANL |
| 120V Inverter (1000W Pure Sine) | 85A DC Draw | 2/0 AWG | 125A | Class T or MEGA |
Step-by-Step Routing and Termination Protocol
Proper execution is just as important as component selection. Follow this sequence to ensure a factory-quality installation.
- Disconnect the Battery: Always isolate the negative terminal on your Tacoma's 12V battery before cutting, stripping, or routing any wires. On 4th Gen hybrids, ensure the high-voltage service plug is also disengaged if working near the main traction battery.
- Firewall Routing: Avoid piercing existing rubber grommets with a screwdriver. Instead, use a dedicated automotive firewall pass-through kit, or carefully slice an 'X' into an unused nipple on the main harness grommet behind the driver's side kick panel. Use a plastic fish tape to pull your 10 AWG or 8 AWG wire into the cab.
- Fuse Placement: Install your inline fuse holder or connect to your auxiliary fuse block within 18 inches of the battery positive terminal. This ensures the entire length of the wire run is protected against short circuits.
- Crimping and Sealing: Strip the wire precisely to the length of the terminal barrel. Use a ratcheting crimper to apply 3M or Ancor marine-grade heat shrink butt connectors. Apply heat from the center outward until the adhesive sealant oozes slightly from the edges, creating a waterproof, vibration-proof bond.
- Chassis Grounding: Do not ground your high-draw inverter or 12V socket to a random sheet metal bolt. Locate a dedicated factory ground point on the chassis frame, sand away the powder coating or paint to bare metal, attach your ring terminal, and coat the connection with dielectric grease to prevent galvanic corrosion.
Expert Insight: Never use 'Scotchlok' T-taps or twist-on wire connectors for automotive DC wiring. The vibration of a Tacoma off-road will quickly loosen these connections, leading to high resistance, localized heating, and eventually a melted harness or electrical fire. Always use ratcheting crimps and heat shrink.
Troubleshooting Common Tacoma Outlet Failures
Issue: The 12V Fridge Keeps Shutting Off
Diagnosis: This is rarely a fault of the fridge itself; it is almost always a voltage drop issue caused by undersized wiring. Portable fridges draw high amperage when the compressor kicks on. If your wire gauge is too thin, the voltage at the socket drops below the fridge's low-voltage cutoff (usually around 11.1V). Solution: Upgrade the feed wire to 10 AWG and ensure the battery is fully charged, or install a dedicated dual-battery isolator like the Redarc LBDC25.
Issue: Inverter Fan Runs Constantly and Overheats
Diagnosis: Modified Sine Wave inverters are highly inefficient with modern laptop power bricks and LED drivers, causing the inverter to work harder and generate excess heat. Solution: Replace the unit with a Pure Sine Wave inverter. Furthermore, ensure the inverter is mounted in a location with at least 2 inches of clearance on all sides for convective cooling, and never mount it directly above the battery to avoid exposure to corrosive off-gassing.
Issue: Blowing the 20A Fuse Instantly on Plug-In
Diagnosis: A dead short in the wiring or a failed device. Solution: Use a multimeter set to continuity mode. Disconnect the load and test the hot and ground pins of your newly installed Toyota Tacoma electrical outlet. If it beeps, you have crossed the polarity or pinched the wire against the chassis during the firewall routing phase. Inspect the entire run, repair the chafe point with liquid electrical tape, and re-test.
Final Thoughts on Mobile Power Safety
Upgrading your Toyota Tacoma electrical outlet network transforms the truck from a simple commuter vehicle into a fully capable mobile basecamp. By prioritizing marine-grade components, adhering to strict wire gauge matrices, and respecting the complex electrical architectures of modern hybrid trucks, you ensure your power system is as reliable on the Rubicon Trail as it is in your driveway. For further reading on mobile DC circuit protection, consult the technical resources available at Blue Sea Systems to verify your specific fuse and breaker configurations.