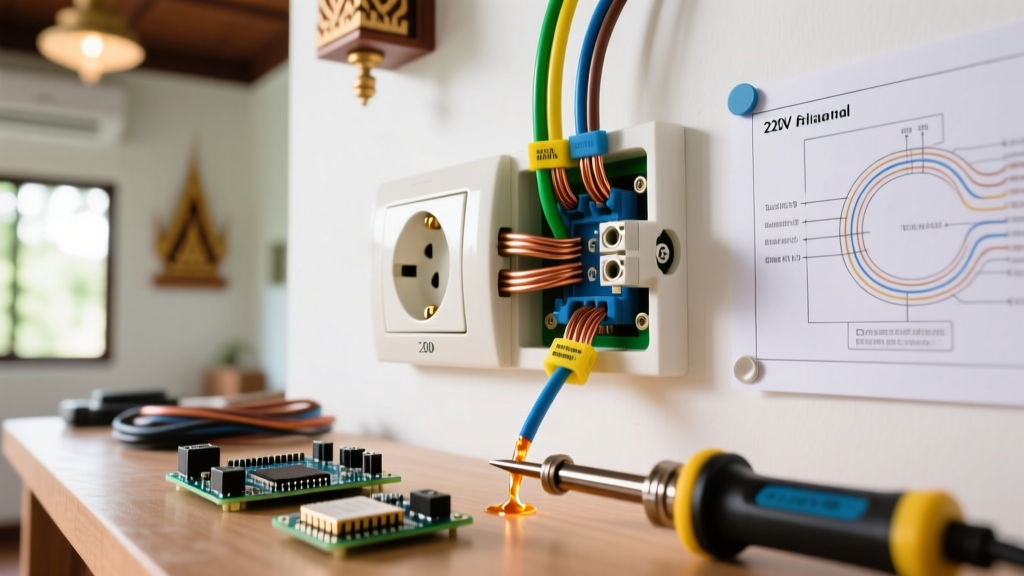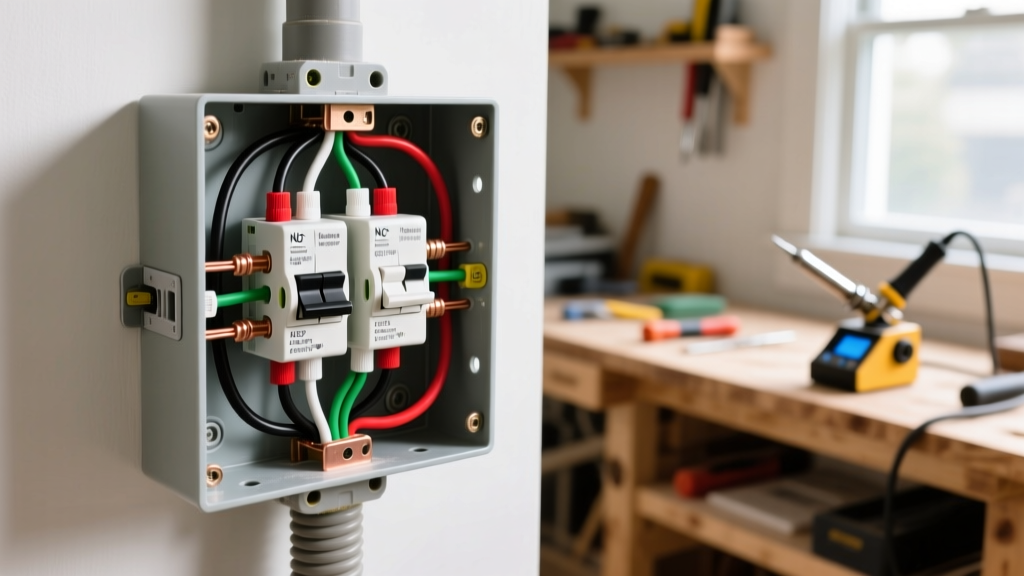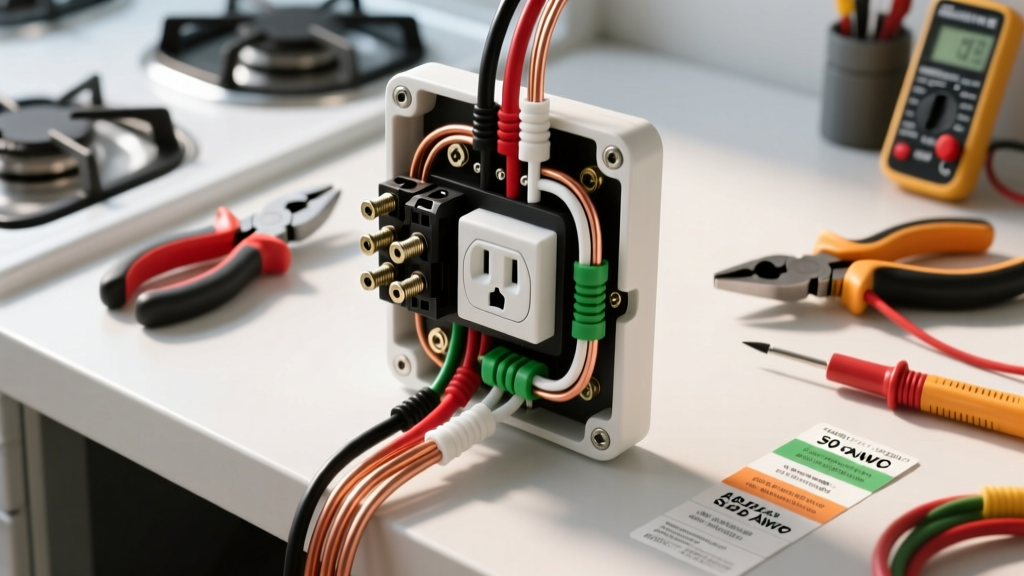

Upgrading to a Modern Stove Electrical Outlet: The 2026 Material & Tool Standard
Installing or upgrading a stove electrical outlet is one of the most demanding DIY electrical projects in a modern kitchen. With the surge in high-draw induction ranges and dual-fuel smart ovens hitting the market in 2026, the standard 50-amp, 240-volt circuit is under more continuous stress than ever before. A standard NEMA 10-50 (3-prong) setup is entirely obsolete for new installations; today, the National Electrical Code (NEC) strictly mandates a 4-wire NEMA 14-50 configuration to separate the neutral and ground paths, drastically reducing shock hazards.
Whether you are running a new circuit from your main panel or replacing a damaged receptacle behind an existing range, using the correct materials and specialized tools is non-negotiable. This guide details the exact wire gauges, breaker models, and code-compliant tools required to install a safe, high-performance stove electrical outlet.
The Core Materials: Receptacles, Wire, and Breakers
The foundation of a reliable stove circuit lies in selecting components rated for high-temperature environments and continuous 50-amp loads. Do not substitute residential-grade 15/20A components or undersized wire.
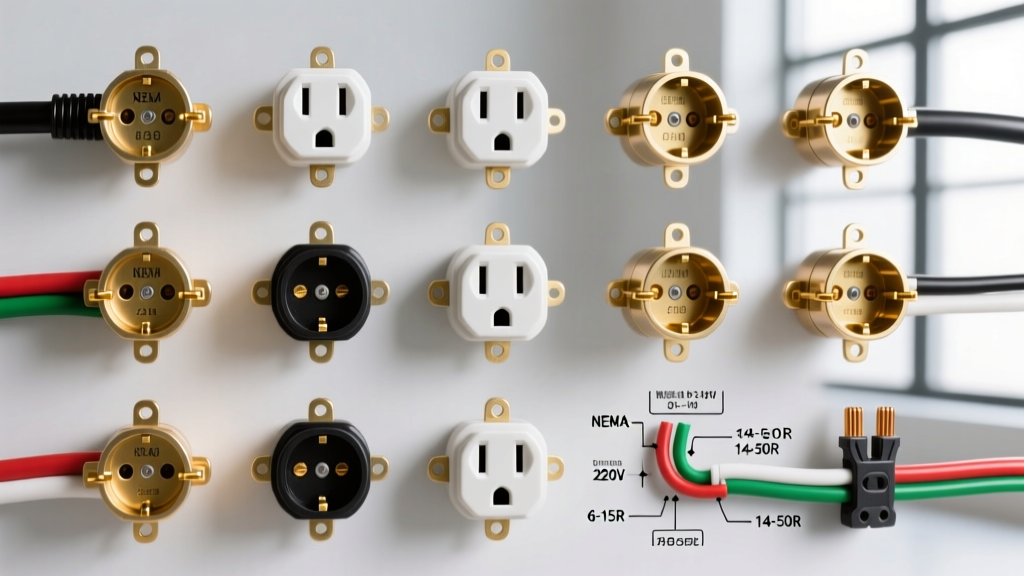
1. The Receptacle: NEMA 14-50R
For a standard 50-amp electric range, you need a NEMA 14-50R receptacle. We recommend the Leviton 21325-W (surface mount) or the Bryant 9450FR (flush mount). These industrial-grade receptacles feature heavy-duty brass contacts that resist arcing and thermal degradation. Expect to pay between $15 and $25 for a quality 14-50R receptacle. Avoid unbranded, ultra-cheap imports found on online marketplaces, as they often fail to maintain proper tension on the plug blades, leading to dangerous heat buildup.
2. The Wiring: 6/3 NM-B or 6 AWG THHN
For runs up to 100 feet from the breaker panel, 6 AWG copper wire is the standard.
- 6/3 NM-B (Romex): Contains two hots (Black, Red), one neutral (White), and a bare ground. Southwire SIMpull 6/3 NM-B is the industry standard, costing approximately $4.50 to $5.50 per linear foot in 2026.
- 6 AWG THHN in Conduit: If you are running wire through unfinished basements or require better heat dissipation, pulling four individual 6 AWG THHN wires (Black, Red, White, Green) through 3/4-inch EMT conduit is the superior, pro-level choice.
3. The Breaker: 50-Amp Double-Pole
Your breaker must match your panel's manufacturer and bus bar type. For Square D Homeline panels, the Square D HOM250 (~$55) is the correct choice. For Eaton panels, use the Eaton BR250. Never force a breaker into an incompatible panel, as this voids the UL listing and creates a severe fire hazard at the bus bar stab.
Essential Tools for Code-Compliant Installation
The days of simply tightening a screw until it 'feels tight' are over. Modern electrical codes require precision and verification.
Calibrated Torque Screwdriver
Under NEC 110.14(D), terminations must be tightened to the manufacturer's specified torque using a calibrated tool. For a Leviton 14-50R accepting 6 AWG wire, the torque specification is typically around 45 to 50 inch-pounds. Using a standard screwdriver can result in under-torquing (causing arcing and fires) or over-torquing (shearing the screw head or crushing the wire strands). A reliable tool like the CDI 401SMV2 or Klein 69000 torque screwdriver is a mandatory investment.
Heavy-Duty Wire Strippers
Stripping 6 AWG solid copper wire with a standard utility knife damages the conductor and creates weak points. Use a dedicated heavy-duty stripper like the Klein 11063, which cleanly removes the insulation without nicking the copper core.
True-RMS Digital Multimeter
Before touching any wire, you must verify the circuit is dead. A True-RMS multimeter like the Fluke 117 or the more budget-friendly Klein MM400 allows you to safely test for 240V across the hot legs and 120V from hot-to-ground, ensuring your lockout/tagout procedure was successful.
Material Sizing & Specification Matrix
| Component | Specification | Recommended 2026 Model | Approx. Cost |
|---|---|---|---|
| Receptacle | NEMA 14-50R, 50A, 125/250V | Leviton 21325-W or Bryant 9450FR | $15 - $25 |
| Cable (Standard) | 6/3 NM-B with Ground (Copper) | Southwire SIMpull 6/3 | ~$5.00 / ft |
| Breaker | 50-Amp, 2-Pole, 120/240V | Square D HOM250 / Eaton BR250 | $45 - $65 |
| Torque Tool | 20-100 in-lbs, Calibrated | Klein 69000 / CDI 401SMV2 | $90 - $130 |
| Wall Plate | Single Gang, 2-1/16" Opening | Leviton 807 / Pass & Seymour TP8 | $2 - $5 |
Wiring the Stove Electrical Outlet: Terminal Mapping
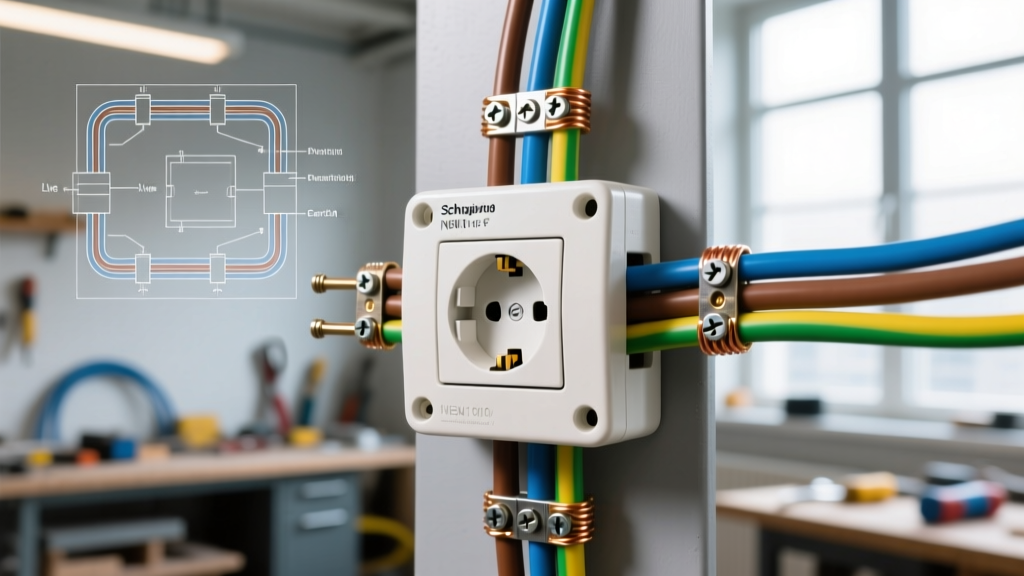
When terminating the wires at the NEMA 14-50R receptacle, correct mapping is critical. The receptacle will have four distinct terminals:
- X (Brass): Connect the Black (Hot 1) wire.
- Y (Brass): Connect the Red (Hot 2) wire.
- W (Silver): Connect the White (Neutral) wire. Note: In a 240V-only setup with no 120V components, the neutral may not carry current, but it must still be connected to the silver terminal for code compliance.
- G (Green): Connect the Bare or Green (Equipment Ground) wire.
NEC Code Alert: According to NFPA 70 (National Electrical Code) Article 250.140, the frame of a household electric range must be grounded via a separate equipment grounding conductor (the 4th wire). Bonding the neutral to the ground at the receptacle is strictly prohibited in new installations.
Edge Cases & Pro-Troubleshooting Insights
1. The Voltage Drop Dilemma (Long Runs)
If your electrical panel is located more than 100 feet from the kitchen, running standard 6 AWG wire will result in a voltage drop exceeding the recommended 3% threshold when the stove draws near its maximum amperage (often around 40-48 amps during heavy baking or broiling cycles).
The Fix: Upgrade to 4 AWG copper THHN pulled through conduit. While 4 AWG NM-B exists, it is incredibly stiff and difficult to route. THHN in 3/4-inch EMT conduit is significantly easier to pull and offers superior thermal management.
2. Converting a 3-Prong Stove Cord to 4-Prong
Many homeowners buy a new 4-prong range cord but forget to configure the stove's internal terminal block. On the back of the stove, you must remove the copper or brass bonding strap that connects the neutral terminal to the metal chassis. If this strap is left in place when plugging into a new 4-wire stove electrical outlet, you will create a parallel neutral path, energizing the chassis and creating a lethal shock hazard. Always consult the appliance manufacturer's wiring diagram located on the back panel.
3. Aluminum Wiring Encounters
Some older homes or specific regional builds use 4-4-4-6 Aluminum SER cable for 50-amp circuits to save on copper costs. If you are terminating aluminum wire into a NEMA 14-50R, you must ensure the receptacle is rated for AL/CU. Furthermore, you must apply an anti-oxidant paste (like Noalox) to the stripped aluminum conductors before torquing them down to prevent galvanic corrosion and subsequent high-resistance heating.
Safety First: Lockout and Verification
Before removing the old receptacle or panel cover, turn off the main breaker or the specific 50-amp double-pole breaker. Apply a physical lockout/tagout device to the panel. As emphasized by OSHA's electrical safety guidelines, relying solely on a breaker switch position without physical verification via a multimeter is a leading cause of electrocution in DIY projects. Always test your multimeter on a known live 120V source first to ensure the tool's battery and leads are functioning before testing the 240V stove circuit.
By investing in the correct 6 AWG materials, a NEMA 14-50R receptacle, and a calibrated torque screwdriver, you ensure your stove electrical outlet will safely handle the rigorous demands of modern cooking appliances for decades to come.