
The Hidden Hazard: Why Termites Invade Electrical Boxes
When homeowners experience unexplained GFCI nuisance tripping, flickering lights, or a faint burning odor near a baseboard, they rarely suspect a pest infestation. However, finding termites in electrical outlet boxes is a well-documented phenomenon that poses a severe fire and electrocution risk. Termites do not consume copper or plastic, but their foraging habits and nesting requirements directly compromise electrical infrastructure.
Subterranean termites require constant moisture to survive. To travel from the soil to the wooden studs surrounding your electrical boxes, they construct 'mud tubes'—a matrix of soil, saliva, and feces. When these tubes infiltrate an outlet box, they introduce significant moisture and conductive organic material directly next to energized terminals. According to the University of Kentucky Entomology Department, subterranean termite mud tubes can maintain high moisture levels, creating an unintended conductive path between hot conductors and grounded metal boxes, leading to ground faults, arc faults, and eventual thermal runaway.
This inspection and testing guide provides electricians, home inspectors, and advanced DIYers with the exact protocols required to safely identify, test, and remediate termite damage inside 120V and 240V receptacle boxes.
Visual Inspection Protocol: De-energizing and Opening the Box
Before removing any cover plates, you must treat the outlet as a potential biological and electrical hazard. Termite frass (droppings) and mud can harbor fungal spores, and moisture ingress may have compromised the box's grounding path.
Step 1: Lockout and Verification
- De-energize the circuit at the main breaker panel and apply a Lockout/Tagout (LOTO) device.
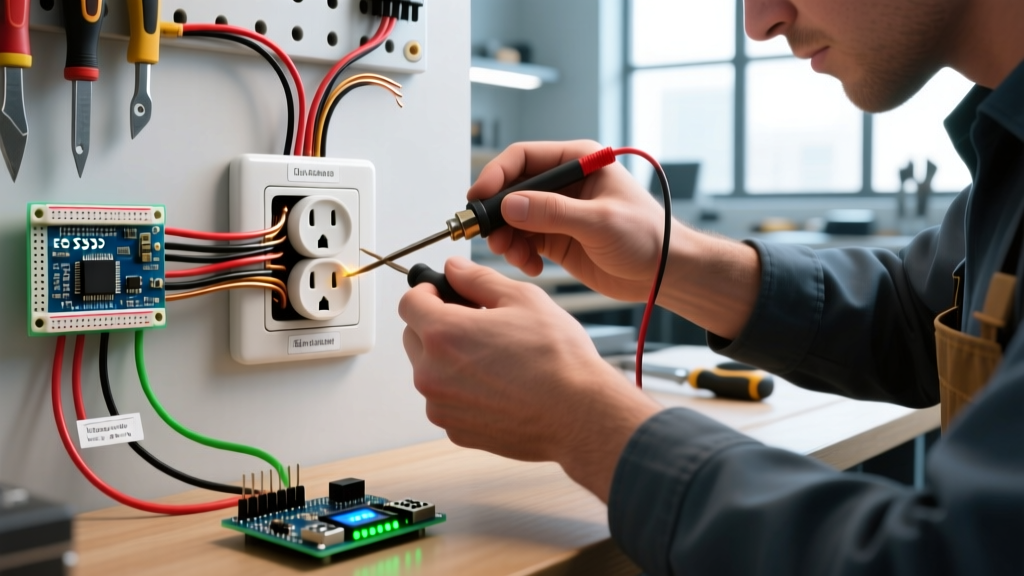
- Verify zero voltage using a CAT III or CAT IV non-contact voltage tester (NCVT), followed by a digital multimeter (DMM) testing Hot-to-Neutral, Hot-to-Ground, and Neutral-to-Ground.
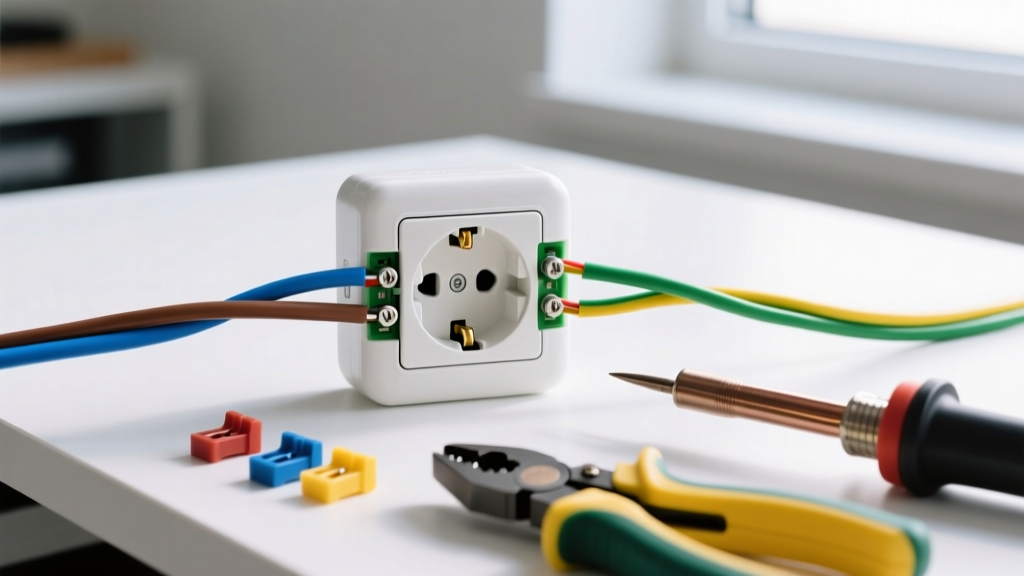
- Remove the receptacle from the box by unscrewing the top and bottom mounting yokes. Gently pull the device out, leaving the wires connected for initial inspection.
Step 2: Identifying Termite Signatures
Use a high-lumen inspection flashlight (minimum 500 lumens) to examine the interior of the gang box. You are looking for two distinct signatures depending on the termite species:
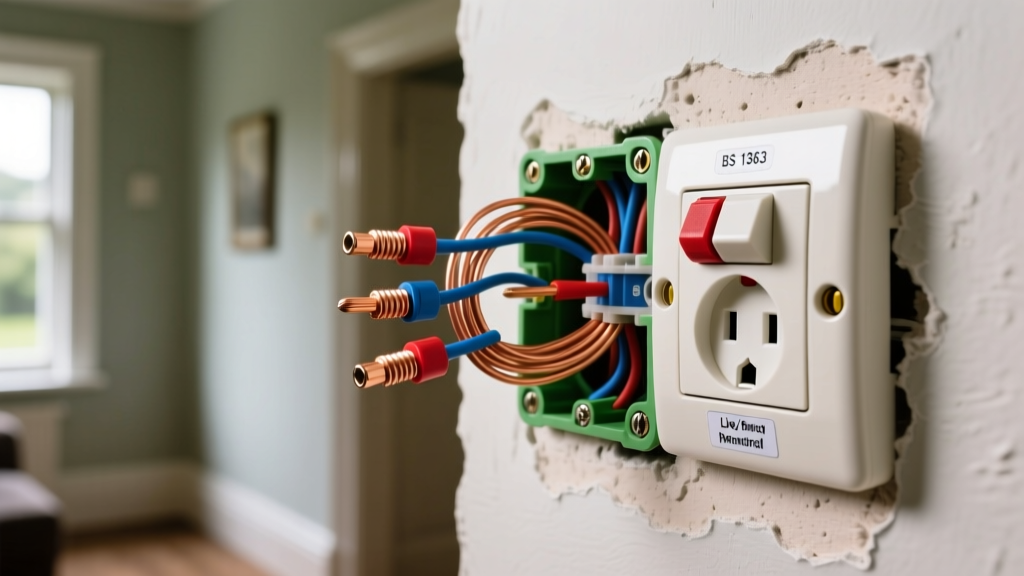
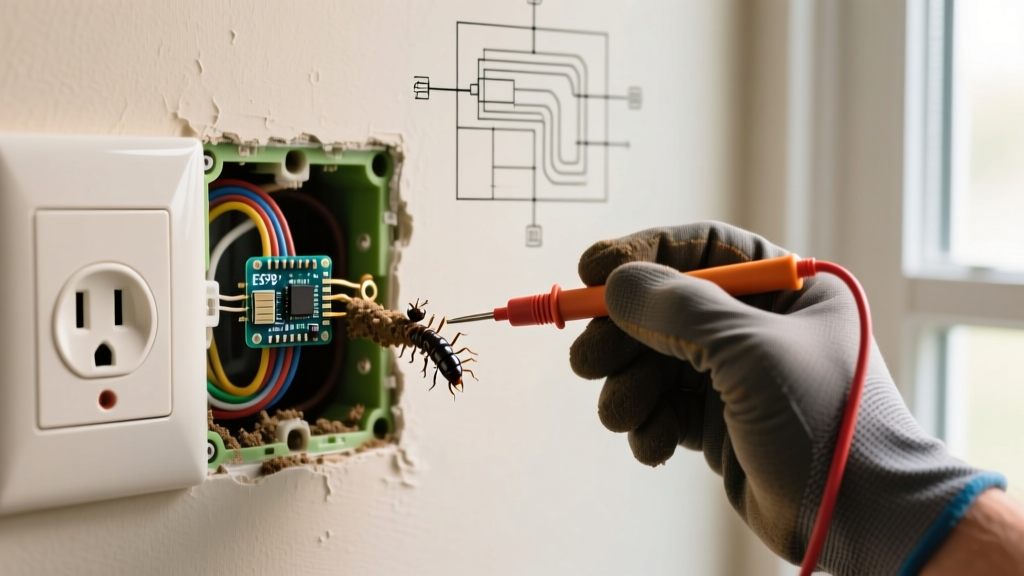
- Subterranean Termites: Look for damp, earthy-smelling mud packed into the knockouts or clinging to the Romex (NM-B) cable sheathing. You may also notice severe corrosion (verdigris) on the brass terminal screws, caused by the acidic nature of the termite soil matrix.
- Drywood Termites: Look for 'frass'—a fine, powdery, sand-like debris that resembles sawdust or coffee grounds. Drywood termites push this frass out of their galleries. While less conductive than mud, frass can abrade wire insulation over time due to structural shifting and can block the mechanical movement of GFCI test/reset mechanisms.
NEC Code Alert: Under National Electrical Code (NEC) Article 110.12, electrical equipment must be installed in a neat and workmanlike manner. The presence of pest debris, mud, or moisture inside an enclosure is a direct code violation and requires immediate cleaning or replacement.
Advanced Electrical Testing: Insulation and Moisture Diagnostics
Visual confirmation is only the first step. Because termite mud tubes often travel behind the drywall and parallel to the NM-B cable, the wire insulation may be degraded long before a short circuit occurs. You must perform advanced diagnostic testing.
Thermal Imaging for Moisture Mapping
Before opening the wall cavity, use a high-resolution thermal imaging camera, such as the FLIR C5 or Fluke TiS75+. Termite mud tubes and the moisture they retain will appear as distinct 'cool spots' (thermal anomalies) on the drywall surface compared to the surrounding insulated wall cavity. If the thermal delta (ΔT) between the outlet perimeter and the adjacent wall is greater than 3°F to 5°F, you likely have a moisture-rich termite gallery behind the box.
Insulation Resistance (Megger) Testing
Standard multimeters cannot detect micro-fractures in wire insulation caused by termite mandibles or the chemical degradation from acidic mud. You must use an Insulation Resistance Tester (commonly known as a Megger), such as the Fluke 1587 FC Insulation Multimeter.
- Disconnect all wires from the receptacle and separate them. Ensure no other loads or smart switches are on the isolated circuit segment.
- Set the tester to 1000V DC (the standard test voltage for 600V-rated residential THHN/THWN-2 and NM-B insulation).
- Test Hot to Ground and Neutral to Ground. Apply the voltage for 60 seconds.
- Analyze the results: A healthy residential circuit should read well above 100 Megohms (often displaying 'OL' or >500 MΩ). If your reading drops below 1 Megohm, the wire insulation has been compromised by moisture ingress or physical termite damage, and the cable must be replaced.
Pest Debris Identification Matrix
It is crucial to correctly identify the pest, as the remediation strategy differs vastly between termites, carpenter ants, and rodents. Use this matrix to confirm your findings:
| Indicator | Subterranean Termites | Drywood Termites | Carpenter Ants | Rodents (Mice/Rats) |
|---|---|---|---|---|
| Debris Type | Wet mud, soil, saliva matrix | Dry, powdery frass (pellets) | Coarse sawdust, insect parts | Shredded insulation, nesting material |
| Moisture Level | High (Conductive) | Low (Non-conductive) | Low to Moderate | Variable (Urine causes corrosion) |
| Wire Damage | Insulation degradation via acid/moisture | Physical abrasion from frass buildup | Rare, mostly wood removal | Severe (Chewed copper and insulation) |
| Odor | Earthy, damp soil, mildew | Musty, dry wood | Faint formic acid | Ammonia, urine, musk |
Remediation, Rewiring, and Chemical Warnings
If you confirm the presence of termites in the electrical outlet, a dual-response approach involving both a licensed electrician and a pest control professional is mandatory.
The Danger of Termiticides on Wire Insulation
Pest control professionals often use liquid termiticides (like Termidor SC) or expanding foams (like Alpine WSG foams) to treat wall voids. Warning: Many chemical solvents and carrier agents in these pest control products are highly reactive with PVC and plasticizers used in NM-B and THHN wire insulation. Direct application of termiticide foam into an electrical gang box can cause the wire insulation to melt, crack, or dissolve, leading to catastrophic arc faults. The Environmental Protection Agency (EPA) mandates that pesticide applicators avoid direct contact with electrical wiring and junction boxes. Always mask off electrical boxes with painter's tape and plastic sheeting before any chemical wall void treatment occurs.
Rewiring and Box Replacement Costs (2026 Estimates)
Once the pest is eradicated, the electrical damage must be addressed. Depending on the extent of the infestation, here are the average 2026 market rates for electrical remediation:
- Basic Cleaning & Re-termination ($120 - $250): If the Megger test passes and only the exterior of the box and device are affected, an electrician will vacuum the debris, clean the box with an electrical contact cleaner (like CRC QD), and install a new receptacle.
- Cable Replacement & Box Swap ($350 - $650 per drop): If the insulation resistance test fails, or if the metal gang box is severely rusted from termite moisture, the electrician must fish new NM-B cable through the wall cavity and install a new 'old work' (remodel) gang box.
- AFCI/GFCI Breaker Upgrade ($250 - $400): If the circuit is older and lacks modern protection, upgrading the panel breaker to a Dual-Function (CAFCI/GFCI) breaker is highly recommended to monitor for future leakage currents caused by hidden pest activity.
Preventative Maintenance for Pest-Prone Regions
For homes in high-risk termite zones (such as the Southeastern United States or coastal California), standard electrical maintenance must include pest-aware inspections. Every three years, have a licensed electrician perform a thermal scan of all exterior-wall outlets and a spot-check Megger test on circuits closest to the foundation. Additionally, ensure that exterior weep holes and foundation weep screens are intact, preventing subterranean termites from bridging the gap between the soil and your interior electrical infrastructure. By combining electrical diagnostics with biological awareness, you can prevent a minor pest issue from escalating into a structural electrical fire.