
The 220V vs. 240V Reality Check: Understanding Nominal Voltage
Before pulling any wire, we must address a pervasive industry misnomer. When homeowners and even some tradespeople refer to a 220 electrical outlet, they are using a legacy term. In modern North American residential split-phase systems, the utility transformer delivers a nominal 240 volts (split into two 120V legs). While appliance nameplates and older electrical codes may still reference 220V or 230V, the National Electrical Code (NEC) and modern multimeters will confirm you are working with a 240V circuit. Understanding this distinction is critical when sizing transformers, calculating voltage drop, and selecting compatible NEMA receptacles.
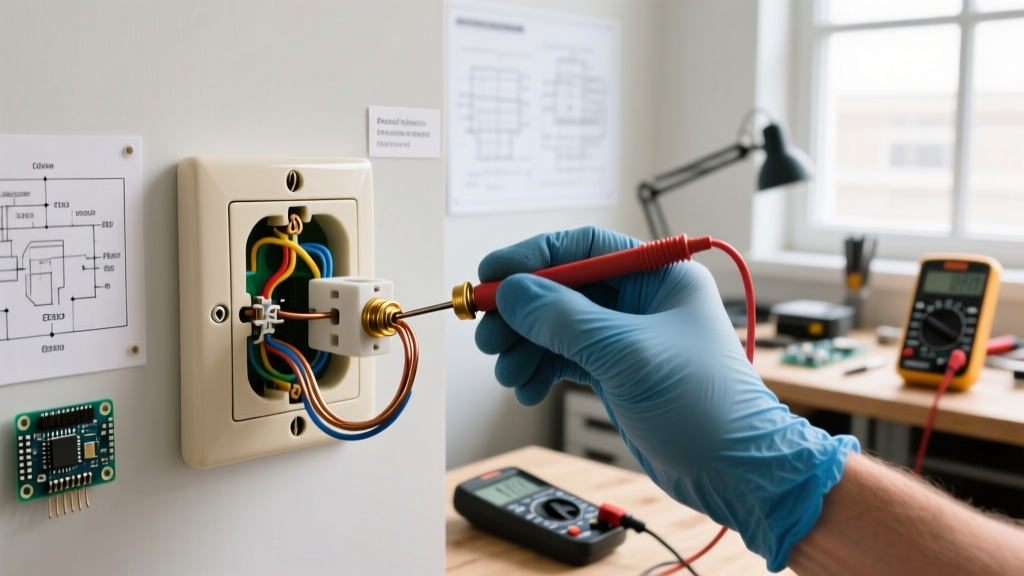
⚠️ CRITICAL SAFETY WARNING: Working inside a main service panel exposes you to lethal voltage, even when the main breaker is switched off. The utility feed lugs remain energized. Always use a CAT III or CAT IV rated non-contact voltage tester (such as the Fluke 1AC-II) and a digital multimeter to verify zero energy before touching any bus bar or conductor.
The NEC GFCI Mandate: What Changed for 240V Receptacles?
The most significant code shift affecting high-voltage receptacles in recent NEC cycles (carrying forward into 2026 local adoptions) is the expansion of Ground-Fault Circuit Interrupter (GFCI) requirements. Under NEC Article 210.8(F), GFCI protection is now mandatory for 240V receptacles rated 150 volts to ground or less, up to 60 amps, located in areas like garages, basements, crawl spaces, and outdoors.
This directly impacts the installation of NEMA 14-50R outlets used for Electric Vehicle (EV) Level 2 chargers and workshop welders. You can no longer use a standard 2-pole breaker for these locations; you must install a 2-pole GFCI breaker (e.g., Square D HOM250GFIC or Eaton BR250GF, typically costing between $45 and $85) or ensure the receptacle itself has integrated, code-compliant GFCI protection.
Decoding NEMA Configurations for High-Voltage Applications
Selecting the correct National Electrical Manufacturers Association (NEMA) configuration is non-negotiable for code compliance and fire prevention. Here are the most common configurations you will encounter and install:
| NEMA Type | Amps / Volts | Prongs (Poles/Wires) | Primary Applications | NEC Grounding Rule |
|---|---|---|---|---|
| 6-20R | 20A / 250V | 3-Prong (2 Hot, 1 Ground) | Window AC units, small compressors | No neutral required; equipment grounding conductor (EGC) mandatory. |
| 10-30R | 30A / 125/250V | 3-Prong (2 Hot, 1 Neutral) | Legacy electric dryers (Pre-1996) | Obsolete for new installs. NEC banned using neutral as ground. |
| 14-30R | 30A / 125/250V | 4-Prong (2 Hot, 1 Neutral, 1 Ground) | Modern electric dryers | Separate neutral and ground required. 10 AWG copper minimum. |
| 14-50R | 50A / 125/250V | 4-Prong (2 Hot, 1 Neutral, 1 Ground) | EV chargers, RV hookups, electric ranges | Requires 6 AWG copper. Neutral must be isolated from ground at receptacle. |
Wire Gauge & Breaker Sizing Matrix
Overcurrent protection must be meticulously matched to the conductor ampacity and the receptacle rating. Per NEC Article 240.4, you must protect the wire, not just the appliance. Furthermore, if the load is considered continuous (running for 3 hours or more, like an EV charger), NEC Article 210.20(A) requires the branch circuit to be rated at 125% of the continuous load.
| Breaker Size | Min. Copper Wire (THHN/Romex) | Max Continuous Load (80% Rule) | Typical Cable Cost (per ft) |
|---|---|---|---|
| 20 Amp (2-Pole) | 12 AWG | 16 Amps | $0.75 - $1.10 |
| 30 Amp (2-Pole) | 10 AWG | 24 Amps | $1.20 - $1.80 |
| 40 Amp (2-Pole) | 8 AWG | 32 Amps | $2.10 - $3.00 |
| 50 Amp (2-Pole) | 6 AWG | 40 Amps | $3.50 - $5.50 |
Note: If you are running a 50A circuit over 100 feet, you must calculate voltage drop. A 3% maximum drop is recommended, which may require upsizing to 4 AWG copper wire.
Step-by-Step Code-Compliant Installation Flow
Phase 1: Panel Preparation & Breaker Seating
- Verify Panel Capacity: Perform a standard NEC Article 220 load calculation. Ensure your main service panel (e.g., 200A) has the physical space and amperage headroom to support a new 40A or 50A double-pole breaker.
- Install the Breaker: For a NEMA 14-50R in a garage, snap in your 2-pole GFCI breaker. Connect the coiled white neutral pigtail directly to the panel's neutral bus bar. Never connect this pigtail to the ground bus bar.
- Torque the Lugs: NEC 110.14(D) mandates that terminations be torqued to the manufacturer's specifications. Use an insulated torque screwdriver (like the Klein Tools 72001) to tighten the breaker lugs, typically to 35-40 in-lbs for 6 AWG wire.
Phase 2: Routing, Stripping, and Terminating
- Run the Cable: Pull your 6/3 NM-B (Romex) or individual THHN wires in 3/4-inch EMT conduit. Secure the cable within 12 inches of the receptacle box per NEC 300.11.
- Prepare the Receptacle: Use a heavy-duty steel or extra-deep PVC single-gang box. A standard shallow box will not accommodate the thick 6 AWG wires and the bulk of a 14-50R receptacle (such as the Leviton 279-S00).
- Terminate with Precision: Strip exactly 3/4 inch of insulation. Hook the black and red wires to the brass 'X' and 'Y' hot terminals, the white to the silver neutral terminal, and the bare/green wire to the green ground terminal.
- Apply Calibrated Torque: This is where most DIYers fail and cause fires. The Leviton 279-S00 requires 14 in-lbs of torque on the terminal screws. Use a torque screwdriver to ensure a gas-tight connection, preventing arc faults and thermal runaway.
Common Code Violations & Failure Modes
When inspecting high-voltage receptacles, master electricians frequently encounter these dangerous, code-violating errors:
- The 'Bootleg' Ground on 3-Prong Outlets: Upgrading an old 10-30R (3-prong dryer outlet) to a 14-30R (4-prong) without pulling a new 4-wire cable, and instead jumping the neutral to the ground screw. This energizes the appliance chassis if the neutral fails, creating a lethal shock hazard.
- Undersized Neutral Conductors: Using 10 AWG wire for the hot legs but 12 AWG for the neutral on a 30A circuit. The neutral must match the ungrounded (hot) conductors in a standard multi-wire or 240/120V branch circuit.
- Missing Strain Relief: Failing to secure the heavy 6/3 cable to the stud within 12 inches of the box. The weight of the cable pulls on the terminal screws, eventually loosening them and causing high-resistance arcing.
- Backstabbing Terminals: While rare on 240V receptacles, attempting to use push-in backwire connectors on high-amperage circuits is a severe fire risk. Always use side-terminal screw connections or properly rated compression lugs.
Expert FAQ: 220/240V Outlet Troubleshooting
Why does my 240V outlet read 120V on my multimeter?
If you measure 120V from Line 1 to Ground, 120V from Line 2 to Ground, but 0V between Line 1 and Line 2, you have a lost phase. One of the poles in your double-pole breaker has tripped, failed internally, or a hot bus bar stab in the panel is burned. Do not attempt to reset a breaker that feels mushy or shows scorch marks; the panel may require professional remediation.
Can I install a 50A NEMA 14-50R on a 40A breaker?
Yes, but with strict limitations. NEC Article 210.21(B)(3) allows a 50A receptacle on a 40A circuit only if there is a single receptacle on that branch circuit. However, the appliance plugged into it must not draw more than 40A (or 32A for continuous loads). This is a common setup for hardwired EV chargers that utilize a plug-in whip.
Do I need a permit to install a 220 electrical outlet?
Absolutely. Adding a new 240V circuit requires an electrical permit and a subsequent inspection by your local Authority Having Jurisdiction (AHJ). The Consumer Product Safety Commission (CPSC) strongly advises against unpermitted electrical work, as it voids home insurance policies in the event of an electrical fire and poses severe life-safety risks.
For comprehensive code standards and local adoption maps, always consult the latest edition of the NFPA 70 National Electrical Code. For specific appliance and EV charging load data, refer to the U.S. Department of Energy's EV charging guidelines.