
The True Cost of Electrical Wiring Lights and Switches in 2026
The decision to tackle electrical wiring lights and switches as a DIY project or to hire a licensed electrician is rarely just about the upfront labor cost. With copper prices stabilizing at a premium in 2026 and the widespread enforcement of the National Electrical Code (NEC) 2023 requirements for AFCI/GFCI protection, the margin for error has shrunk. While a DIY approach can save on hourly labor, hidden costs like permit fees, specialized tool rentals, and material markups often skew the final ledger. Below, we break down the exact financial and technical realities of wiring a standard 3-bedroom addition (approximately 12 new LED recessed lights, 6 single-pole switches, and 2 smart dimmers).
Material and Labor Cost Breakdown
The following table reflects average 2026 market rates for mid-grade residential components. Pro material costs include standard contractor markup, while DIY costs reflect retail big-box store pricing.
| Component / Service | DIY Cost (Retail) | Pro Cost (w/ Markup) | Notes & Edge Cases |
|---|---|---|---|
| 14/2 NM-B Wire (250ft spool) | $115.00 | $145.00 | Copper fluctuates; pros buy in bulk but mark up per foot. |
| Leviton Decora Smart Switch (DW15S) | $35.00 / ea | $45.00 / ea | Requires a neutral wire. Wi-Fi protocol. |
| Lutron Caseta Dimmer (PD-5S-DV) | $65.00 / ea | $85.00 / ea | Does NOT require a neutral; ideal for older homes. |
| Square D HOM115AFIC (15A AFCI Breaker) | $48.00 / ea | $60.00 / ea | Mandatory for bedroom lighting circuits per NEC 210.8. |
| Electrical Permits & Inspections | $150.00 | Included in Bid | DIYers must pull their own permits; pros bundle this. |
| Labor (12 hours @ $115/hr avg) | $0.00 | $1,380.00 | Pro time includes drywall fishing and panel termination. |
| Total Estimated Project Cost | $688.00 | $2,150.00+ | DIY saves ~$1,400 but transfers all code liability to you. |
Technical Failure Modes: Where DIYers Lose Money
The financial analysis above assumes a flawless installation. In reality, electrical wiring lights and switches involves navigating physical constraints and code mandates that frequently trap inexperienced DIYers, leading to costly rework.
The Neutral Wire Dilemma in Smart Switches
The most common edge case in modern lighting retrofits is the absence of a neutral wire in the switch box. In homes built before 1985, electricians often used a 'switched loop' at the light fixture, running only a hot and a switched hot down to the wall box.
A DIYer purchasing standard Wi-Fi smart switches (like the Leviton DW15S) will open the wall box, find only two black wires and a bare copper ground, and realize the switch will not power on. The dangerous, code-violating workaround some attempt is using the equipment grounding conductor as a neutral return path. This creates a shock hazard and will immediately trip a modern AFCI breaker.
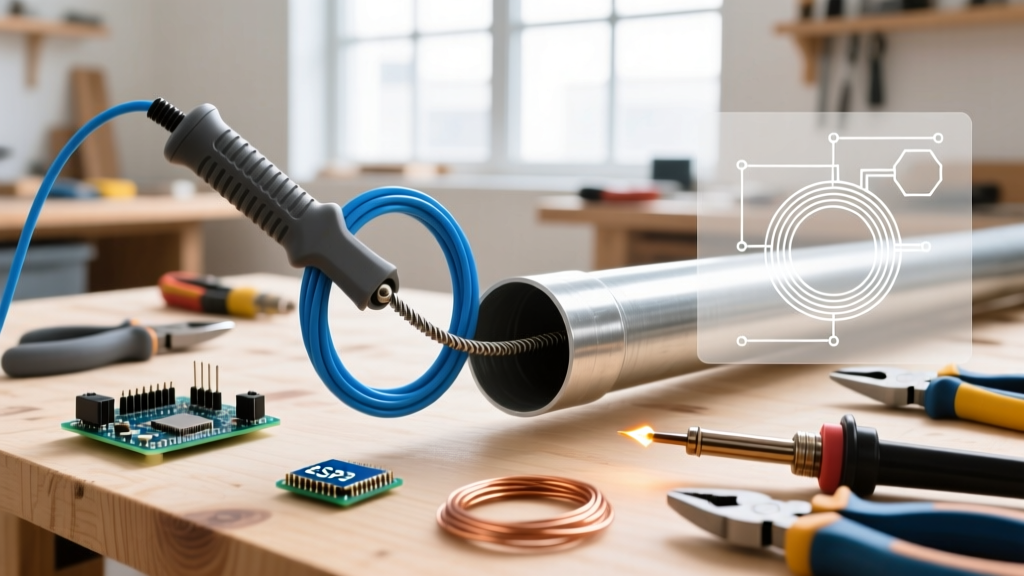
The Professional Solution: A licensed electrician will recognize the switched loop and pivot to a neutral-free solution like the Lutron Caseta PD-5S-DV, or they will use a fiberglass flex-bit and yellow wire-pulling compound (Yellow 77) to fish a new 14/3 NM-B cable from the fixture to the switch box, adding 2-3 hours of labor but ensuring code compliance.
Expert Insight: Never use a ground wire as a neutral. According to the Electrical Safety Foundation International (ESFI), improper grounding and neutral bonding are leading causes of residential electrical fires and severe shock incidents.
Box Fill Calculations and Smart Device Bulk
NEC Article 314.16 dictates strict 'box fill' calculations based on wire gauge and the number of devices in a junction box. A standard 18-cubic-inch single-gang 'old work' box is sufficient for a basic toggle switch and two 14/2 cables.
However, smart switches contain internal relays, Wi-Fi radios, and heat sinks, making their physical bodies twice as deep as standard switches. When you cram a Leviton Decora Smart switch, three 14/2 cables, and four wire nuts into an 18-cubic-inch box, you violate box fill limits. The wires become crushed, damaging the PVC insulation and creating a latent short-circuit risk. Professionals mitigate this by installing 22-cubic-inch deep boxes or using 4-inch square boxes with single-gang mud rings, a step DIYers frequently skip until they are physically unable to push the device into the wall.
Time, Tools, and Risk Matrix
Beyond materials, the disparity in tooling and diagnostic speed heavily favors the professional when things go wrong.
| Task / Scenario | DIY Approach & Time | Professional Approach & Time |
|---|---|---|
| Verifying Dead Circuits | Uses a $15 pen tester. May miss phantom voltages or induced currents. (10 mins) | Uses a Fluke 2AC or CAT III multimeter to verify zero potential phase-to-phase and phase-to-ground. (5 mins) |
| Fishing Wire Through Finished Drywall | Cuts multiple exploratory holes, uses coat hangers. High patching/painting cost later. (3-5 hours) | Uses a Greenlee flex-bit and glow rods from the attic/basement. One precise cutout. (45 mins) |
| Troubleshooting Nuisance AFCI Trips | Swaps breakers, unplugs devices randomly. Often blames a 'bad breaker'. (2+ hours) | Uses a Megger insulation tester to find the exact nail or staple piercing the wire insulation inside the wall. (20 mins) |
Code Compliance and Inspection Realities
In 2026, local building departments are strictly enforcing AFCI (Arc Fault Circuit Interrupter) requirements for virtually all living spaces, and GFCI (Ground Fault Circuit Interrupter) protection for areas near water or unfinished basements.
If you are running a new circuit from the panel for your lighting, the National Fire Protection Association (NFPA) mandates that the breaker must provide combination-type AFCI protection. Furthermore, if your lighting circuit extends into an attached bathroom or an unfinished crawlspace junction box, GFCI protection is also triggered.
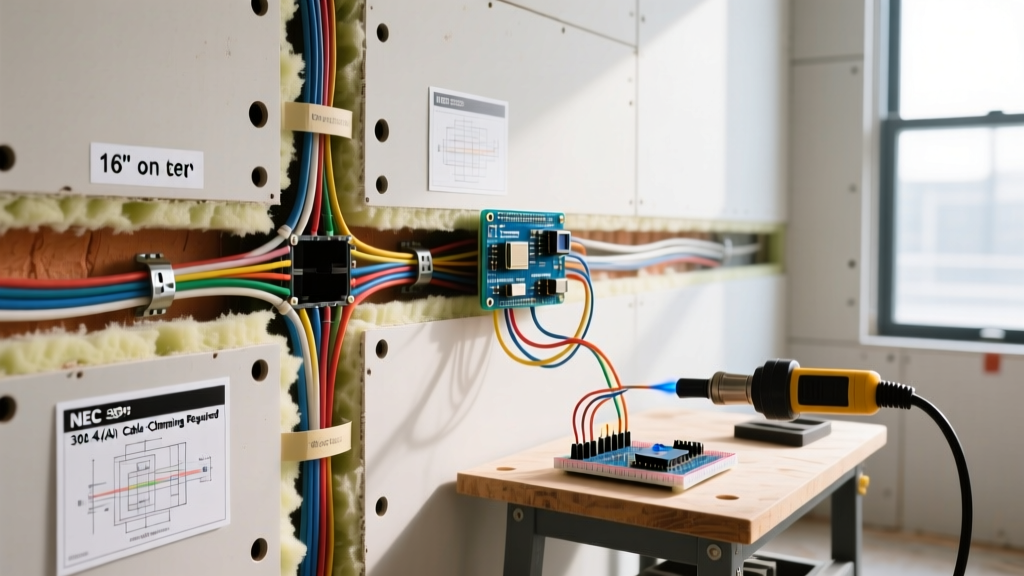
DIYers often fail the rough-in inspection because they staple NM-B cable too close to the edge of framing members (NEC requires a minimum 1.25-inch setback from the edge to prevent drywall screw punctures) or fail to secure the cable within 8 inches of the switch box. Failing an inspection twice can result in the city mandating that you hire a licensed master electrician to sign off on the work, entirely erasing your initial DIY savings.
When to DIY vs. When to Call a Pro
Use this decision framework to determine your route:
- DIY is viable if: You are replacing existing switches with like-for-like models (e.g., swapping a standard toggle for a standard dimmer), you have verified the presence of a neutral wire, you are working on an existing circuit without modifying the panel, and your local jurisdiction allows homeowner permits without a licensing exam.
- Hire a Professional if: You need to run new circuits from the main service panel, you are upgrading a Federal Pacific or Zinsco panel (which require full replacement in 2026), you are dealing with knob-and-tube or aluminum branch wiring, or you need to fish wires through multi-story fireblocks.
Final Verdict
Electrical wiring lights and switches is a high-stakes endeavor. While the DIY route offers a theoretical savings of roughly $1,400 on a standard room addition, the reality of box fill violations, neutral wire shortages, and AFCI troubleshooting can quickly turn a weekend project into a hazardous, unfinished mess. If you proceed with DIY, invest in a high-quality non-contact voltage tester (like the Klein NCVT-3), study NEC Article 314 for box fill, and never bypass a permit. For whole-home smart lighting integrations or new circuit runs, the precision, code compliance, and warranty protection provided by a licensed electrician remain the only logical investment.
For more data on residential electrical hazards, refer to the Consumer Product Safety Commission (CPSC) electrical safety guidelines before beginning any wiring project.