
The True Cost and Risk of Pool Heater Electrical Wiring
Extending your swim season with a high-efficiency electric heat pump like the Pentair UltraTemp 125 or the Hayward HeatPro HP21404T is one of the most effective upgrades for a residential pool. However, when the equipment arrives, homeowners are often met with a harsh reality: the unit requires a dedicated 240V, 50-amp circuit, and professional electrical installation quotes frequently range from $1,200 to $2,500. This sticker shock inevitably leads to a critical question: Can I handle the pool heater electrical wiring myself?
Wiring a pool heater is not like adding a standard 120V receptacle in your living room. The combination of high-amperage 240V power and a highly conductive, wet environment creates a unique hazard profile governed by strict national and local codes. This comprehensive analysis breaks down the technical requirements, financial realities, and safety margins of DIY versus professional pool heater electrical wiring to help you make an informed, safe decision.
Technical Anatomy: What Pool Heater Wiring Actually Requires
Before deciding who should pull the wire, you must understand the physical and electrical parameters of the job. Most modern pool heat pumps operate on 240V single-phase power and draw between 30 and 60 amps depending on the BTU output and ambient temperature.
Core Material Specifications
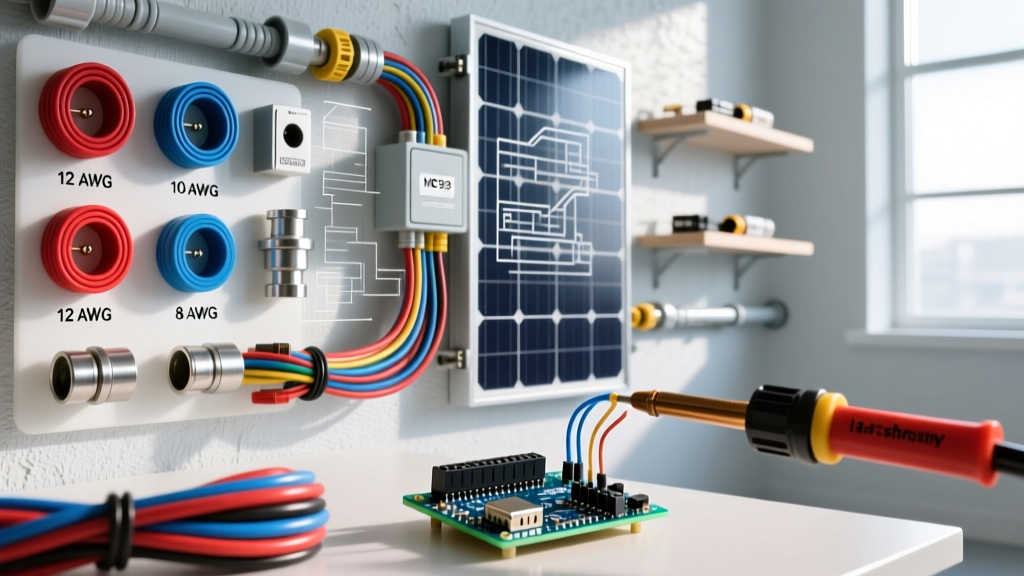
- Wire Gauge: A 50-amp circuit requires a minimum of 6 AWG THWN-2 stranded copper wire. THWN-2 is critical because conduit runs outdoors are considered 'wet locations' due to condensation, even if the conduit is sealed.
- Conduit: Minimum 3/4-inch Schedule 80 PVC for above-ground runs subject to physical damage, and Schedule 40 PVC for standard underground trenching.
- Breaker: A 50A or 60A 2-pole GFCI (Ground Fault Circuit Interrupter) breaker. Standard breakers are no longer code-compliant for pool equipment in most jurisdictions. A Square D QO250GFI or Eaton BR250GFI costs between $150 and $220 alone.
- Bonding Wire: 8 AWG bare solid copper wire for the equipotential bonding grid.
Expert Insight: Many DIYers mistakenly purchase THHN wire because it is cheaper and more common at big-box stores. While THHN is rated for dry locations, the interior of outdoor PVC conduit is classified as a wet location by the NEC. Using THHN instead of THWN-2 is a guaranteed way to fail your municipal electrical inspection.
NEC Article 680: The Code That Dictates Your Project
The National Electrical Code (NEC) Article 680 specifically covers swimming pools, fountains, and similar installations. This is not a suggestion; it is a legally enforceable safety standard. Two specific sections of Article 680 routinely trip up DIY installers:
1. Equipotential Bonding (NEC 680.26)
Bonding is entirely different from grounding. While grounding provides a path for fault current to trip the breaker, equipotential bonding connects all metal components in and around the pool to the same electrical potential. This prevents a voltage gradient from forming between the pool water, the ladder, the pump motor, and the new heater chassis. If a DIYer wires the heater's ground but forgets to tie the heater's external bonding lug into the pool's existing #8 solid copper bonding grid, a stray voltage fault could electrify the water. The U.S. Consumer Product Safety Commission (CPSC) regularly cites improper bonding as a primary factor in pool-related electrical shocks.
2. Underground Wiring Clearances (NEC 680.10)
You cannot simply dig a shallow trench and drop the conduit in. NEC 680.10 mandates that underground wiring must be installed at least 18 inches deep and maintain a minimum horizontal clearance of 5 feet from the inside wall of the pool. Hitting an existing gas line, sprinkler system, or the pool's main structural rebar during a DIY trenching job can turn a $300 wiring project into a $5,000 disaster.
Cost and Time Matrix: DIY vs. Professional Installation
Let's look at the hard numbers for a standard 60-foot run from the main service panel to a 50A pool heat pump.
| Category | DIY Installation | Professional Electrician |
|---|---|---|
| Materials (Wire, Conduit, Fittings) | $250 - $350 | $300 - $450 (Wholesale markup) |
| 50A GFCI Breaker | $160 - $220 | $180 - $250 |
| Labor & Trenching | $0 (12-16 hours of your time) | $800 - $1,500 |
| Permits & Inspections | $100 - $250 | $150 - $300 (Often included in labor) |
| Specialty Tools (Trencher rental, benders) | $150 - $300 | $0 (Included) |
| Total Estimated Cost | $660 - $1,120 | $1,430 - $2,500 |
| Warranty Impact | Voided if not signed off by inspector | Fully preserved |
While the DIY route saves roughly $800 to $1,400 in labor, the hidden costs of tool rentals, potential material waste, and the sheer physical labor of hand-digging an 18-inch deep, 60-foot trench drastically narrow the gap.
Edge Cases and Failure Modes: Where DIY Goes Wrong
According to data from the Department of Energy, heat pumps are incredibly efficient, but they are highly sensitive to voltage drop and poor connections. Here are the most common failure modes seen in DIY pool heater wiring:
The Voltage Drop Trap
If your main panel is 120 feet away from the pool heater, 6 AWG wire will experience a voltage drop of approximately 2.4% under full load. While this is technically under the NEC's recommended 3% maximum, heat pumps have high Locked Rotor Amperage (LRA) during compressor startup. This momentary surge can cause the voltage to dip below the heater's internal safety threshold, causing the control board to throw a 'Low Voltage' error code and lock out the system. Pro Solution: Professionals automatically upsize to 4 AWG wire for any run exceeding 100 feet to mitigate startup voltage sag.
Oxidation and Thermal Runaway
Pool environments are highly corrosive. When connecting aluminum or copper wire to the heater's terminal block, failing to apply an antioxidant compound (like Noalox) and torquing the lugs to the manufacturer's exact specification (usually 40-50 in-lbs) leads to micro-arcing. Over a single swim season, this resistance builds heat, melting the terminal block and destroying the heater's main control board—a $400+ mistake.
Conduit Condensation and GFCI Nuisance Tripping
GFCI breakers are incredibly sensitive to current leakage (tripping at just 5 milliamps). If a DIYer fails to use sweep bends and instead uses sharp 90-degree elbows, or forgets to install a weep hole at the lowest point of the conduit run, water accumulates inside the pipe. Over time, this degrades the wire insulation, causing micro-leakage to the ground wire and resulting in a GFCI breaker that trips every time the compressor kicks on.
The Verdict: Decision Framework for Homeowners
So, should you wire the pool heater yourself? Use this framework to decide:
Choose the DIY Route ONLY If:
- You have prior experience pulling heavy-gauge wire and terminating 240V circuits.
- You fully understand the difference between grounding and equipotential bonding, and your pool already has an accessible, code-compliant bonding grid.
- You are physically capable of trenching 60+ feet of soil to an 18-inch depth, or you are willing to rent a mini-excavator.
- Your local municipality allows homeowner electrical permits and you are prepared to schedule and pass a rough-in and final inspection.
Hire a Licensed Professional If:
- Your main electrical panel requires an upgrade (e.g., you only have a 100A service and need to upgrade to 200A to handle the 50A heater load).
- The trenching route requires boring under concrete decks, driveways, or navigating complex underground sprinkler and gas lines.
- You are installing a gas heater that requires both 120V/240V electrical wiring and rigid black iron gas piping (which legally requires a licensed plumber or gas fitter in almost all jurisdictions).
- You want to preserve the 3-to-5 year manufacturer warranty on your $3,500+ heat pump, which explicitly requires professional installation documentation in the event of a control board failure.
Final Thoughts
Pool heater electrical wiring sits at the dangerous intersection of high amperage and water. While a competent DIYer can save money on the physical labor of pulling 6 AWG THWN-2 wire through Schedule 80 PVC, the margins for error regarding NEC Article 680 compliance and equipotential bonding are razor-thin. If you choose to DIY, treat the municipal inspection not as a bureaucratic hurdle, but as a vital, free safety audit that ensures your family won't become a statistic. If you lack the specific knowledge to execute a flawless bonding grid and calculate voltage drop over long distances, the $1,500 premium for a licensed pool electrician is a non-negotiable investment in your family's safety.